ByteScout RPA Tools is a powerful app builder that you can use to develop your apps (aka “robots”). Such apps can perform business automation tasks without human interaction required.

From this article, you can learn how to create a simple PDF operating business automation application in less than 10 minutes. Using a pre-built template that comes with ByteScout RPA Tools makes it easy.
Make Your Robots – Try RPA Tools
The purpose of this robot is to show you how you can split a PDF document into two using RPA Tools.
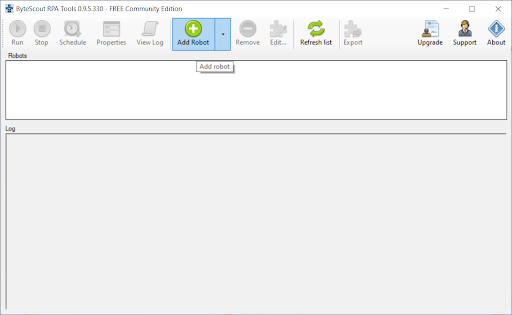
To create this robot, you need to open the RPA Tools application on your computer and press the “Add Robot” button.
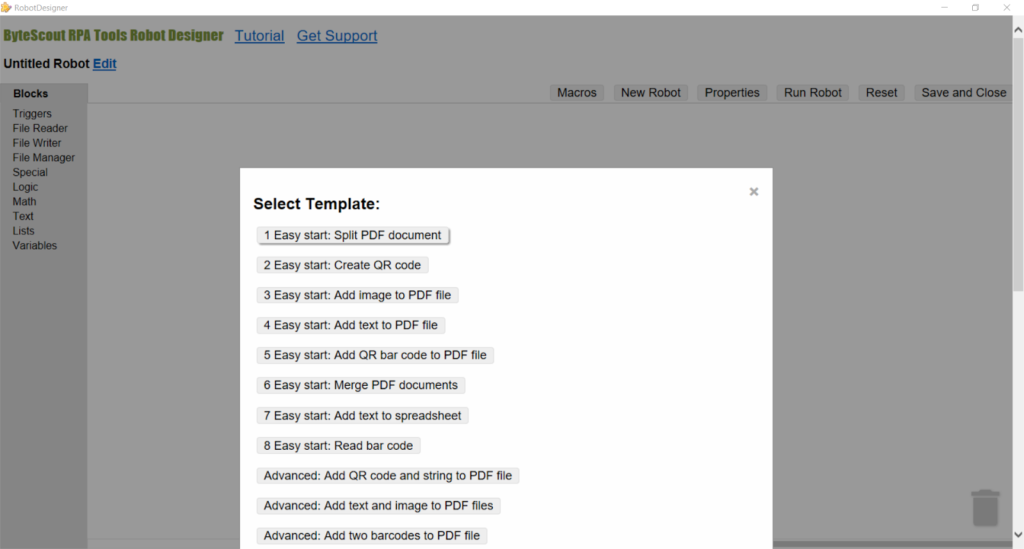
Then you can press the “1 Easy start: Split PDF document” button in the “Select Template” dialog window.
You can see the “Robot Info” informational dialog window. Please press the “OK” button.
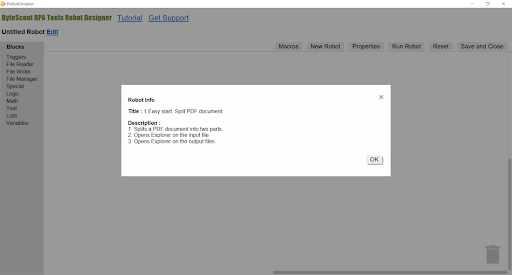
Now you have the robot created and displayed in the Designer.
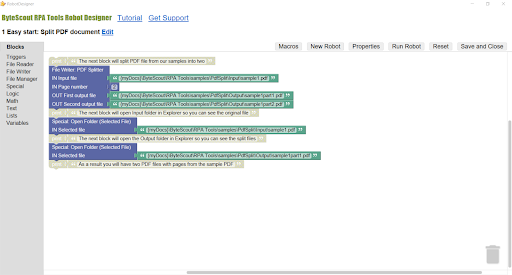
Let me explain how this robot works.
As you can see, the robot contains blocks of different colors. Each of these blocks does its part of the work.
The first from the top are two greyish blocks whose only purpose is commenting. Those “print” and “text’ blocks are disabled, and this is why they are grey. Disabling blocks, we can tell a robot not to execute them. Such blocks become a decoration like garden gnomes.
![]()
The next block has the name “File Writer: PDF Splitter”, and it is blue. The robot is going to execute it. Actually, it is the core block of this robot, as you can understand from the block name. Let’s talk about it in detail.
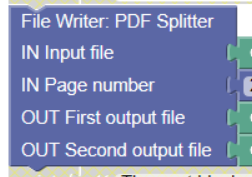
First, you can see that the block has parameters. Two of them begin with an “IN” word (stands for INPUT), and two begin with an “OUT” word (stands for OUTPUT).
The difference between them is that the block is going to make changes only to output parameters but not to input. You can safely pass a PDF file as an “IN Input file” parameter, and it is going to stay unmodified. On the other hand, output parameters are always supposed to change when the robot runs.
Each of these parameters has a jigsaw connector like the ones that puzzles have.

The three green “text” blocks on the picture above provide file names, and here is one thing about the file names in RPA Tools that makes your life easier. You can use the {myDocs} macro to replace a long path like C:\Users\UserName\Documents.
(You can find all macros descriptions in a dialog window if you press the “Macros” button in the ByteScout RPA Tools Robot Designer.)
There is also a blue number block that connects to the “IN Page number” parameter and contains “2”. The block is telling us that we are going to split the input file by the second page. It means that the second page of the input file becomes the first page of the second output file. The first output file contains only the first page of the input file in this case.
To sum up, the “File Writer: PDF Splitter” block is the core block of this robot. When it runs, it reads the input file, splits it by page number two, and creates two output files.
The rest of the blocks that we added to the “1 Easy start: Split PDF document” robot are service blocks. They show you the results produced by the core block.

To show the results, we used two blue “Special: Open Folder (Selected File)” blocks. They open Windows Explorer so you can see the “Input” and the “Output” folders.
Now, as you have this robot created and displayed in the Designer, you can save it and close the Designer window using the “Save and Close” button.
After saving, you can see the robot name in the “Robots” list of the RPA Tools application.
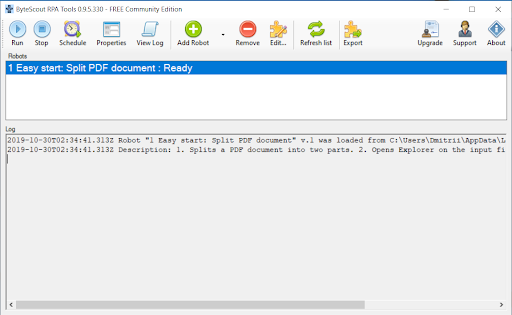
To run the robot, please press the “Run” button.
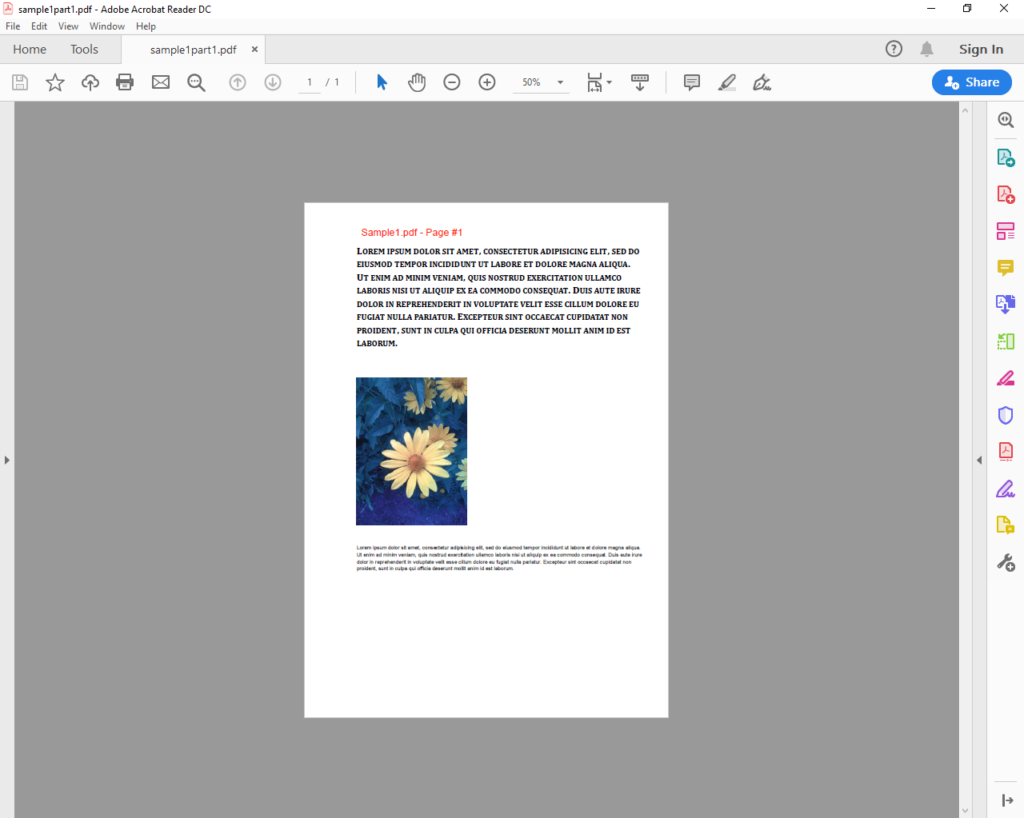
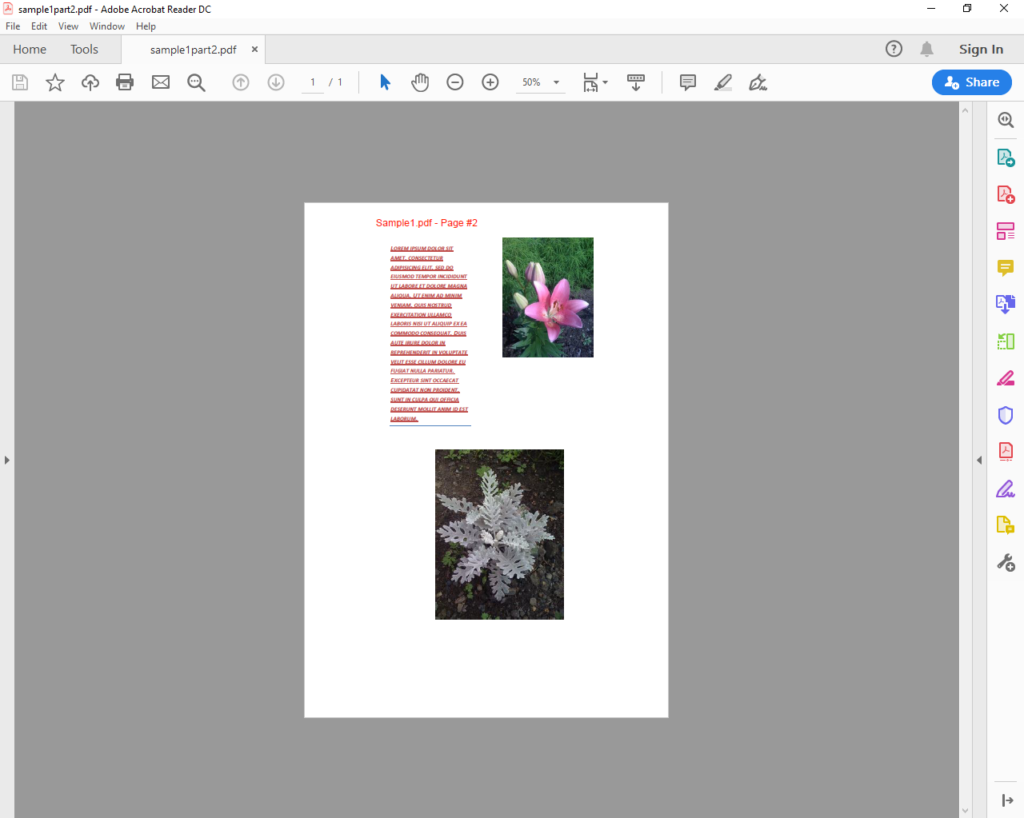
As a result of running this robot, we have an original PDF document split into two PDF files.
Here is what was in the input file:
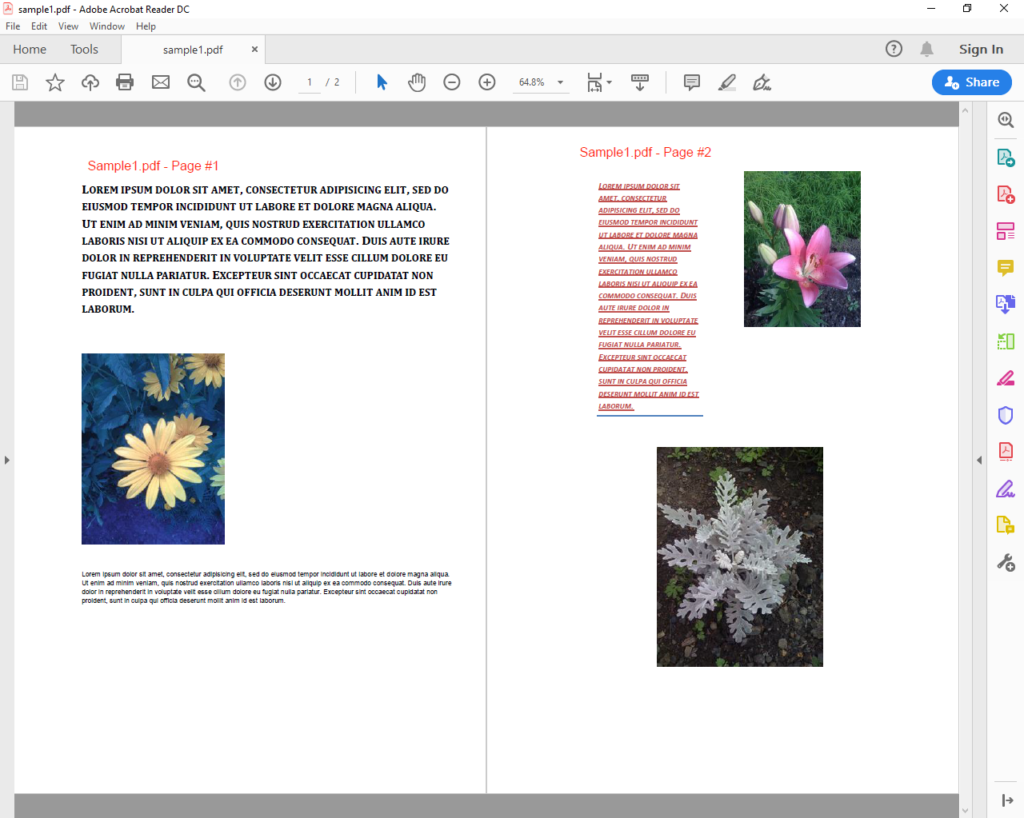
Here is what we have as an output:
