ByteScout RPA Tools can help you create an application that can perform business automation tasks without human interaction required (aka “robot”). This powerful app builder does not require any programming skills. You can use pre-built templates to create simple apps that can free you from performing repetitive tasks.
Reading this article takes less than 10 minutes, and it tells how to build a robot that can add a QR bar code to a PDF file.
Make Your Robots – Try RPA Tools
We offer this robot to show you how you can add a QR bar code to a PDF document using RPA Tools.
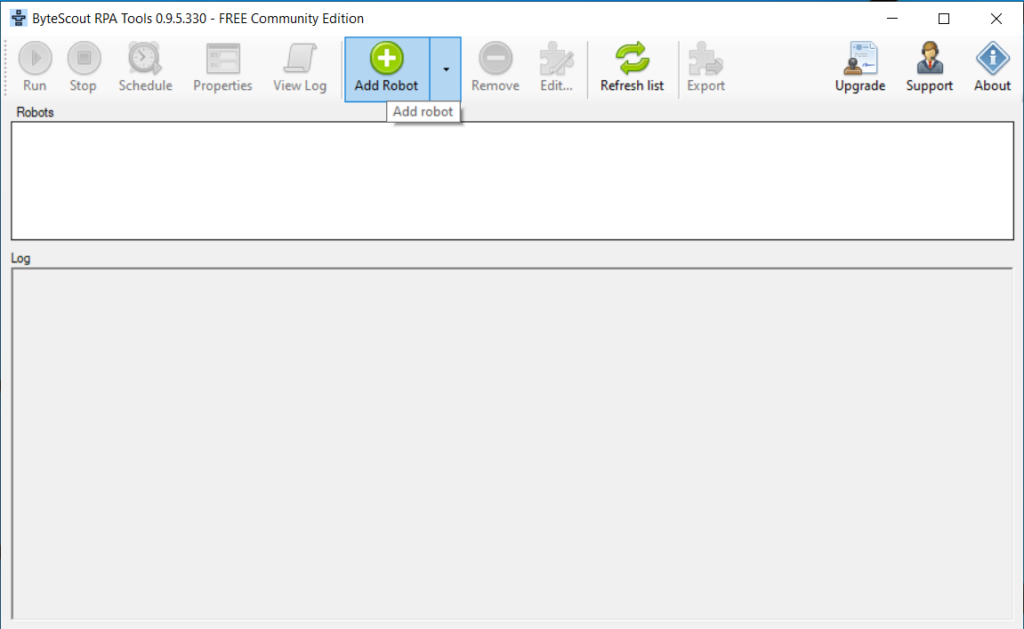
To create this robot, you need to open the RPA Tools application on your computer and press the “Add Robot” button.
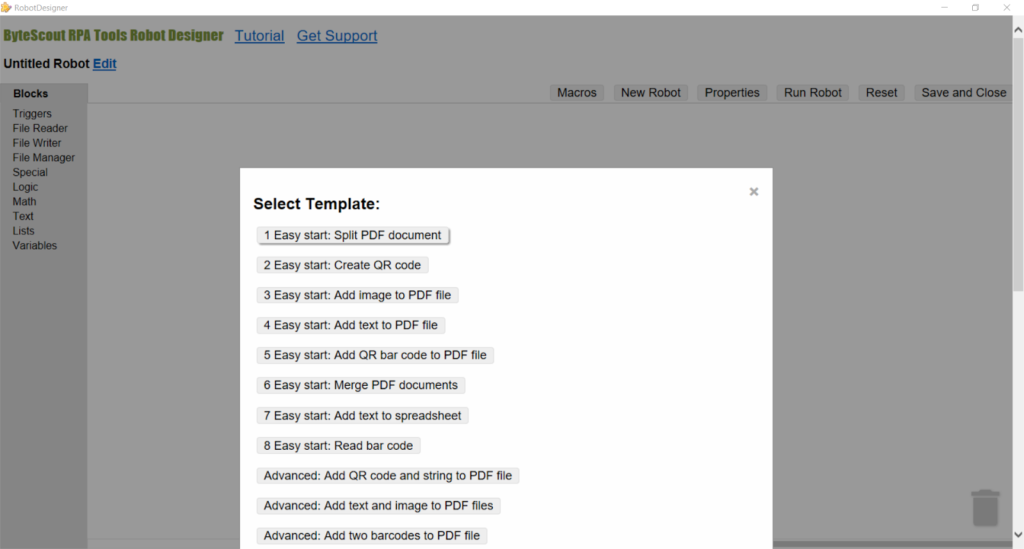
Then you can press the “5 Easy start: Add QR bar code to PDF file” button in the “Select Template” dialog window.
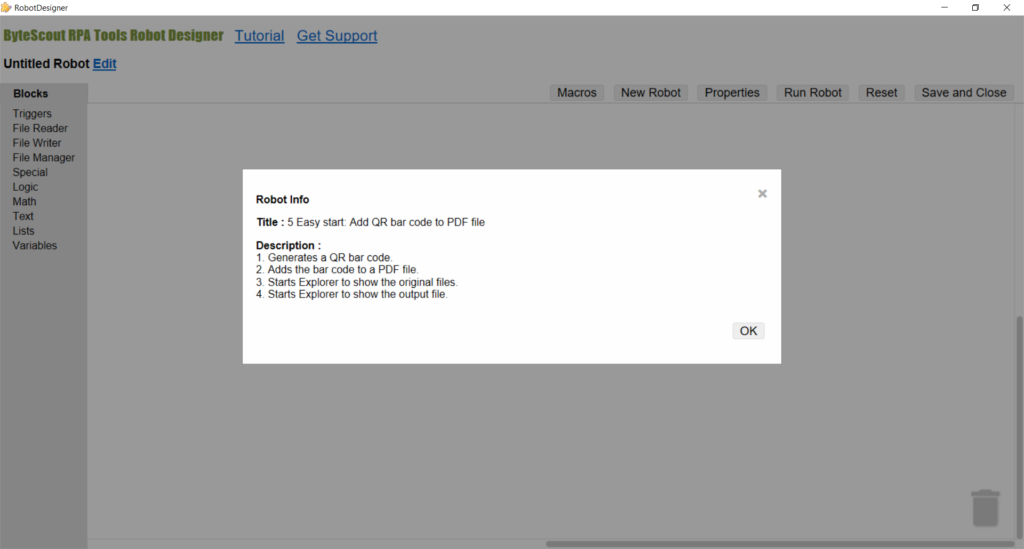
You can see the “Robot Info” informational dialog window. Please press the “OK” button.
Now you have the robot created and displayed in the Designer.
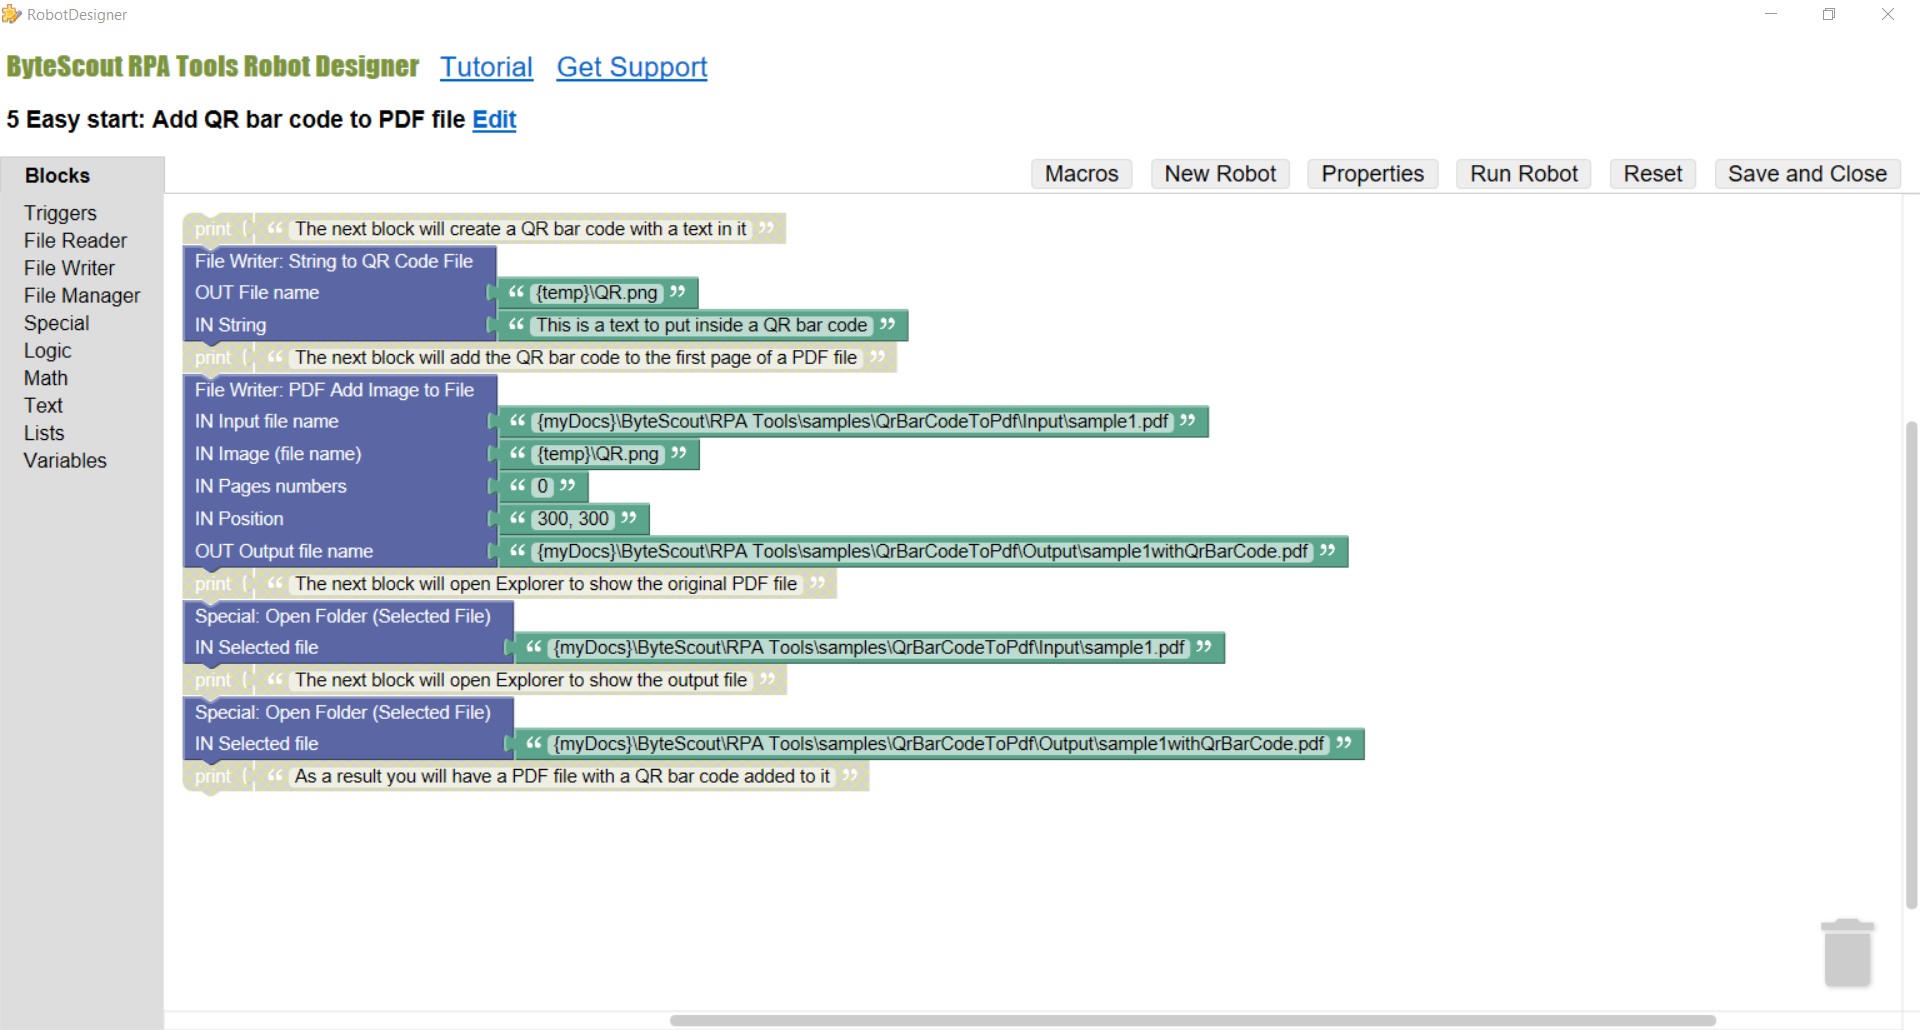
Let us talk a bit about the components of this robot.
First, there are some grey “print” and “text” blocks that we used to comment actions of the other blocks.
![]()
Generally, a combination of “print” and “text” blocks makes a robot to output a message to the robot’s log. However, we disabled these blocks for this robot, and this why the blocks are grey. Hence, you can read the comments we left inside the “text” blocks, but the robot is going to ignore them. Accordingly, these blocks are only for your attention.
Second, there are two blue blocks from the “File Writer” category.
The “File Writer: String to QR code File” block takes a string as an input parameter. Then it forms a QR bar code containing the string and saves it as a picture to a file. The “OUT File name” parameter provides the name of the file. In our case, the name is {temp}\QR.png.

We used {temp} inside of the file name. {temp} is a macro for a path to a temporary folder on your computer. As you may know, your operating system (Windows) automatically deletes all files in the temporary folder when you don’t need them anymore. This way, you do not need to worry about your disk space.
(You can find descriptions for all available macros in a dialog window if you press the “Macros” button in the ByteScout RPA Tools Robot Designer.)
The other important block is “File Writer: PDF Add Image to File”.
As we created a QR bar code on the previous step, we need to insert it into a PDF document now by using this block.

The block is going to put the QR bar code to the first page (the page numbers are 0-based) at the position “300, 300” (counting from the top left corner of the page).
Third, some service blocks are going to show you the results produces by this robot.

We used two blue “Special: Open Folder (Selected File)” blocks. They open Windows Explorer so you can see the “Input” and the “Output” folders.
Now, as you have this robot created and displayed in the Designer, you can save it and close the Designer window using the “Save and Close” button.
After saving, you can see the robot name in the “Robots” list of the RPA Tools application.
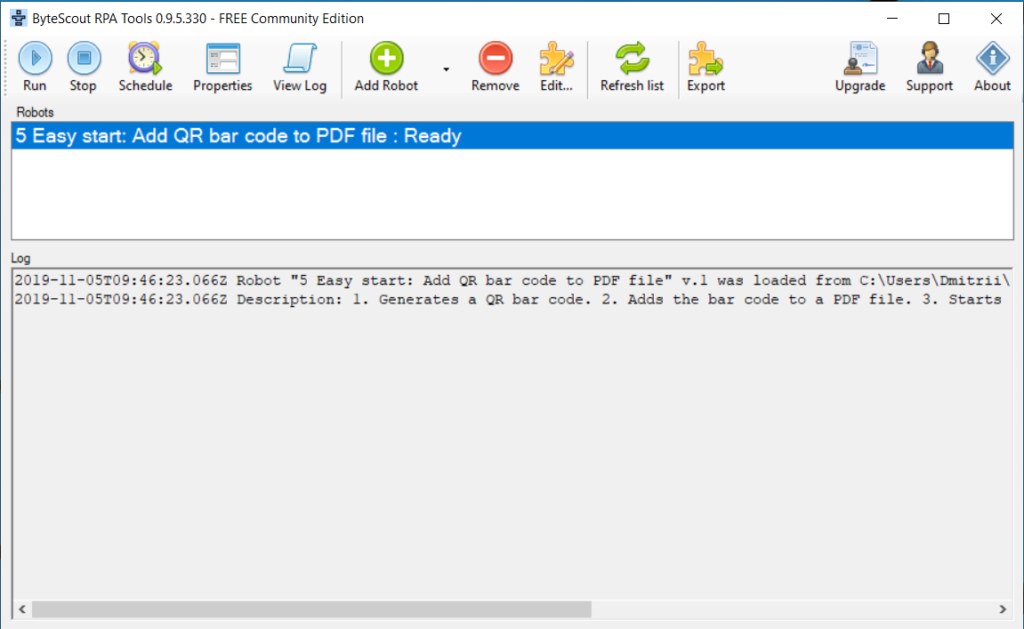
To run the robot, please press the “Run” button.
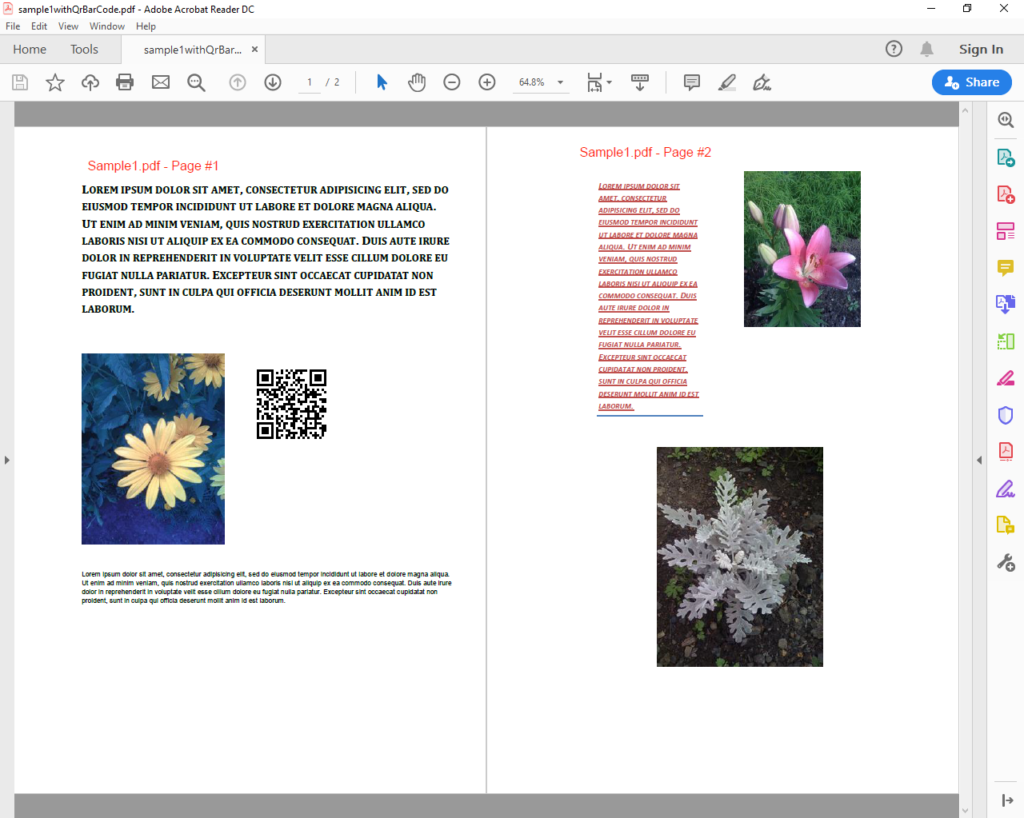
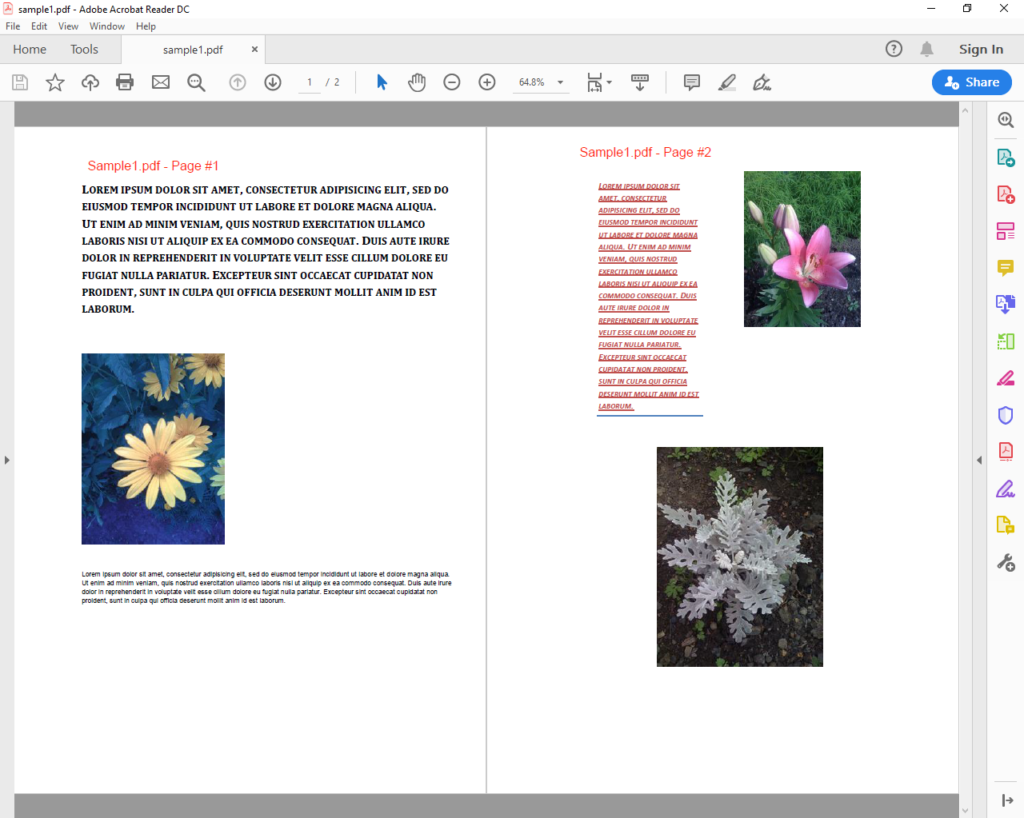
Here is what you can see if you open the sample PDF file.
Also, you can see a QR bar code inserted by the robot if you open the output file. It is beside the first picture.
