Our ByteScout SDK products are sunsetting as we focus on expanding new solutions.
Learn More
Important Update
ByteScout SDK Sunsetting Notice
Our ByteScout SDK products are sunsetting as we focus on our new & improved solutions.Thank you for being part of our journey, and we look forward to supporting you in this next chapter!
RPA Tools – Template Scenario 3: How to Add an Image to a PDF File Automatically
ByteScout PRA Tools is a powerful app builder that you can use to develop your apps (aka “robots”). Such robots can perform business automation tasks without human interaction required.
From this article, you can learn how to create a simple business automation application for inserting an image (stamp) into a PDF document in less than 10 minutes. It is so simple with a pre-built template that comes with ByteScout RPA Tools.
We offer this robot to show you how you can add an image to a PDF document using RPA Tools.
How to create this robot
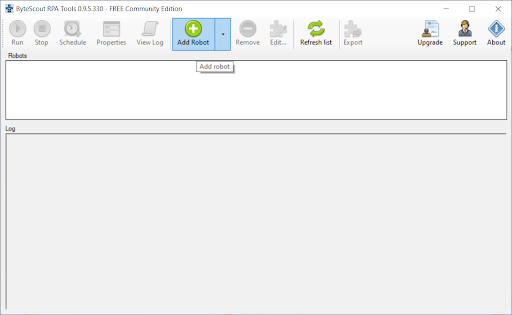
To create this robot, you need to open the RPA Tools application on your computer and press the “Add Robot” button.
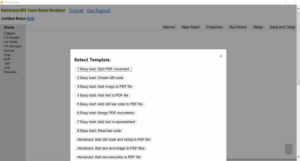
Then you can press the “3 Easy start: Add image to PDF file” button in the “Select Template” dialog window.
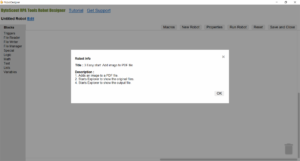
You can see the “Robot Info” informational dialog window. Please press the “OK” button.
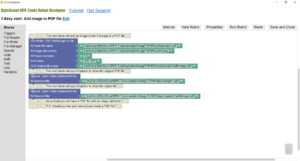
Now you have the robot created and displayed in the Designer.
Robot information
Let us talk about this robot a little bit.
As you can see, we composed the “3 Easy start: Add image to PDF file” robot of many colorful blocks.
Like many others of our robots from the “Easy start” series, this robot is easy to understand if you keep in mind one thing. The thing is all the blocks we used to create the robot fall into three categories by their purpose. It is a core block that does most of the job, commenting blocks that are like banners, and service blocks that make checking results easier.
Core block
First and most importantly, there is one core block in this robot. The block’s name is “File Writer: PDF Add Image to File”. It is blue, and it is the largest one.
Parameters
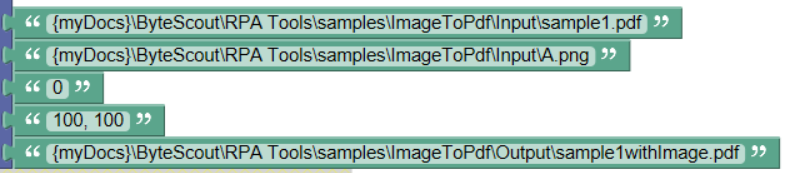
This block has INPUT and OUTPUT parameters. For example, the first two parameters (“IN Input file name” and “IN Image (file name)”) are input parameters. They provide the name of a PDF document we want to upgrade with an image and the image we need to add.
Also, you can find an output parameter at the bottom of the block. It has the name “OUT Output file name”, and it provides a name for the resulting PDF file.
There is one thing about INPUT and OUTPUT parameters I would like to mention. The only file that is going to change when the robot runs is the output file. Therefore, it is safe to pass a PDF file as an input to this block because it is going to stay unmodified.
The rest of this block parameters are “IN Page numbers” and “IN Position”. We are using them to tell the block where we want to insert an image (which page and coordinates).
Values for parameters
As you can see, each of the parameters has a jigsaw connector, and there are green “text” blocks attached to them.
These “text” blocks provide the actual values for the parameters.
As shown, we set up the first page (the “File Writer: PDF Add Image to File” uses 0-based numeration) as the target page. Also, the target coordinates are 100 for the X-axis and 100 for the Y-axis, starting from the left top corner of the page.
By the way, you can notice that we used {myDocs} inside of the “text” blocks providing file names. {myDocs} is a macro for the “C:\Users\UserName\Documents” path.
(You can find descriptions for all available macros in a dialog window if you press the “Macros” button in the ByteScout RPA Tools Robot Designer.)
To be brief, the “File Writer: PDF Add Image to File” block is doing most of this robot’s work, and we provide all the information the block needs to get the job done.
Commenting blocks
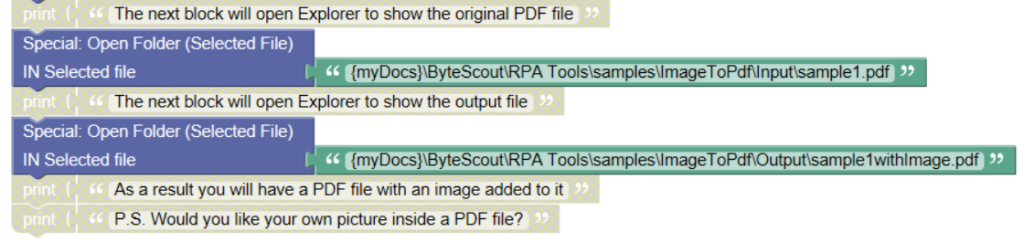
Second, there are commenting blocks. They are a combination of a “print” and a “text” blocks.
These “print” and “text” blocks are disabled, and this is why they are grey. You can read the text the blocks contain, but the robot is not going to execute the “print” command.
Service blocks
Third, there are service blocks. These blocks are going to show you the original input files and the results produced by the core block.
We used two blue “Special: Open Folder (Selected File)” blocks. They open Windows Explorer so you can see the “Input” and the “Output” folders.
How to run this robot
Now, as you have this robot created and displayed in the Designer, you can save it and close the Designer window using the “Save and Close” button.
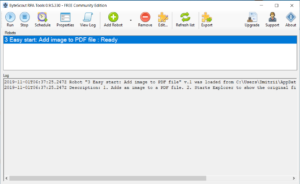
After saving, you can see the robot name in the “Robots” list of the RPA Tools application.
To run the robot, please press the “Run” button.
Result
As a result of running this robot, we have a QR code added to the first page of a PDF document.
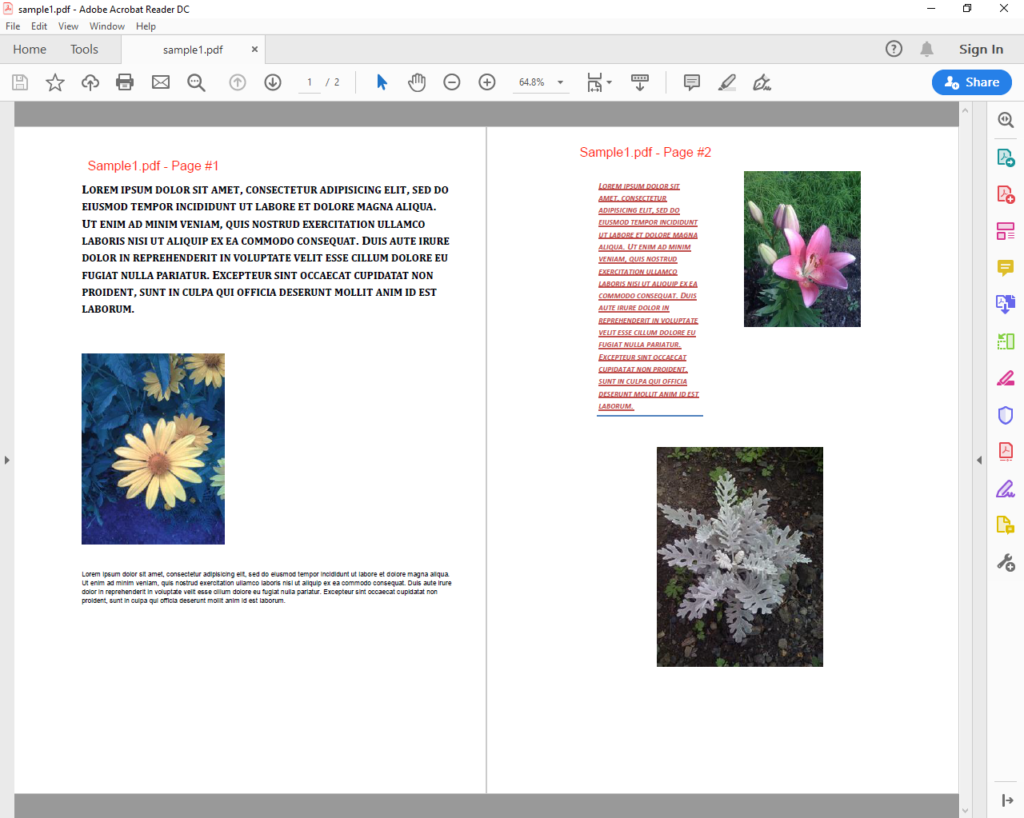
Here is what we have on the first page of the original PDF file:
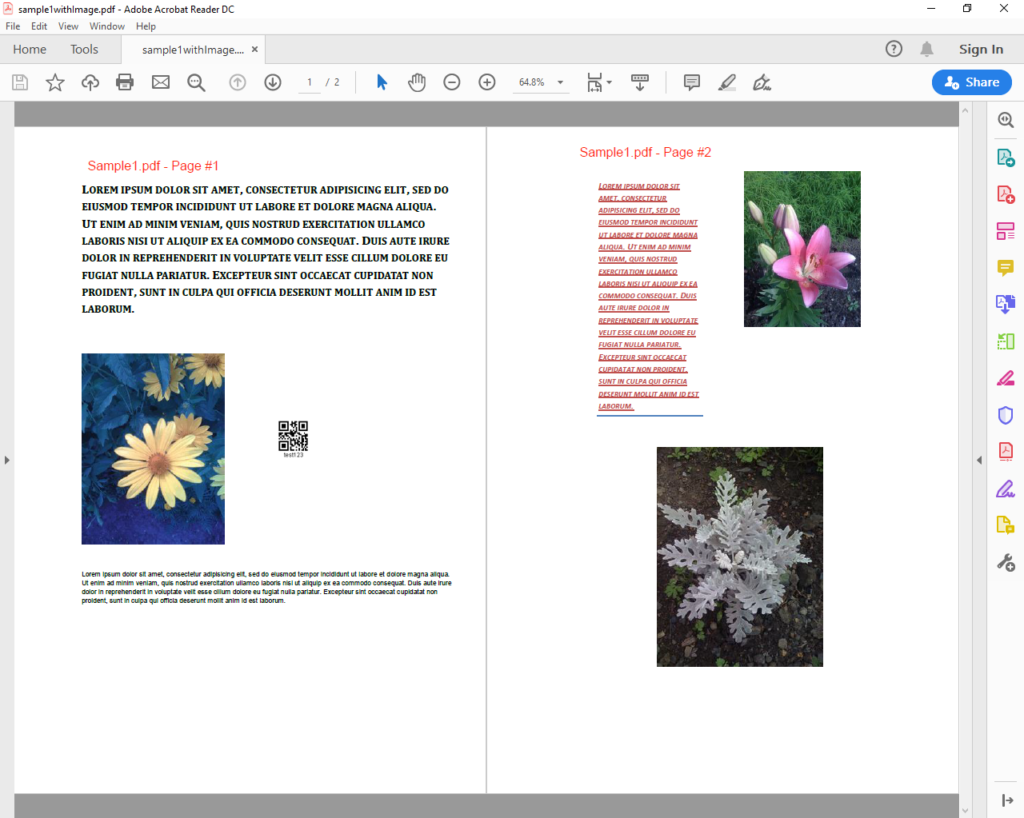
Here is what we have on the first page of the output PDF file:
You can see that we have got a QR code beside the original image.