Sometimes you need an application that can save you from doing monotonous tasks. These tasks can be specific to your business. Accordingly, no existing software fits.
Having this in mind, we offer you ByteScout RPA Tools. It is a powerful app builder that does not require any programming skills. RPA tools can help you in creating an application that can perform business automation tasks without human interaction required (aka “robot”).
Reading this article takes less than 10 minutes. It tells how to build a robot using one of the pre-built templates.
Make Your Robots – Try RPA Tools
We offer this robot to show you how you can merge two PDF documents using RPA Tools.
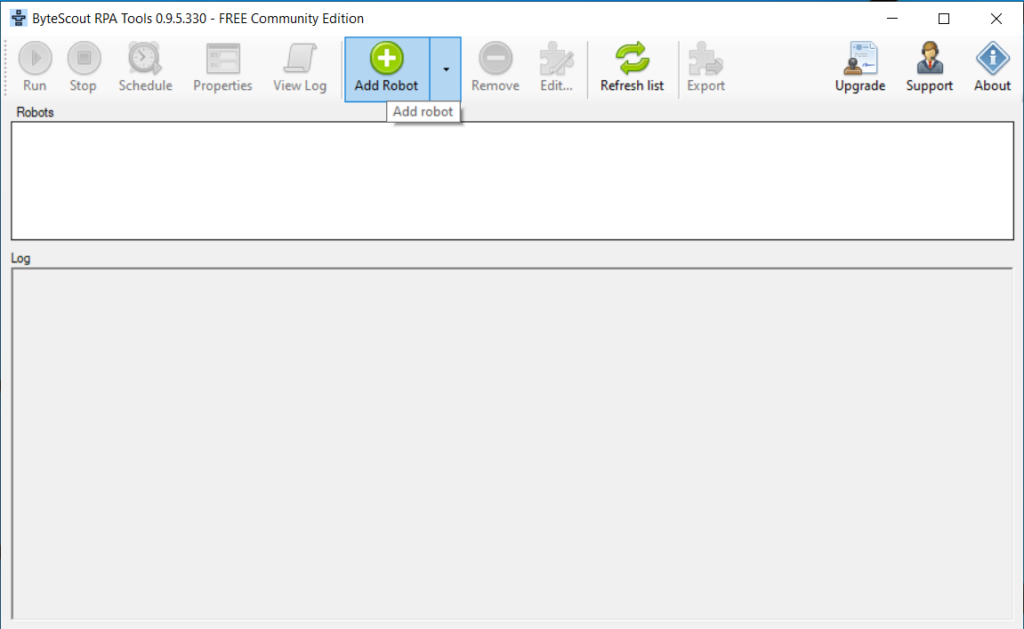
To create this robot, you need to open the RPA Tools application on your computer and press the “Add Robot” button.
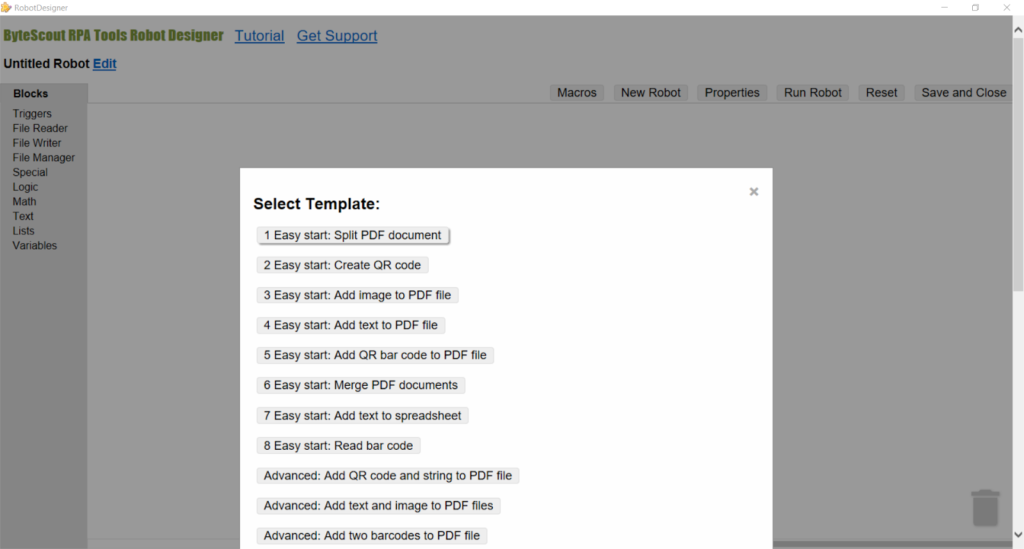
Then you can press the “6 Easy start: Merge PDF documents” button in the “Select Template” dialog window.
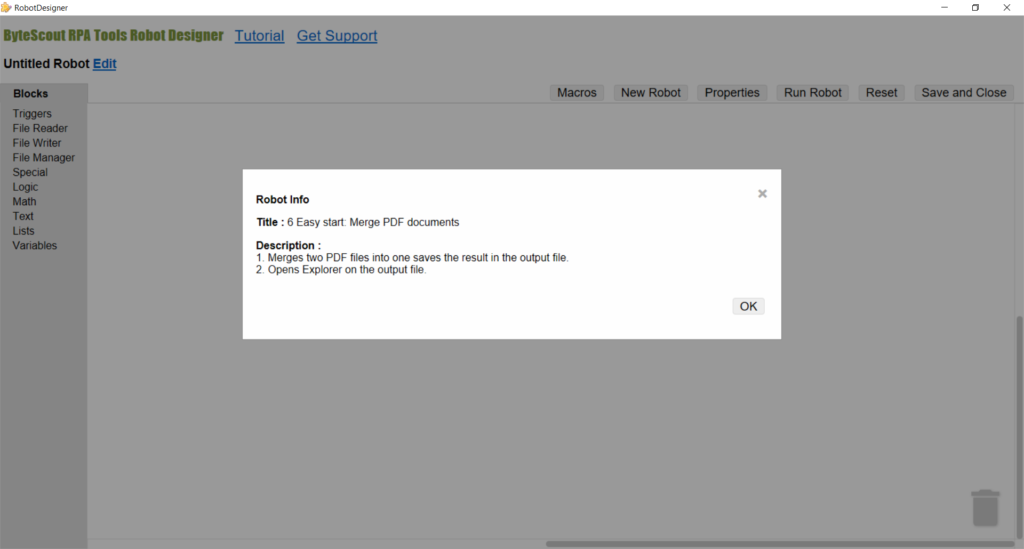
You can see the “Robot Info” informational dialog window. Please press the “OK” button.
Now you have the robot created and displayed in the Designer.
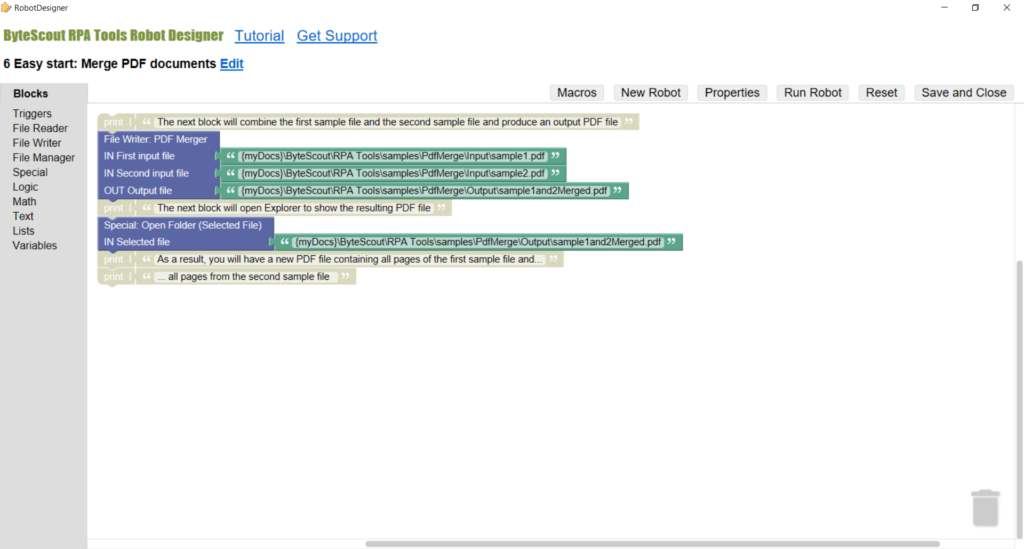
Here is something I would like to tell you about this robot.
We used some colorful blocks to create the robot. All the blocks have their missions. I think describing the missions is crucial for understanding how the robot works.
First, there are some grey “print” and “text” blocks that we used for commenting.
![]()
We disabled these blocks to make the robot to ignore them. Actually, it is disabling what made the blocks grey. Now the only thing we expect the blocks to do is holding the commenting text inside. Hence, the grey blocks are just telling you, user, something about the robot.
Second, there is a blue block “File Writer: PDF Merger”. The mission of this block is taking two PDF documents as input and producing another PDF document. The resulting PDF file is going to combine all the pages from the input files. In other words, the block does the most important job for the robot.
You can find the input files names inside the green “text” blocks that are connected to the right edge of the “File Writer: PDF Merger” block.

We used {myDocs} as a part of the file names. {myDocs} is a macro for a path to the Documents folder on your computer.
(You can find descriptions for all available macros in a dialog window if you press the “Macros” button in the ByteScout RPA Tools Robot Designer.)
Third, there are some service blocks to show you the resulting file produced by this robot.

We used a blue “Special: Open Folder (Selected File)” block. It opens Windows Explorer so you can see the “Output” folder.
Now, as you have this robot created and displayed in the Designer, you can save it and close the Designer window using the “Save and Close” button.
After saving, you can see the robot name in the “Robots” list of the RPA Tools application.
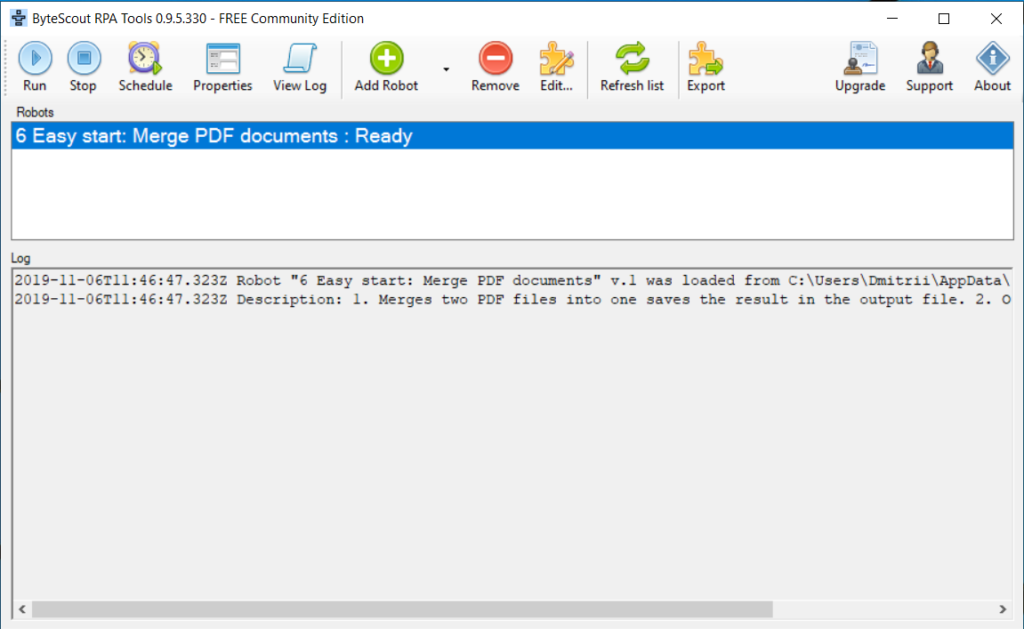
To run the robot, please press the “Run” button.
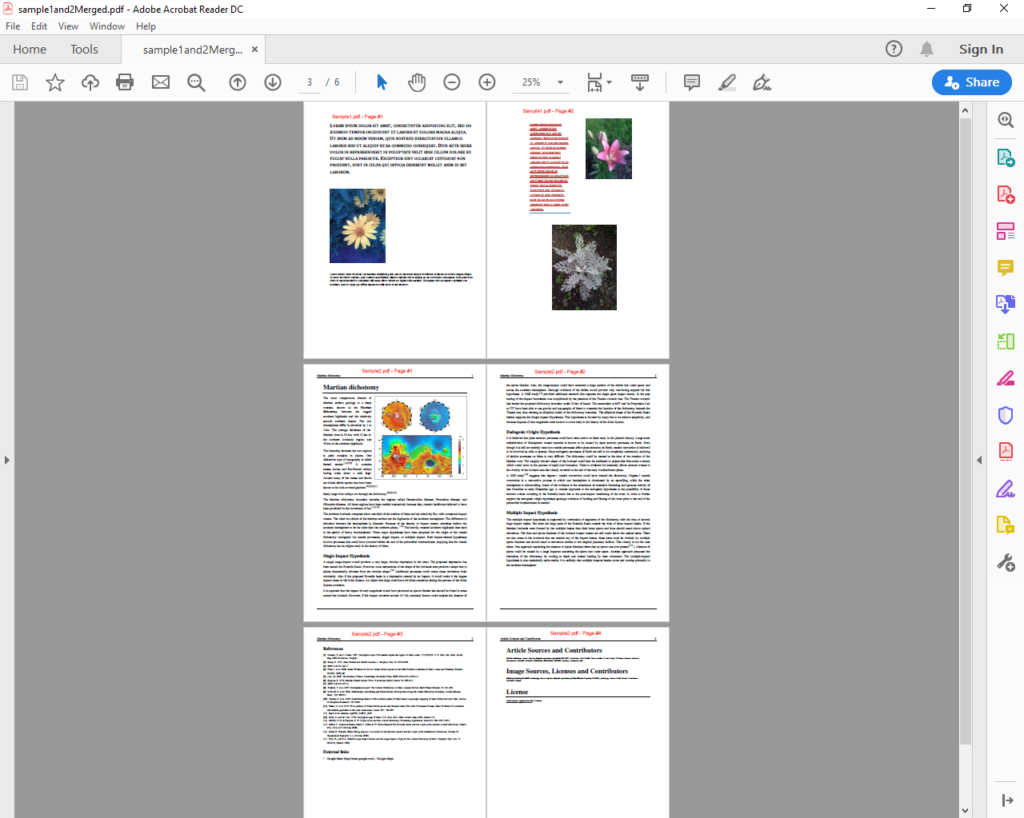
Here is what we have as the input PDF files.
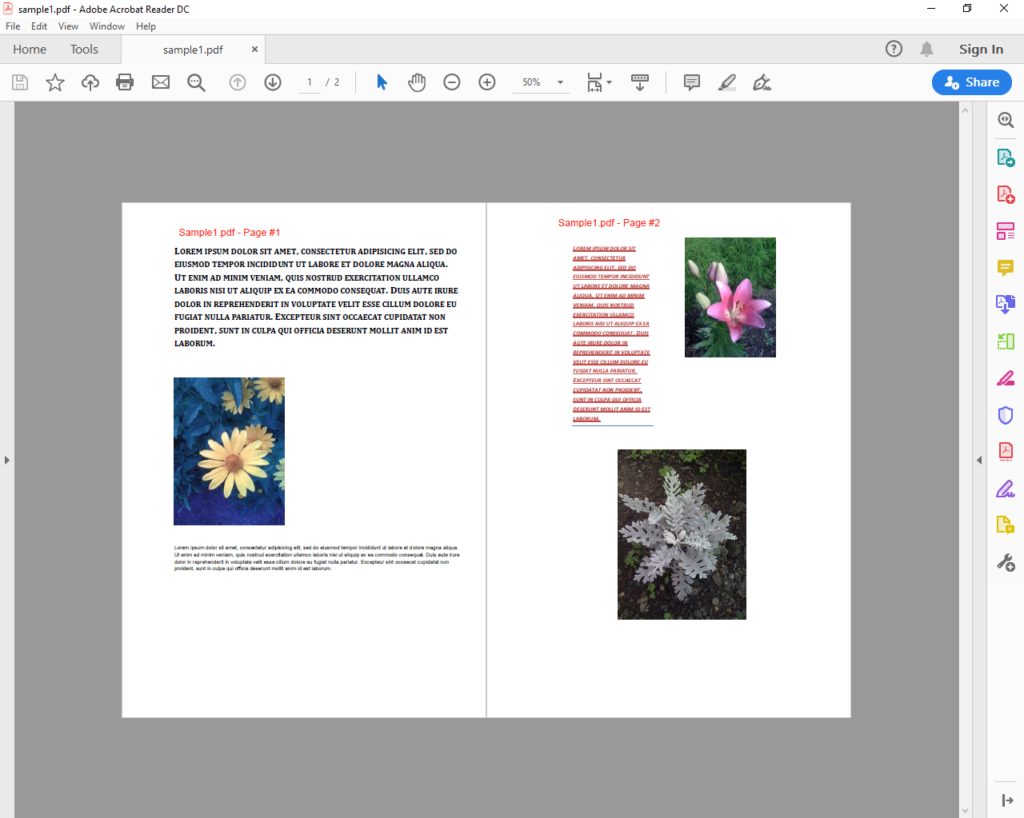
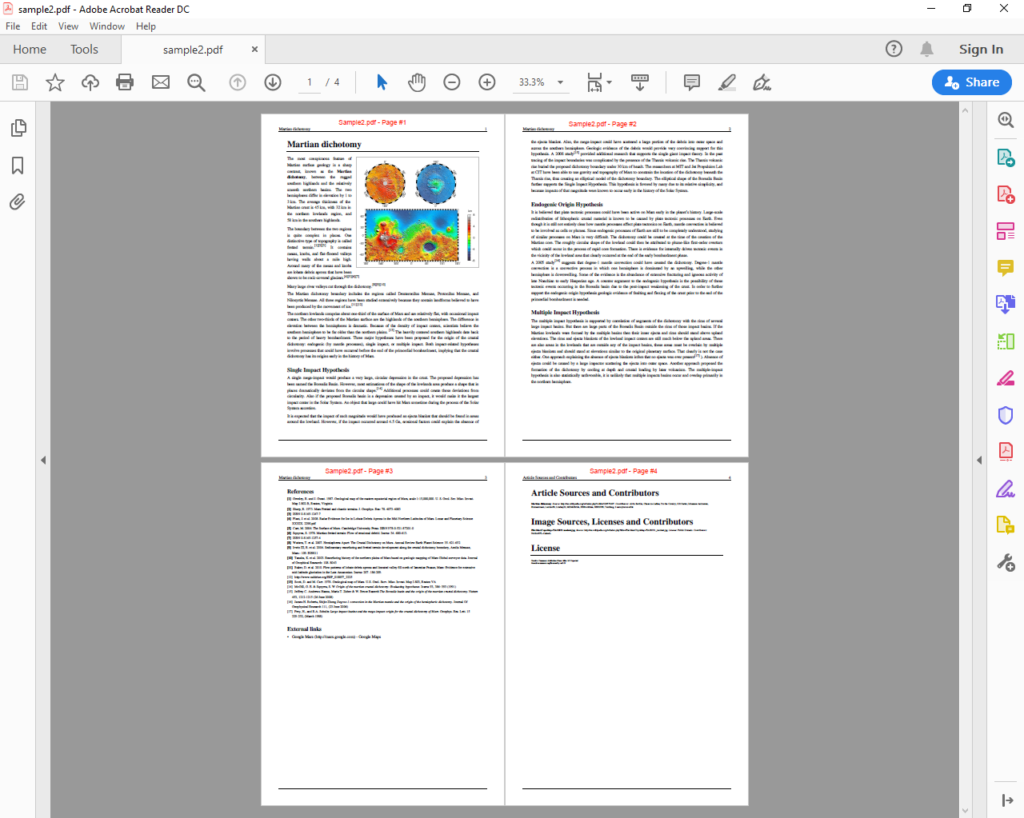
You can find all the pages from the input files inside the output file.
