Our ByteScout SDK products are sunsetting as we focus on expanding new solutions.
Learn More
Important Update
ByteScout SDK Sunsetting Notice
Our ByteScout SDK products are sunsetting as we focus on our new & improved solutions.Thank you for being part of our journey, and we look forward to supporting you in this next chapter!
RPA Tools – Template Scenario 9: How to Add a QR Code and a String to a PDF File Automatically
Learning a programming language to develop software is not the only option anymore. We are introducing ByteScout RPA Tools, a modern app builder that gives you the power to create.
With ByteScout RPA Tools, you can build a particular class application that can perform business automation tasks without human interaction required (aka “robot”).
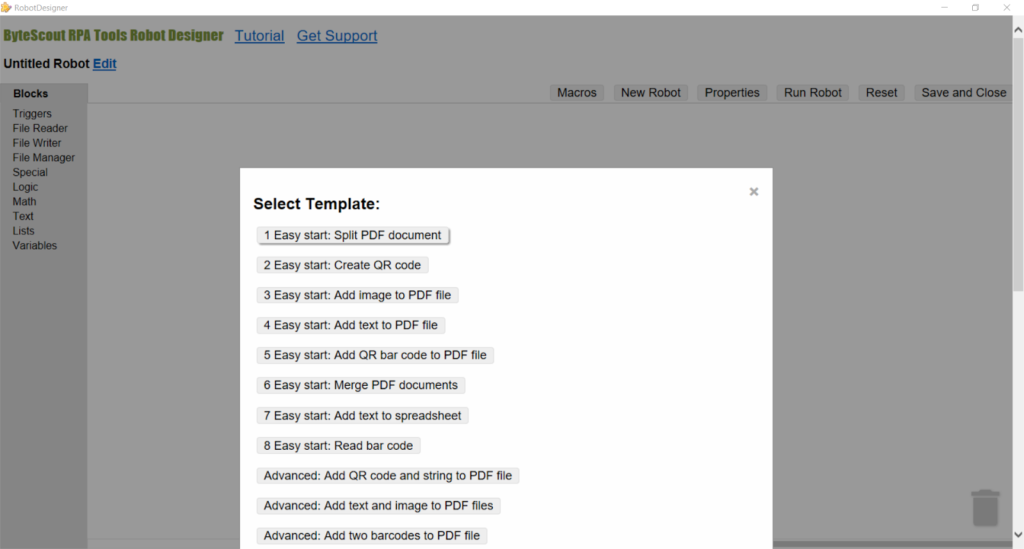
Using pre-built templates allows you to develop a new app from start to finish with no more than four clicks. All robots created this way can be altered to accomplish your business goals.
The reading of this article takes less than 10 minutes.
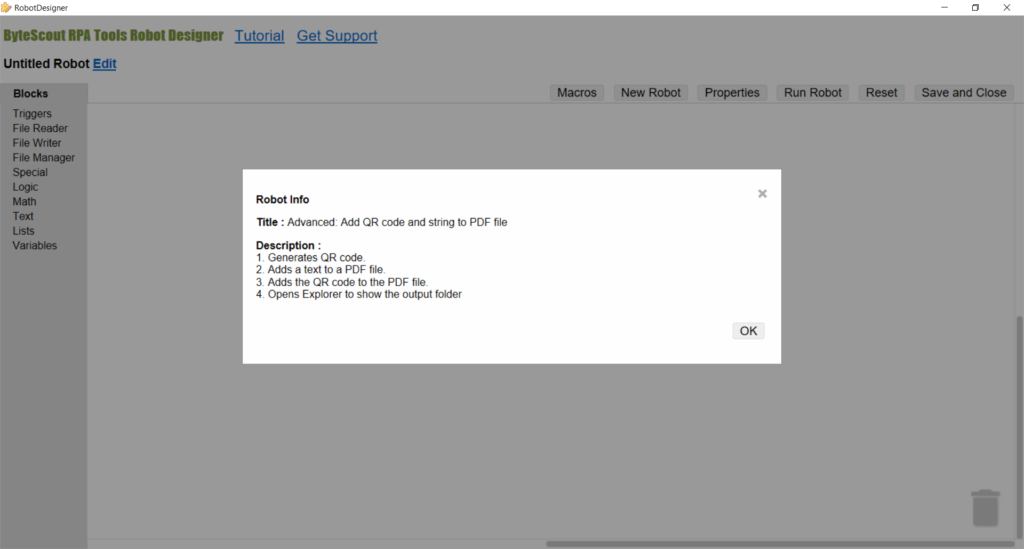
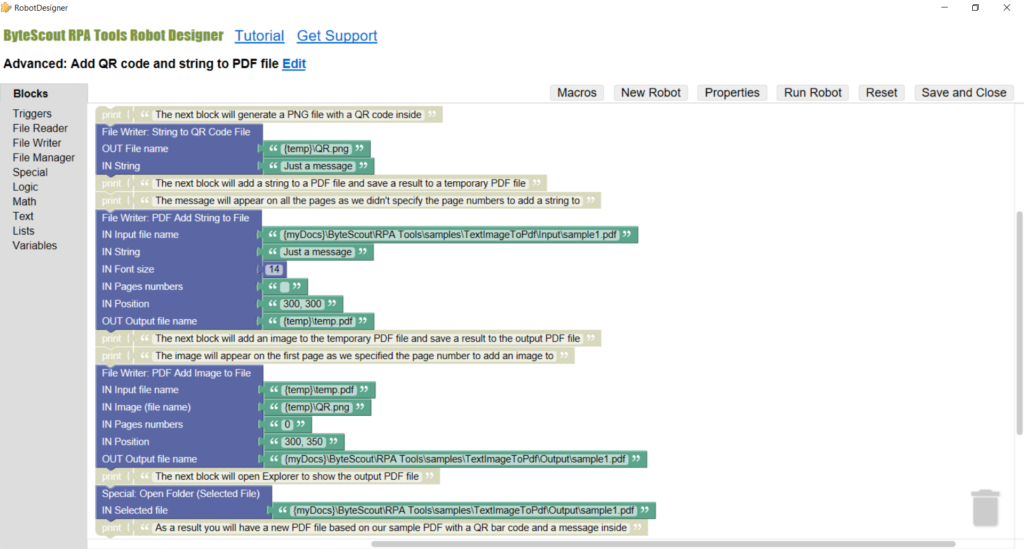
First, it creates a QR code and saves it to a temporary PNG file.
The “IN String” parameter defines the content of the QR bar code.
The “text” block with the “{temp}\QR.png” string defines the name of the temporary PNG output file. We used {temp} macro as a replacement for the path to the temporary folder.
Step 2
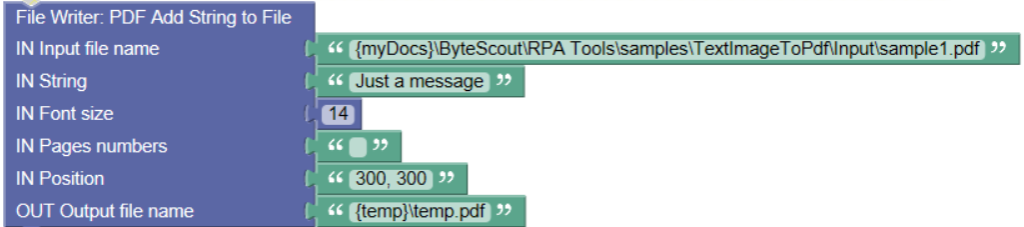
Next, it adds a string to an input PDF file and saves the result to a temporary output PDF file.
Again, the “IN String” parameter defines the line which the robot adds to the PDF document. We used the same text (“Just a message”) as for the QR code creation.
The font size for the line is 14.
The robot adds the line to each page as we did not specify the “IN Pages numbers” parameter (default behavior). Please note that we still need a “text” block connected to this parameter.
The position for the line of text is “300, 300” counting from the top left corner of a page.
The “text” block with the “{temp}\temp.pdf” string defines the name of the temporary PNG output file.
Step 3
And finally, the robot ads the image of the QR bar code from the temporary PNG file to the temporary PDF file. The final result goes to the Output folder.
We specified the page number for this block, and it is the first page (0-based numeration). If we wanted to add the same image to other pages, we could make a comma-separated list like “1, 2”.
The position on the page for the QR code is “300, 350” which is below the string.
The final result goes to “{myDocs}\ByteScout\RPA Tools\samples\TextImageToPdf\Output\sample1.pdf” where {myDocs} is a macro for the Documents folder on your computer.
(You can find all macros descriptions in a dialog window if you press the “Macros” button in the ByteScout RPA Tools Robot Designer.)
Service blocks
Third, there are some service blocks to show you the resulting file produced by this robot.
We used a blue “Special: Open Folder (Selected File)” block. It opens Windows Explorer so you can see the “Output” folder.
Commenting blocks
The commenting blocks are the grey “print” and “text” blocks.
They are disabled, which means that the robot is not going to execute them. The commenting blocks are here only for your attention.
How to run this robot
Now, as you have this robot created and displayed in the Designer, you can save it and close the Designer window using the “Save and Close” button.
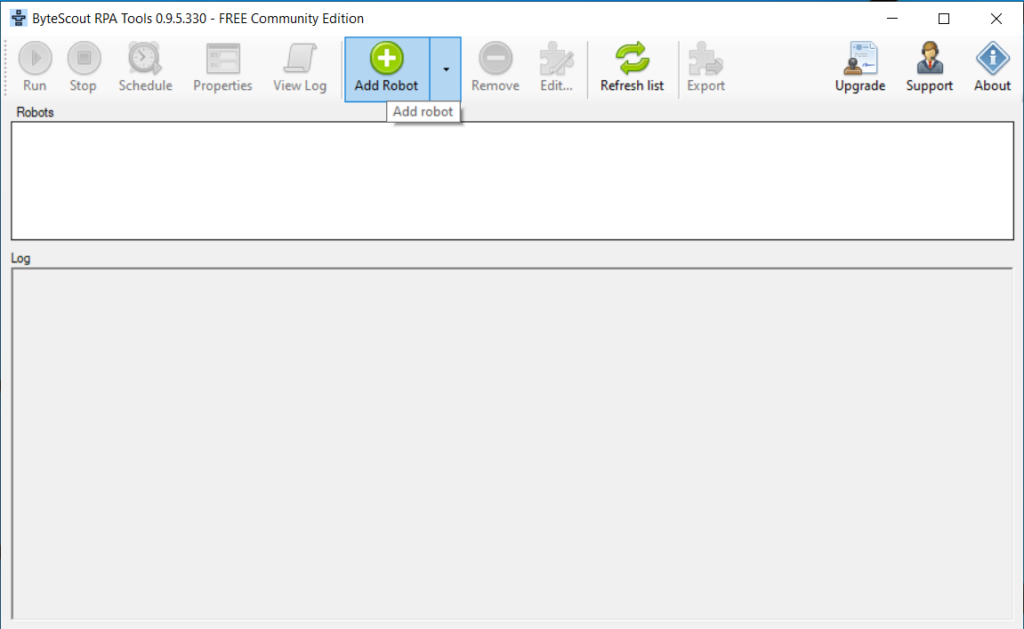
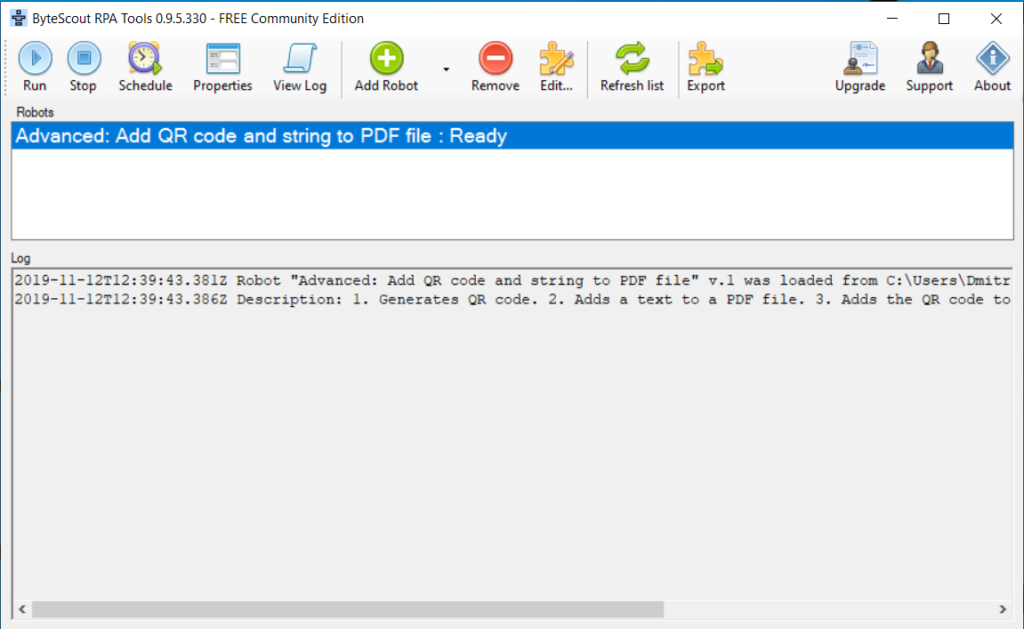
After saving, you can see the robot name in the “Robots” list of the RPA Tools application.
To run the robot, please press the “Run” button.
Results
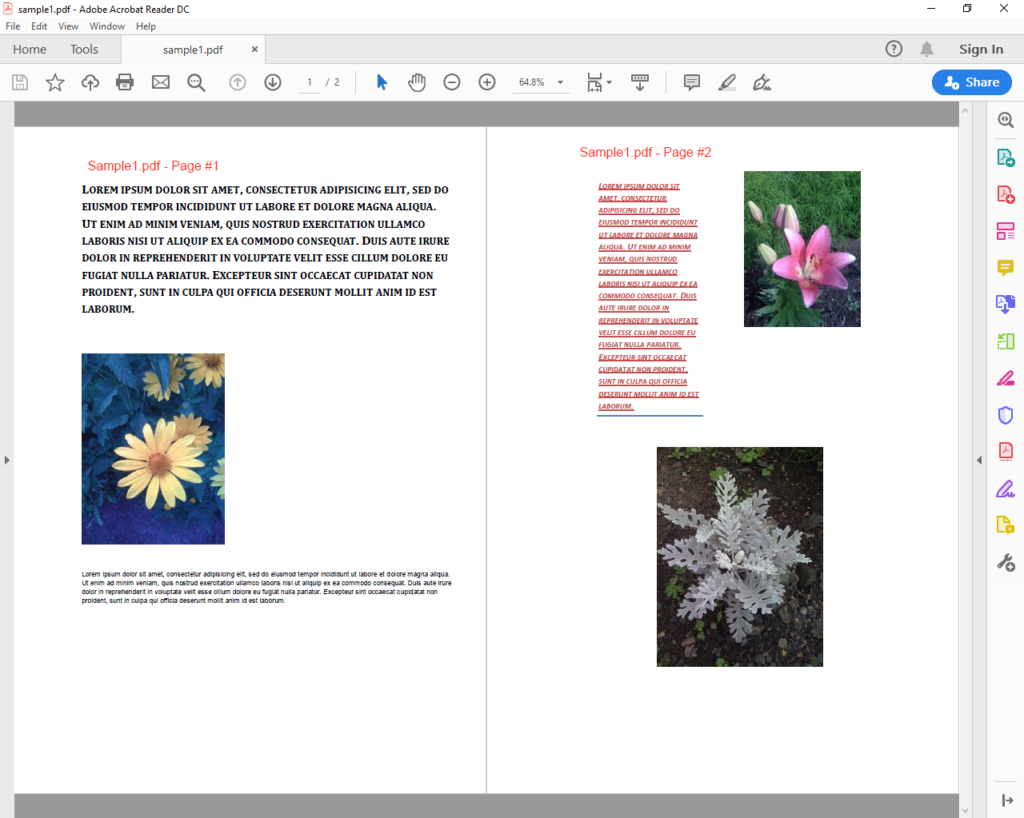
Here is the input file that we used for this robot.
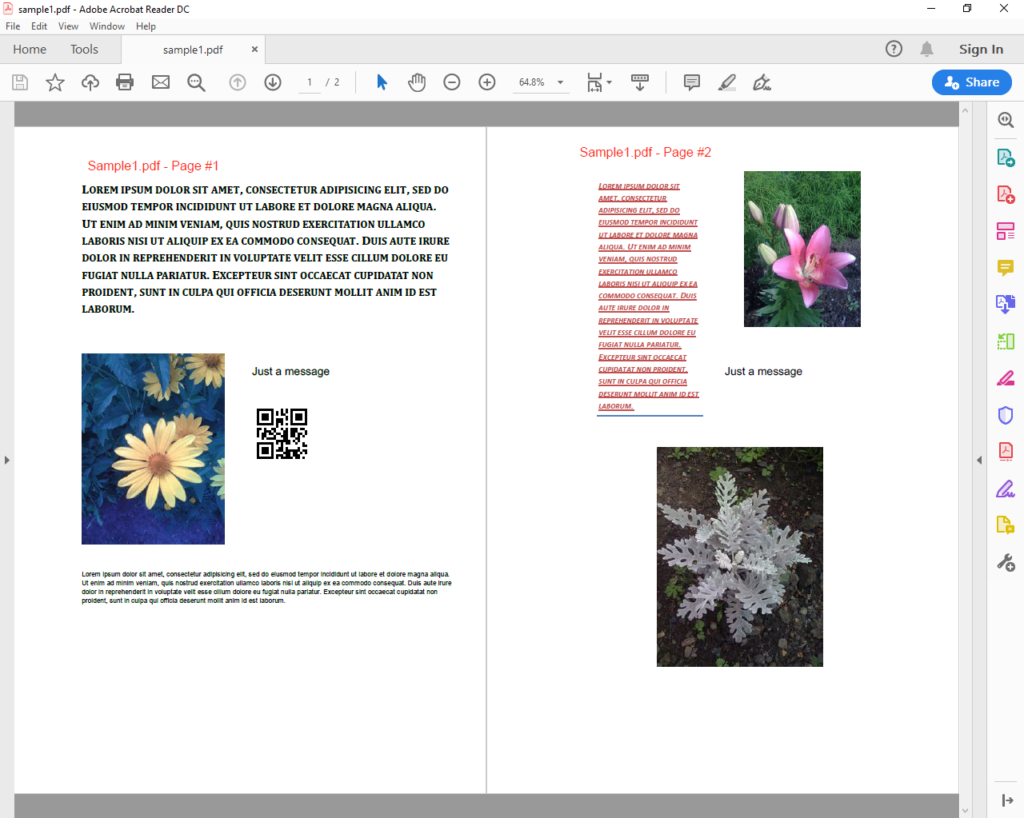
Here is the final output file created by the robot.
You can see that the robot added a string “Just a message” to each of the two pages of the PDF document. Also, you can find a QR bar code on the first page.