Our ByteScout SDK products are sunsetting as we focus on expanding new solutions.
Learn More
Important Update
ByteScout SDK Sunsetting Notice
Our ByteScout SDK products are sunsetting as we focus on our new & improved solutions.Thank you for being part of our journey, and we look forward to supporting you in this next chapter!
RPA Tools – Template Scenario 8: How to Read Bar Codes Automatically
For decades software developing was not straightforward because having programming skills like knowing a programming language was essential.
ByteScout RPA Tools is a modern app builder that gives you the power to create. You can use it to build an application that can perform business automation tasks without human interaction required (aka “robot”).
Pre-built templates allow you to build a new app with just a few clicks. Also, all robots created from templates can be modified to fit your requirements.
The reading of this article takes less than 10 minutes.
We offer this robot to show you how you can read bar codes using RPA Tools.
How to create this robot
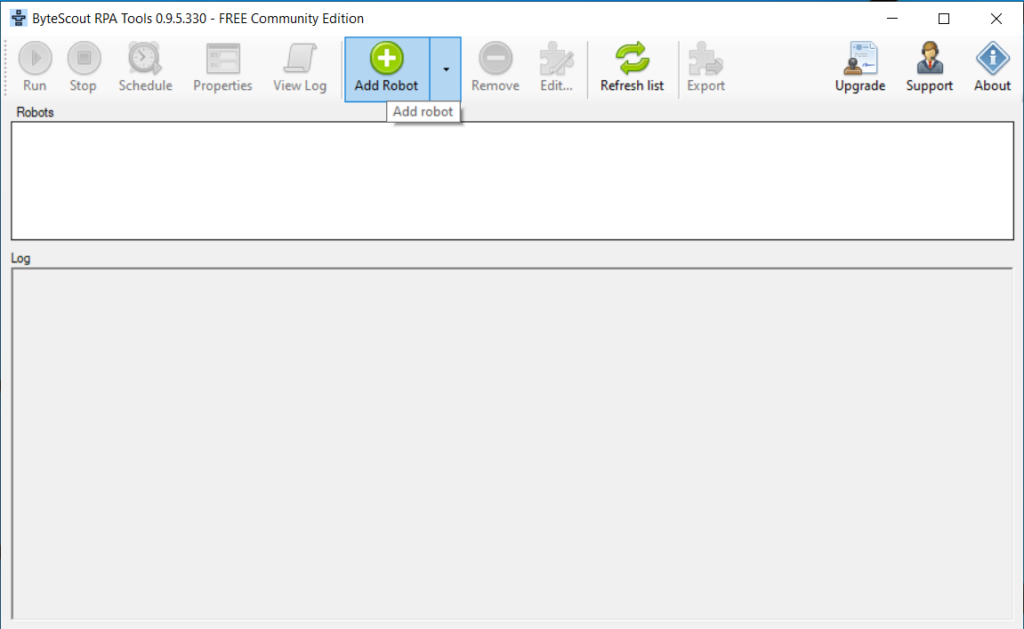
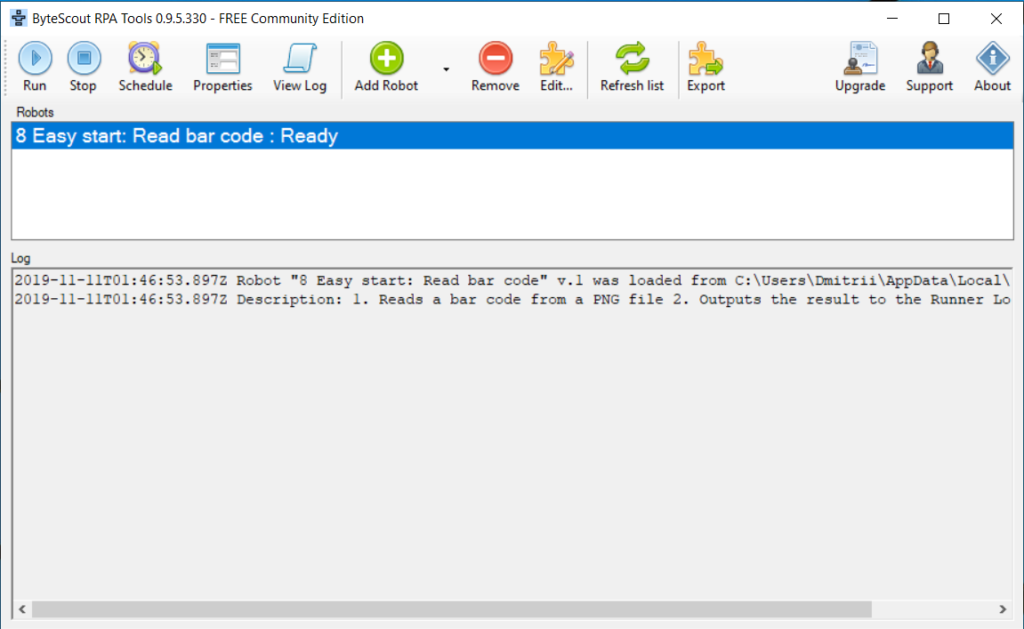
To create this robot, you need to open the RPA Tools application on your computer and press the “Add Robot” button.
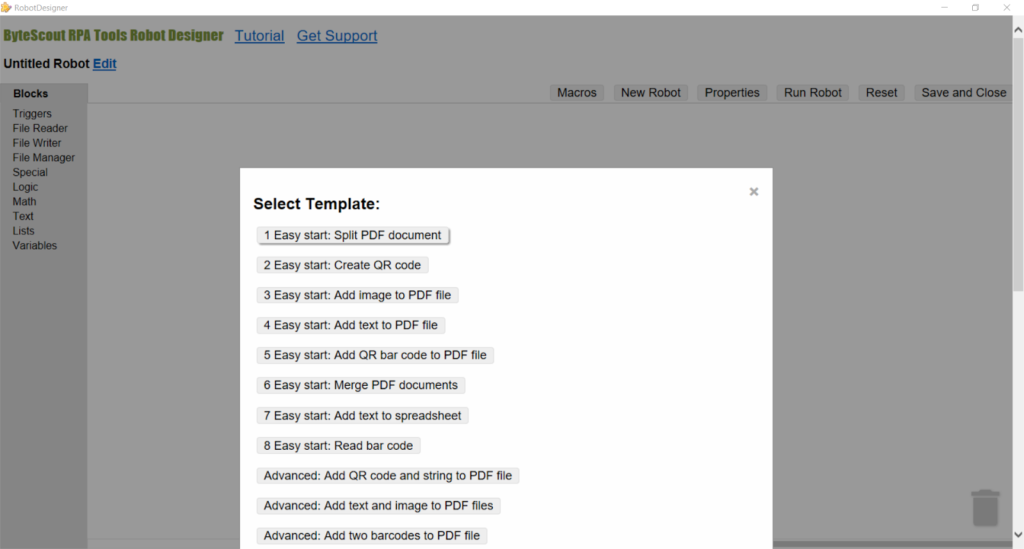
Then you can press the “8 Easy start: Read bar code” button in the “Select Template” dialog window.
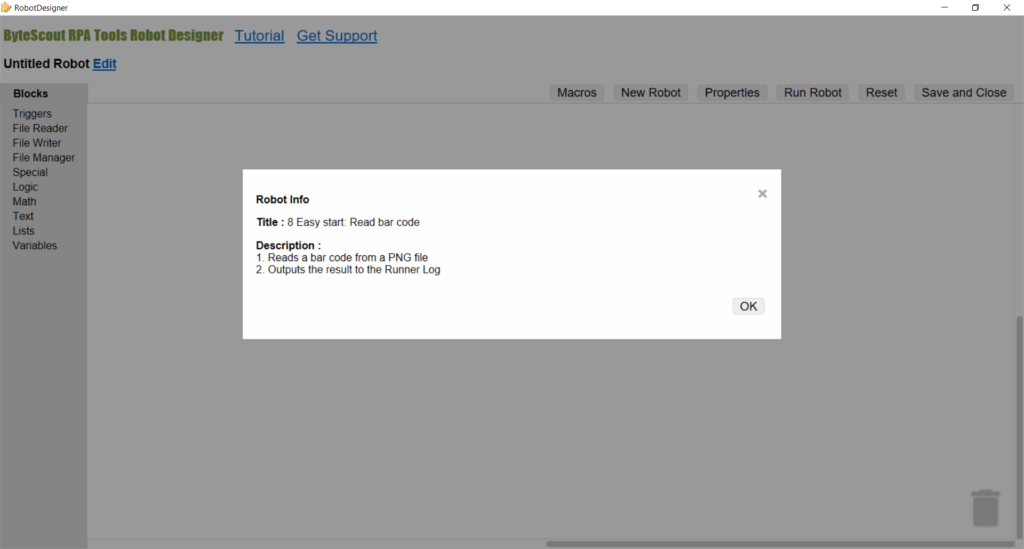
You can see the “Robot Info” informational dialog window. Please press the “OK” button.
Now you have the robot created and displayed in the Designer.
Robot information
This robot is quite simple. What does it do? It takes an input file and searches for any bar codes inside the file. If any bar codes found, the robot informs you. If there are any texts or tables inside the input file, the robot ignores them.
Core blocks
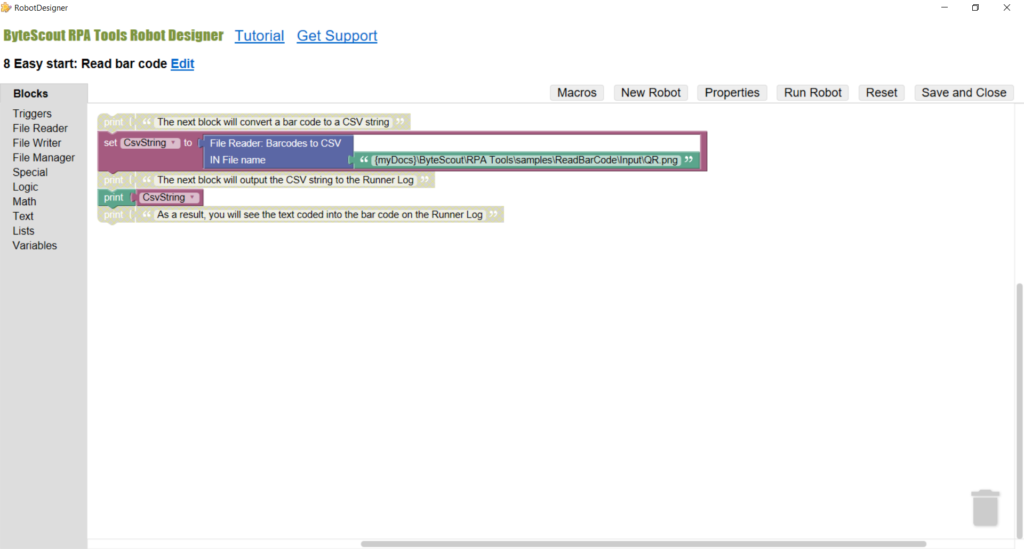
The three blocks on the picture below generate information about bar codes.
The block named “File Reader: Barcodes to CSV” takes a single parameter (“IN File name”). To be specific, the input file for this block can be PDF, PNG, or JPG. The block looks for bar codes inside the file and produces a CSV string for each bar code found.
The “set” block gives the CSV string a name (“CsvString”). Thanks to that, we can pass the CSV string to a “print” block as a parameter.
Service blocks
The service blocks are the green “print” block and the block with the “CsvString” name in it. Their purpose is to show you the SCV string produced by the “File Reader: Barcodes to CSV” block.
The “print” block outputs the CSV string to the Robot Log in the ByteScout RPA Tools main window. You can see the picture below in the Results section.
Commenting blocks
The commenting blocks are the grey “print” and “text” blocks.
They are disabled, which means that the robot is not going to execute them.
How to run this robot
Now, as you have this robot created and displayed in the Designer, you can save it and close the Designer window using the “Save and Close” button.
After saving, you can see the robot name in the “Robots” list of the RPA Tools application.
To run the robot, please press the “Run” button.
Results
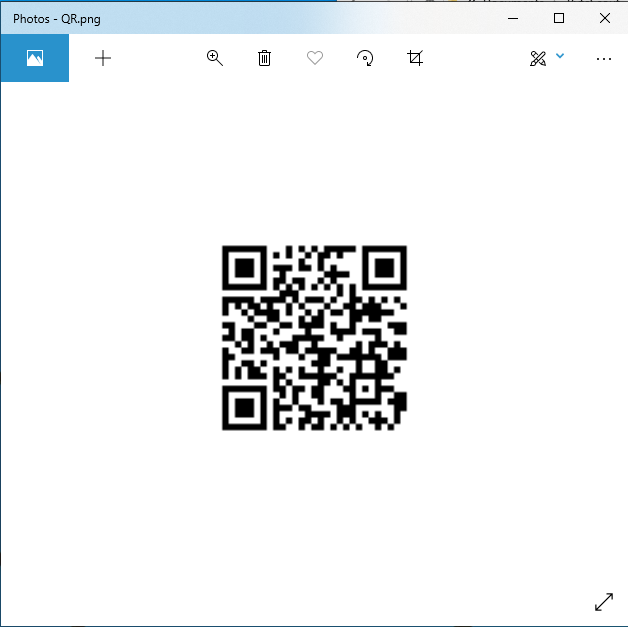
Here is the input file that we used for this robot.
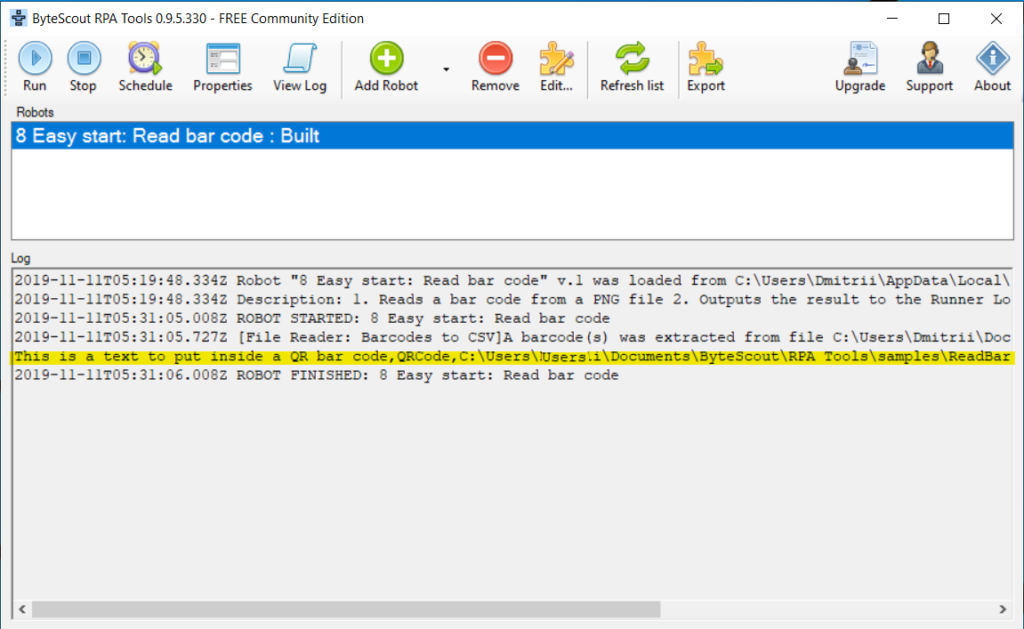
When we run the robot, we can see the information about the QR bar code that we passed to the “File Reader: Barcodes to CSV” block.
The line marked with yellow gives us three parameters. They are the string that the bar code contains, the type of the bar code, and the file name where the bar code found:
“This is a text to put inside a QR bar code,QRCode,C:\Users\User\Documents\ByteScout\RPA Tools\samples\ReadBarCode\Input\QR.png”