Our ByteScout SDK products are sunsetting as we focus on expanding new solutions.
Learn More
Important Update
ByteScout SDK Sunsetting Notice
Our ByteScout SDK products are sunsetting as we focus on our new & improved solutions.Thank you for being part of our journey, and we look forward to supporting you in this next chapter!
How to add embossed text to the picture using Bytescout Watermarking Pro
Bytescout Watermarking and Watermarking PRO are capable of watermarking pictures with embossed text Embossed Text watermark type.
NOTE: For more features like image effects please check Watermarking PRO version
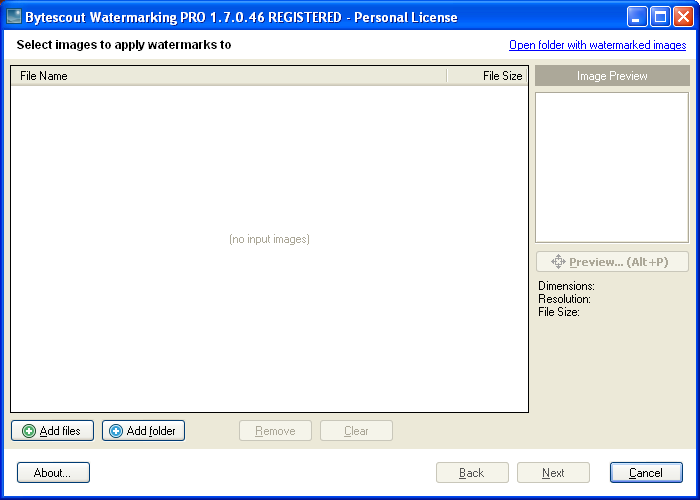
First of all let’s add input image files by clicking on “Add files” button.
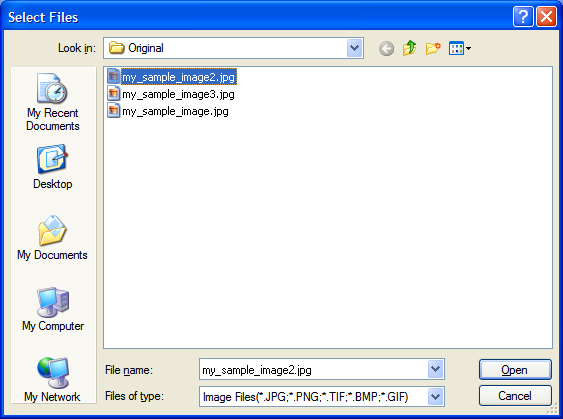
Select desired picture (or multiple pictures while holding CTRL or SHIFT button) and click Open button to use this image (or these images) as input:
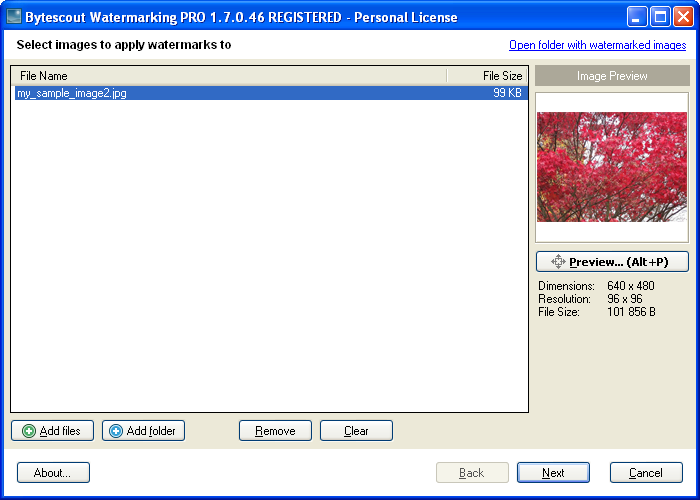
You’ll see that the image file has been added to the list of input images:
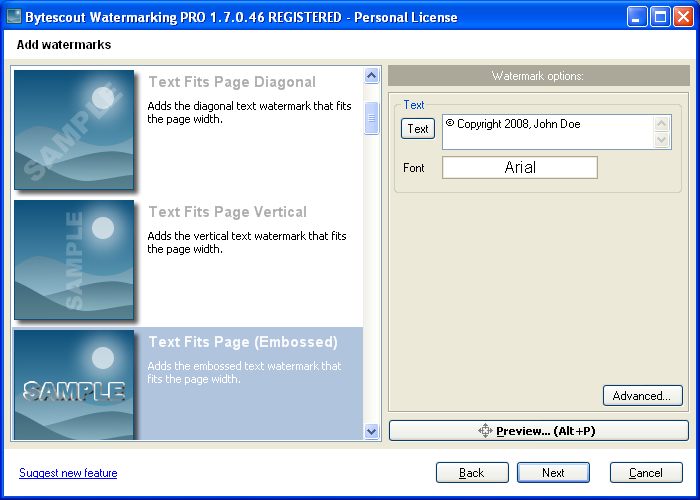
Now click the Next button. You can see a couple of watermarking presets and their options at the right panel.
Please select “Text Fits Page (Embossed)” preset and press Next button to continue
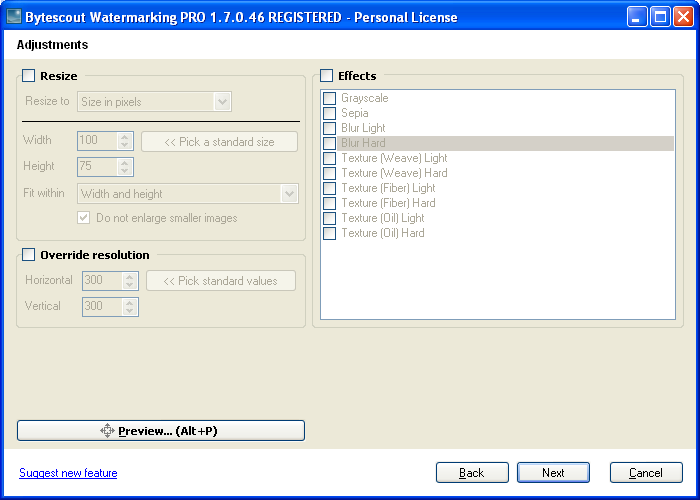
In Watermarking PRO version you’ll see the Adjustments page of the wizard where you can set the software to resize, change resolution, apply different image effects to the output image(s) to improve protection of the image.
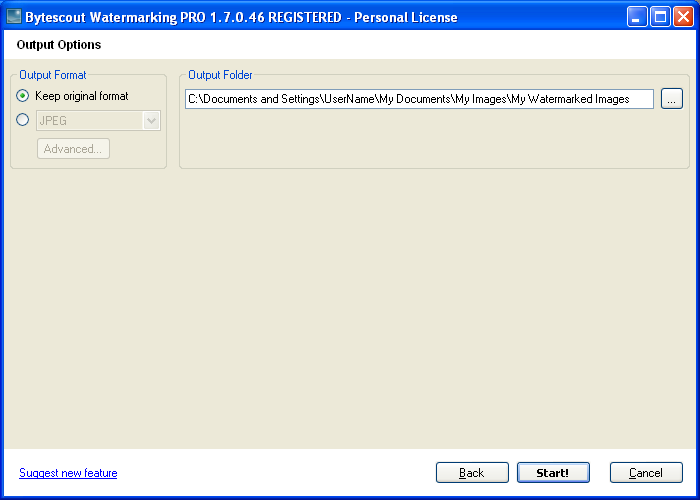
Click the Next button to continue
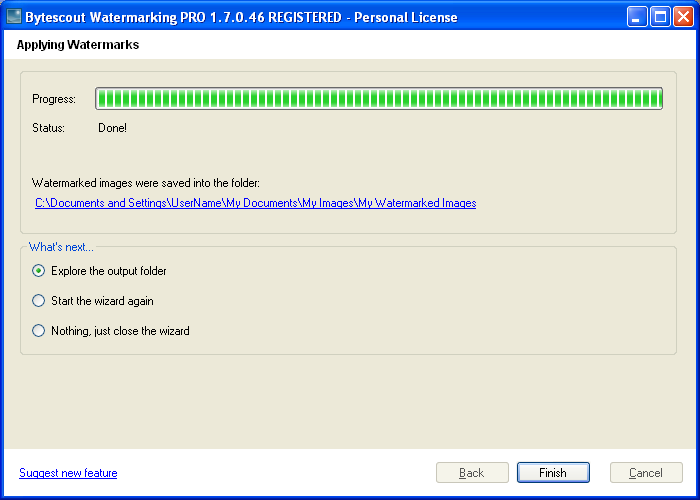
..and then click Start! button to finally process the image: