Our ByteScout SDK products are sunsetting as we focus on expanding new solutions.
Learn More
Important Update
ByteScout SDK Sunsetting Notice
Our ByteScout SDK products are sunsetting as we focus on our new & improved solutions.Thank you for being part of our journey, and we look forward to supporting you in this next chapter!
Digital watermarking for pictures using Bytescout Watermarking Pro
Digital watermarking is an effective way of protecting digital images from any unauthorized use. Digital watermark can be a text or picture added to digital image to provide image copyright protection. How to put digital watermark on an image? This tutorial will teach you how to protect your images.
Digital watermark can be easily added to an image using Bytescout Watermarking Pro software. Bytescout Watermarking Pro wizard will lead you through a few easy steps to add any digital watermark to your image. It has built-in set of ready-to-use watermarks types with text and logo images support.
Run the software:
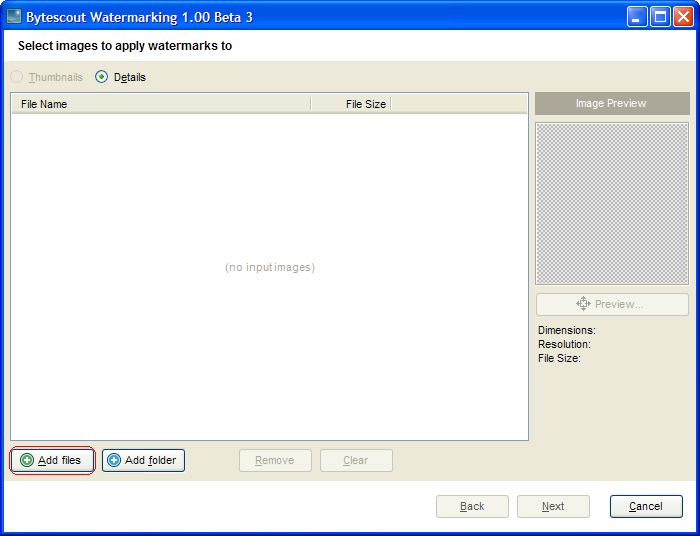
Click Add files button to select image(s) to apply watermarks to
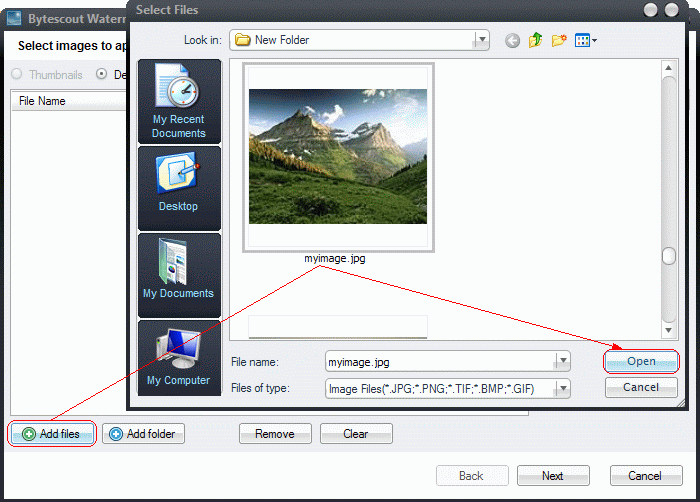
The first step is to select images to apply watermarks to. Use Add files button to add image file(s) to the list. Choose needed file(s) in a Select window and click Open.
Click Add files button to select image(s) to apply watermarks to
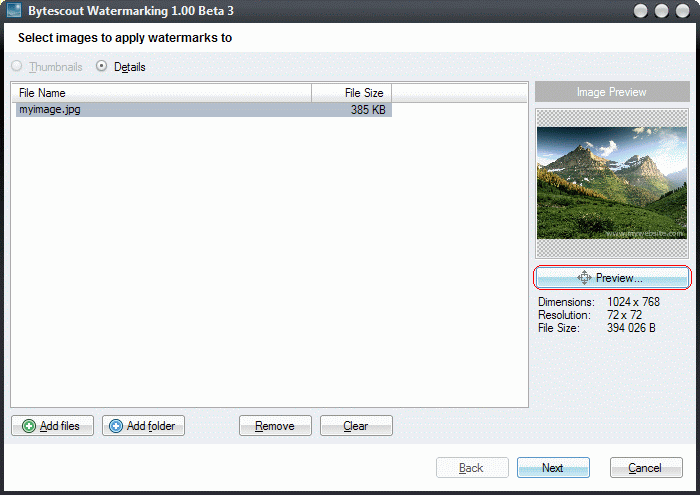
Click Preview button to see a full-screen preview of the image: Click Preview button to see a full-screen preview of a selected file from the list
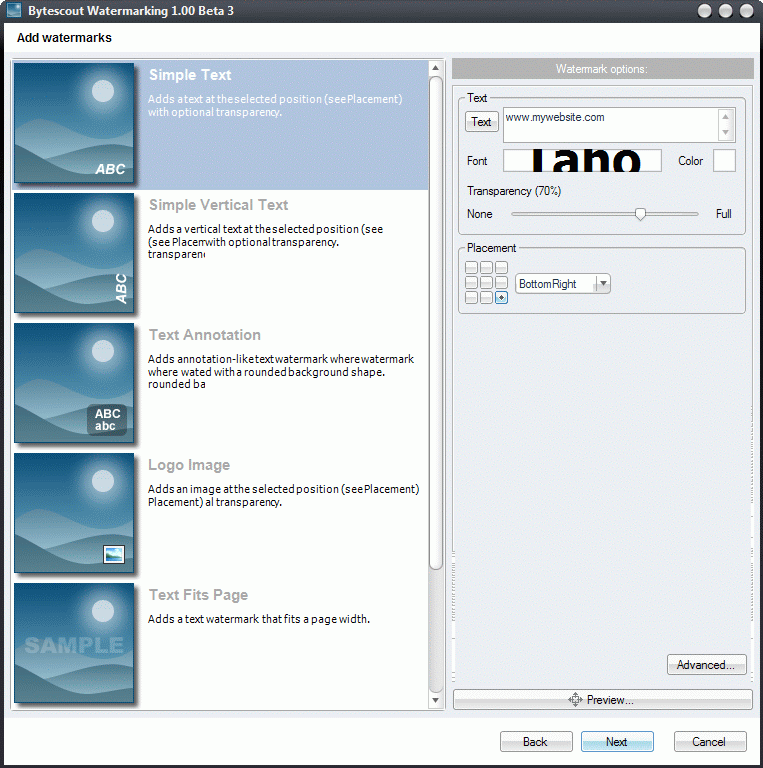
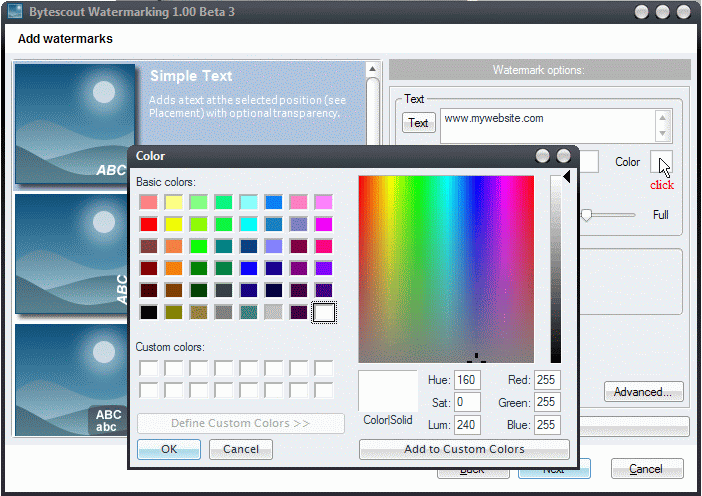
The second step is to select watermark type. Choose one of the five watermark types in the left half of the window:
Choose watermark color: click with the mouse on the color box to open color palette and choose color for text: Clicking color box brings up palette window
You can preview watermarked image using Preview button which brings up a full screen preview of your image. When you are satisfied with an image preview, click Next button.
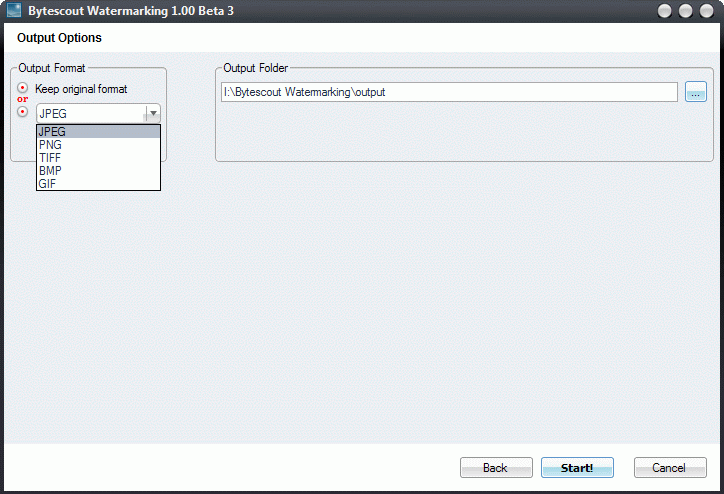
The third step is Output Options where you set output folder to save protected pictures into: Setting the Output format of a watermarked digital image(s)
Use Browse button to select an output folder or type a path manually.
When output options are adjusted, click Start! button to start processing image(s)
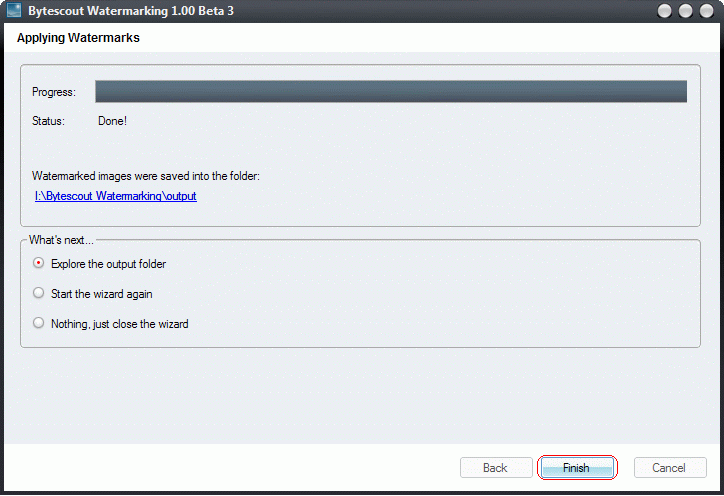
You’ll see the progress bar and current status of image processing: When applying watermark is done click Finish button
When the status is “Done!”, you can choose one of the next actions – Explore the output folder to view result images, Start the wizard again to watermark other images, or just close the wizard. Having made your choice, click Finish button.
Digital image watermarked using Bytescout Watermarking Pro: Bytescout Watermarking Pro software simplifies digital image watermarking and allows you to add stylish digital watermarks to any image to provide strong copyright protection.