Our ByteScout SDK products are sunsetting as we focus on expanding new solutions.
Learn More
Important Update
ByteScout SDK Sunsetting Notice
Our ByteScout SDK products are sunsetting as we focus on our new & improved solutions.Thank you for being part of our journey, and we look forward to supporting you in this next chapter!
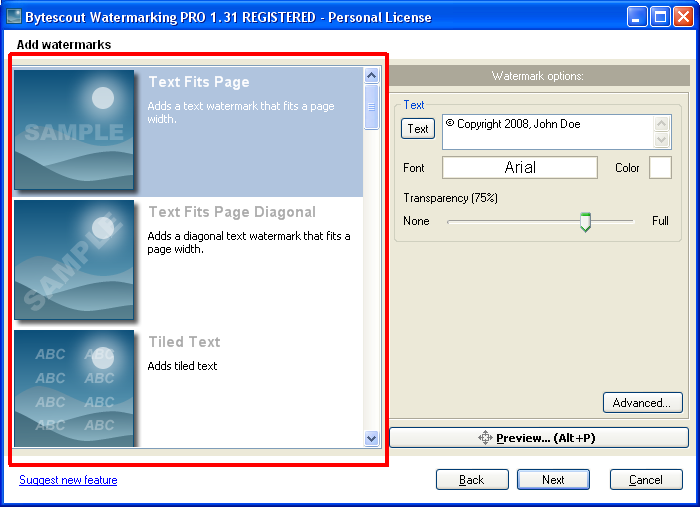
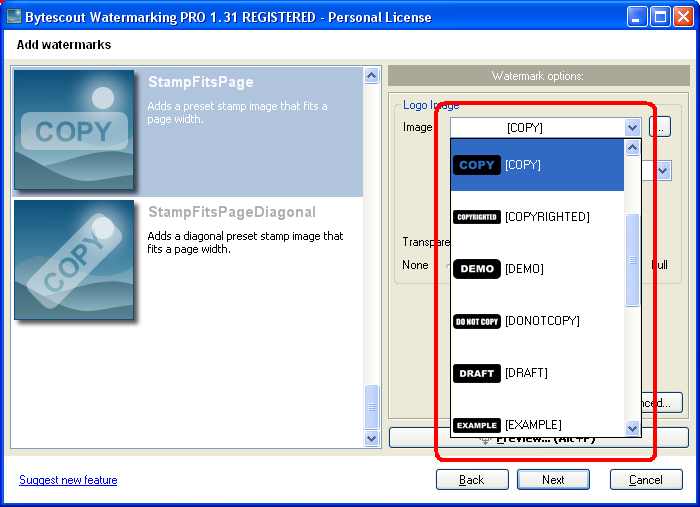
How to add COPY stamp to the image using Bytescout Watermarking Pro
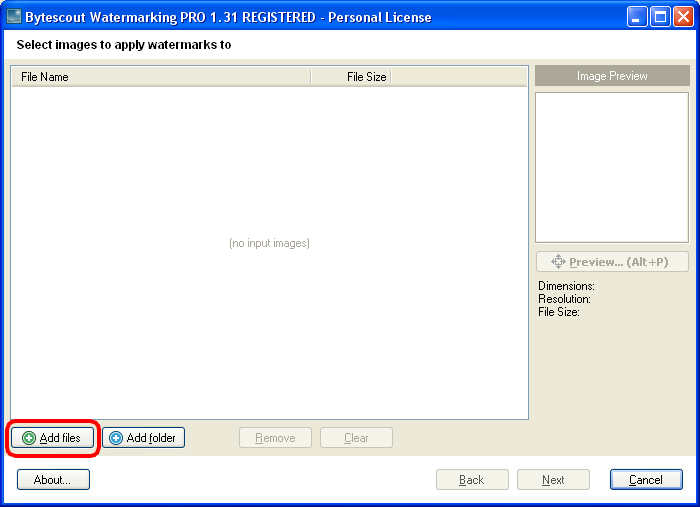
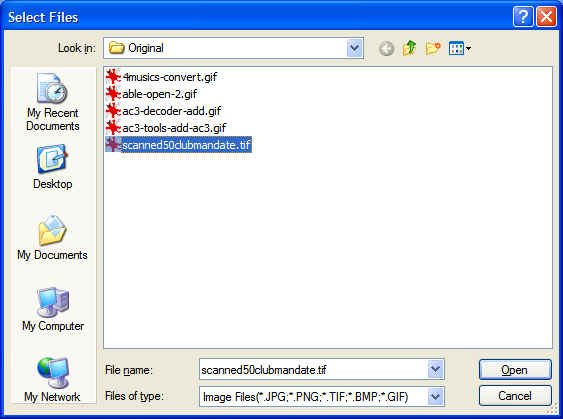
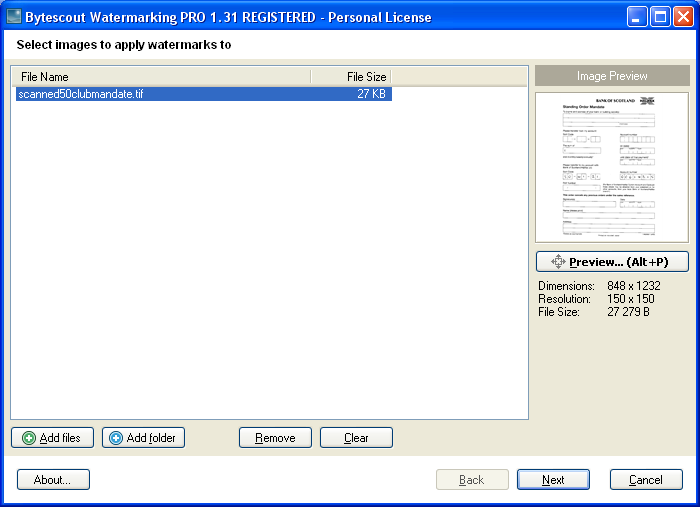
Bytescout Watermarking Pro is a tool to protect images and scanned documents (TIFF and other formats) with customizable text watermarks and ready-to-use stamps.
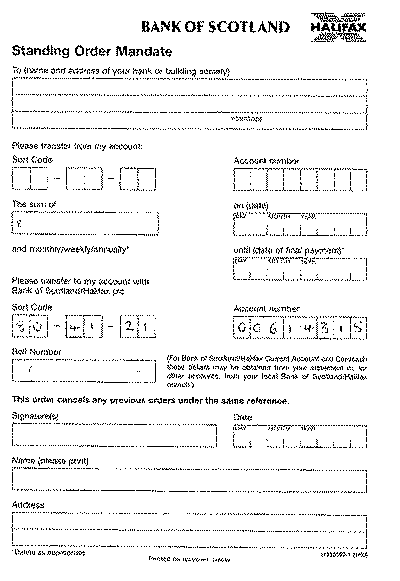
This tutorial demonstrates how to add semi-transparent “COPY” stamp to the TIFF document (1-bit CCIT compressed TIF image document).