Our ByteScout SDK products are sunsetting as we focus on expanding new solutions.
Learn More
Important Update
ByteScout SDK Sunsetting Notice
Our ByteScout SDK products are sunsetting as we focus on our new & improved solutions.Thank you for being part of our journey, and we look forward to supporting you in this next chapter!
Tutorial: how to add text watermark using free software like Windows Paint
Freeware Watermarking Software Tutorial: Add Watermark using Windows Paint
Digital watermarking is an easy way of providing image copyright protection. A digital watermark can be a text or picture added to the digital image with special image watermarking software or with graphics editors like MS Paint. How to watermark digital photos without watermark software? This tutorial will show you how to put watermarks on your digital images using freeware MicrosoftPaint (Windows built-in graphic editor). Just follow the steps below:
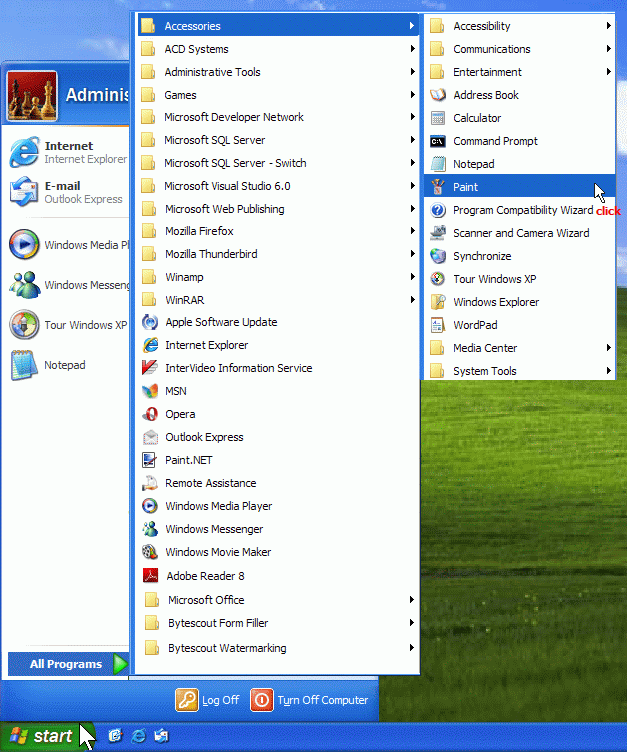
Microsoft Paint is a simple graphics editor program that is included with almost all versions of Microsoft Windows. To launch Paint, click on the Start Button, move the mouse up to the All programs folder. Then move the mouse up to the Accessories folder. Move mouse over the Paint icon, and click on it:
To launch Paint, click Paint icon in Windows’s start menu
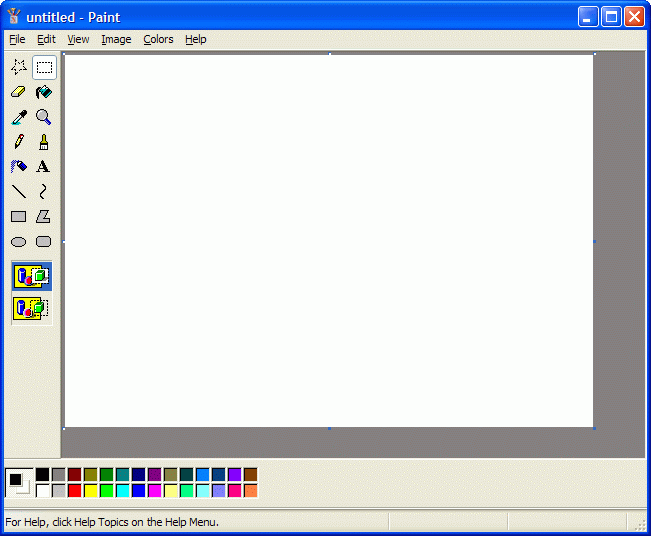
Paint will launch, opened to a new picture (blank). The Paint window will look like this:
Paint window
2. Open a Digital Picture
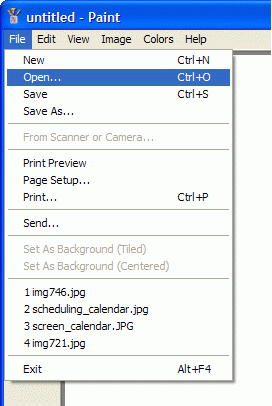
To open a digital picture to add a watermark to, click File to pull down a menu and then click Open. Or press the Ctrl+O button combination on the keyboard.
Click File | Open to open a picture file
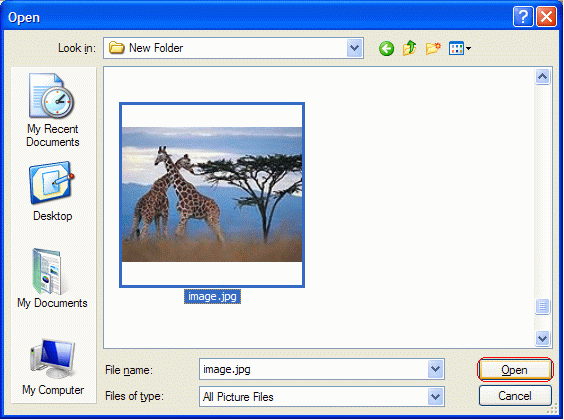
Clicking Open in the File menu will bring up the Open window. Select the necessary picture file and click the Open button.
Select a file in the Open window and click Open
3. Start Watermarking
Now your file is opened and you can start watermarking pictures. To add a text watermark over your picture, you should use the Text tool. To use the Text tool, select it from the toolbar.
Click to select Text tool
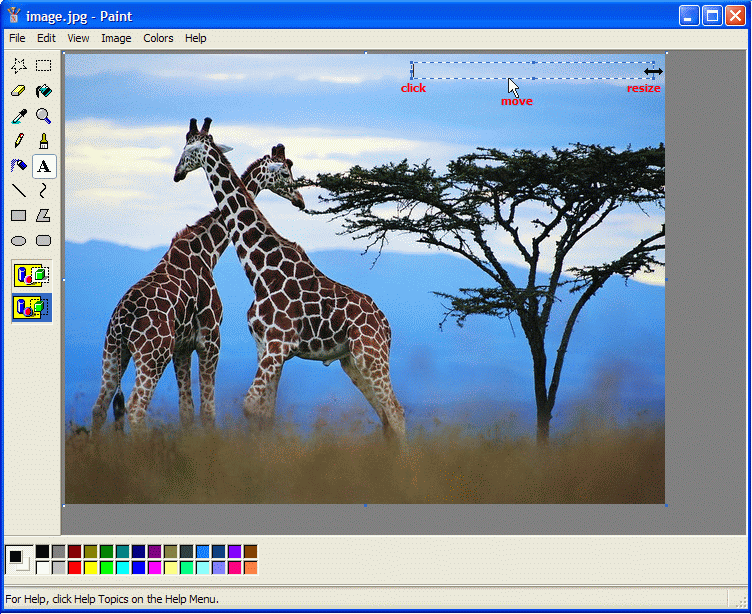
4. Click the Place Where to Watermark
Then click the place of your picture where you want to place a text watermark. You will see a rectangle which will be the boundaries of your text. You can move this rectangle around by clicking and dragging on its borders and resizing it by clicking on the tab buttons at the corners and midpoints of the edges.
Text boundary rectangle
5. Choose Your Watermark Style
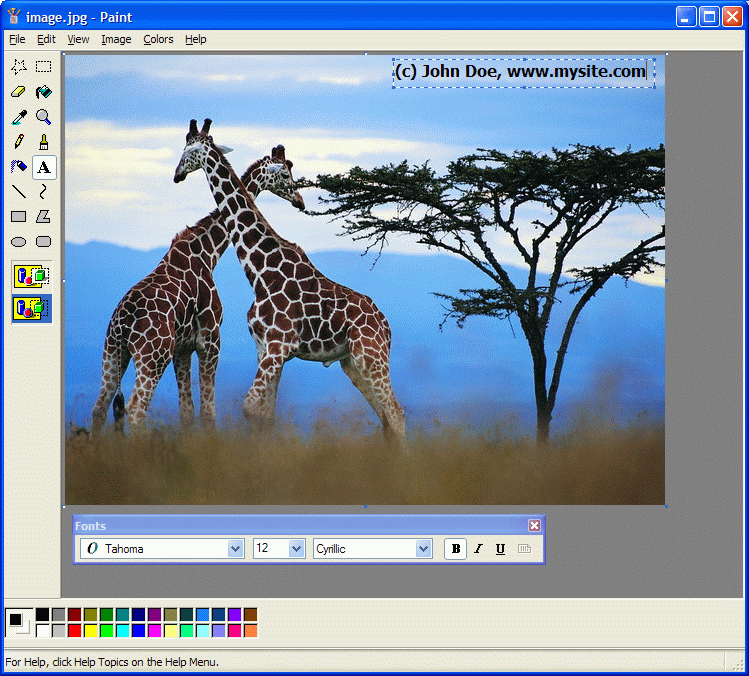
After drawing the text boundary, a floating Font window (AKA text toolbar) will appear. There you can choose the font name, size, and style (bold, italic, or underline).
Text toolbar
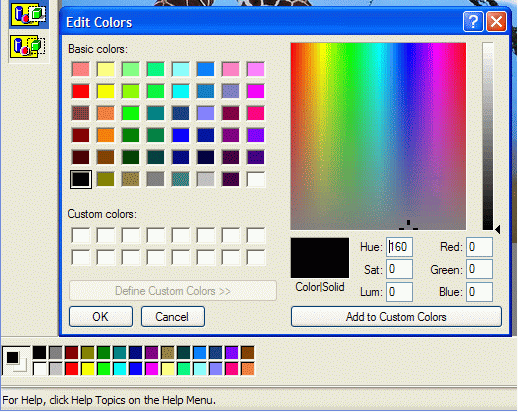
Text color can be chosen from the palette at the bottom of the Paint window by clicking the needed color box. If you want to define custom colors, double-click any color bow to open Edit Colors window.
Click palette to open Edit Colors window
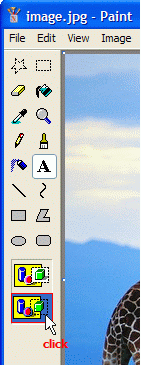
Also, the fill space within text boundaries can be of a background color (right-click any color box of a palette to choose background color) or transparent. To allow the image to show through behind the text, choose transparent filling as shown below (this style is preferable for text watermarks).
Click to set transparent text background
6. Type Your Watermark Text
So, now you can start typing your text. If needed, you can at first type the text and then adjust all settings as shown above. When you’ve typed the text and adjusted its options, click any place outside of the text boundary to finish editing.
Type your text inside of the boundary
Note After clicking outside of the boundary, text is not editable anymore! It will behave as common pixels which can be moved or erased but can’t be edited as text. So, make sure you’ve done everything to your liking before finishing. Also, be careful not to click outside of the boundary while editing your text.
Let’s see the watermarked picture:
Simple text watermark added using MS Paint
7. Add Watermark Settings
Also, you can make a text watermark fitting your picture so that it can’t be cropped. Just set a larger font size and place your text in the middle of the picture.
Text watermark fitting image size added using MS Paint
8. Add a Text Annotation Watermark
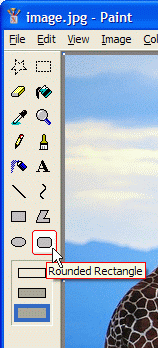
There is one more watermark type you can add using Paint – a text annotation watermark. To add such watermark over your digital photo, use the Rounded Rectangle tool. Select this tool from the toolbar:
Click to select the Rounded Rectangle tool
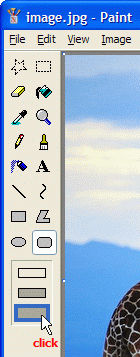
9. Pick Your Style
Then choose the necessary fill style for your rectangle – with empty outlines, filled outlines, or filled with no outline. I’ve chosen the latter.
Click to choose fill style
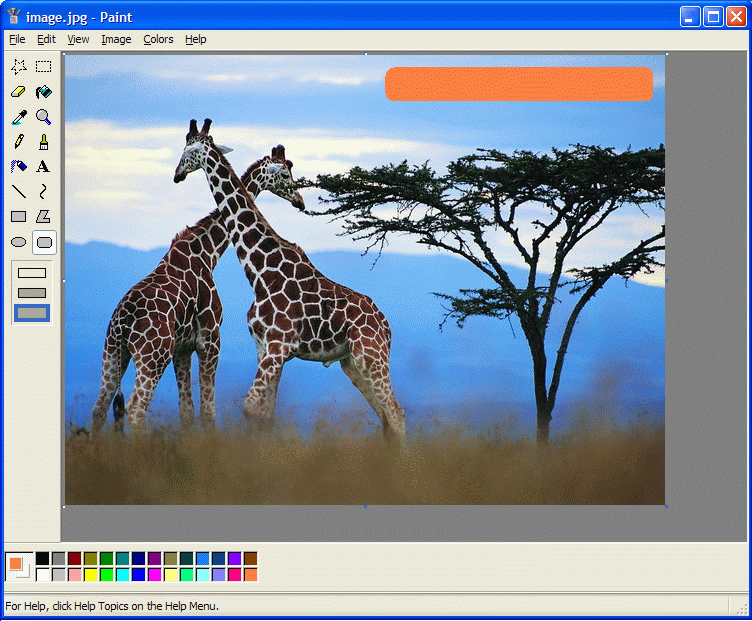
10. Choose the Location
Then draw a rounded rectangle. Click a place on the picture where you want the upper left corner to be, drag diagonally and release the mouse button where you want the lower right corner to be.
Draw a rounded rectangle filled with color
11. Type the Annotation Watermark Text
Then type your text inside of the rectangle, and you’ll get a text annotation watermark added to your picture.
Text annotation watermark added using MS Paint
The main advantage of MS Paint is that you can use it free of charge if you use Windows OS. But watermarking in Paint is not so easy and quick as in special photo watermark software.
Watermarks added with Bytescout Watermarking Pro does not interfere with the user experience of the image. Also, they look more elegant than Paint watermarks. But the main advantage of using special photo watermarking software like Bytescout Watermarking is that this software simplifies the watermarking process. Watermark can be added within a minute.
Also, Bytescout Watermarking can batch add watermark, so you can apply a watermark to multiple images simultaneously. If you spend money on watermarking software, you’ll never spend time and effort applying watermarks manually.
Adding Text and Stickers in Paint 3D
Paint 3D provides a lot of options that afford (Windows 10) users the privilege of utilizing stickers for their artwork. With a couple of tweaks, you can imprint stickers, textures, as well as, exciting shapes on your model or canvas.
About Paint 3D
Paint 3D is an upgrade of Windows paint developed by Microsoft’s Lift studio in London. Before now, a lot of free watermark software exists. 3D Paint software for windows is one of the leading printing and modeling applications improved with the windows 10 update.
It comes with View 3D, Holograms, 3D Builder, Windows Mixed Reality. It includes some features of the Microsoft paint and 3D Builder software to provide a light hybrid 2D-3D experience while editing. This affords window paint users to manipulate several shapes from their PC, the app, and the OneDerive service of Microsoft.
The text tool in paint 3D is easy to use. You can perform all the regular text customizations available in Ms. Paint in Paint 3D. These include changing of color, underlining or bold, creating small/large text. Not only that, you have the privilege of adding text to the image or making the 3D text pops out of the picture. You can engrave the text on the 3D object.
If you are developing your project from the onset or you are new to the process, you can check some tutorials on Youtube on how to add text in Paint 3D. Couple with that, you can also learn how to open local 2D and 3D images, and how to paint and incorporate 3D models.
Adding Stickers in 3D Paint
You can locate stickers in Paint 3D under the Stickers by the top of the paint windows. Selecting that will bring a new menu in the right section of the program. It is also possible to create customized stickers from an image.
You can add stickers to the 2D and 3D canvas and models following the same process.
Click a sticker from any category and draw it on the canvas to access the selection tool as in the picture below.
Then, resize and reposition the selected sticker. The task will be finalized after you hit the stamp button located by the right side of the box.
If you tap or click the ‘Make 3D’ button before you stamp the sticker, shape, or texture won’t be stuck to the canvas but would float off just like other 3D items.
Paint 3D Text
The text tool, which you can access from the Text icon at the top menu is where you can learn how to add text in paint 3D (2D and 3D text). You can also learn how to edit a text box in paint 3D as well.
You can tap and drag any location on the canvas to open the text box that you want to write in after picking one of the tools. The text options by the right allow you to adjust the text size, type, color, alignment, and more.
The 2D text tool permits you to implement a background fill color if you desire to add color at the back of the text.
Utilize the selection box for text rotation and adjustment of size and position of the box to customize the flow of the text. If utilizing 3D text, you can place it in a 3D style, like in front or behind other 3D items.
Note:
You can manipulate the style, color, and text based on the character. This makes it possible to highlight a portion of the word in a bid to change that selection.