Our ByteScout SDK products are sunsetting as we focus on expanding new solutions.
Learn More
Important Update
ByteScout SDK Sunsetting Notice
Our ByteScout SDK products are sunsetting as we focus on our new & improved solutions.Thank you for being part of our journey, and we look forward to supporting you in this next chapter!
Batch watermarking for photo, pictures and images using Bytescout Watermarking Pro
Batch watermarking is adding a robust text or image watermark to 2 or more pictures at the same time. Digital watermarking is the only effective way of preventing people from using your photos, pictures or images without your consent.
How to batch add watermark on photo and images? This tutorial will show how to batch add text or image watermark to a set of pictures.
Batch photo watermark can be easily added to as many photos as you want with Bytescout Watermarking Pro software. Of course image watermark can be added using such picture processing tool as Photoshop, but there are some disadvantages: it takes much time to process a large group of images and requires some previous experience and special knowledge to add watermarks in Photoshop or other tools.
Specialized batch watermarking tool such as Bytescout Watermarking Pro has an easy-to-use wizard based interface which simplifies batch watermarking and doesn’t require any experience to work with. Also it enables you to process multiple images in a few seconds. You can batch add watermark in nearly 3 easy steps.
Run the software
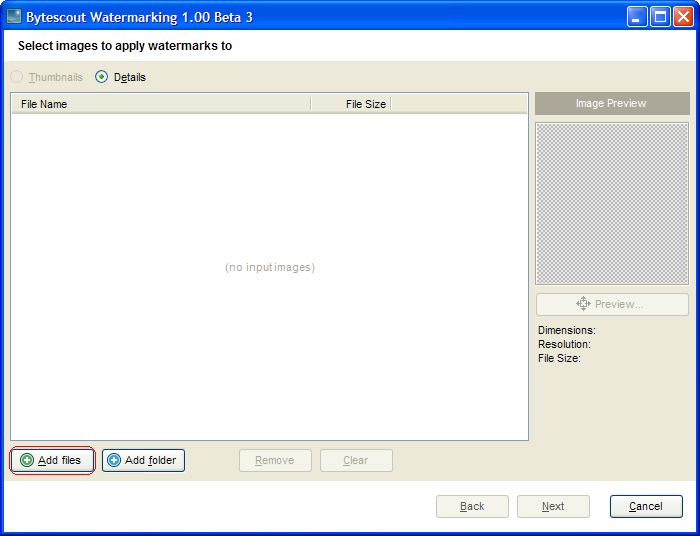
Click Add files button to select image(s) to apply watermarks to
The first step is to select images to apply watermark to
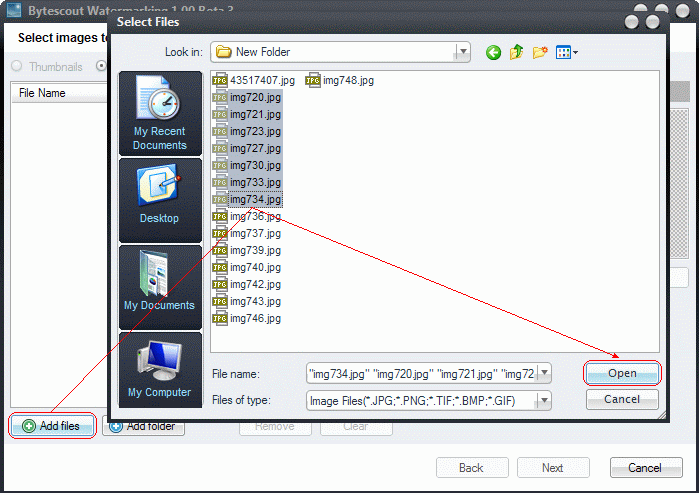
You can add multiple pictures by selecting them in Add Files dialog (click Add Files button):
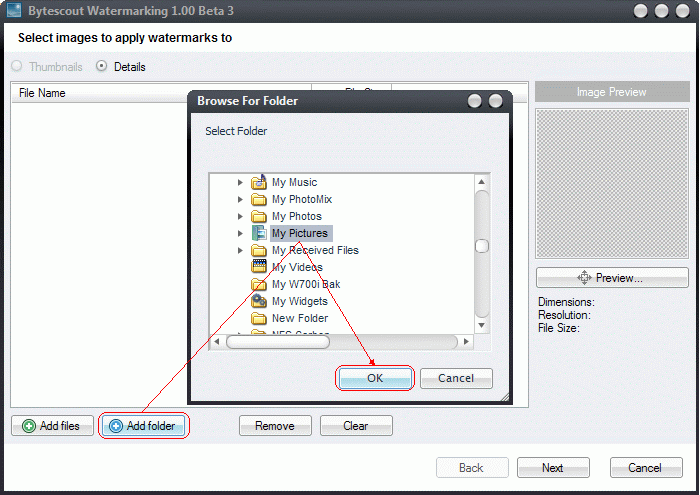
Or add entire folder with images:
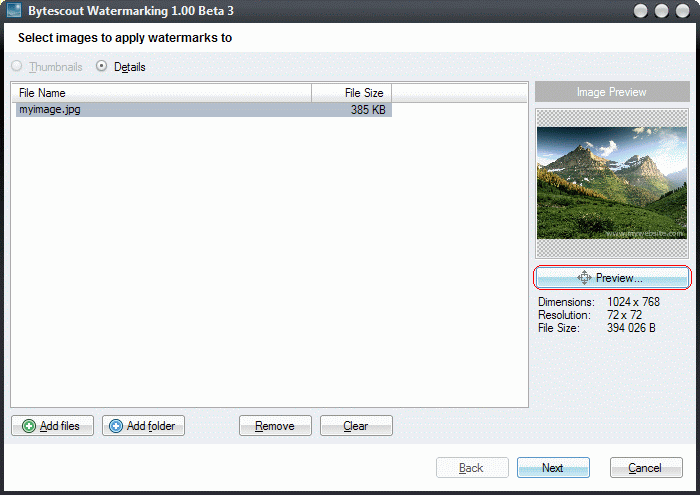
You can click any file name in the list to select it and see a small image preview in the Image Preview box. Click Preview button to see a full-screen preview of the image.
Click Preview button to see a full-screen preview of a selected file from the list
Click Next
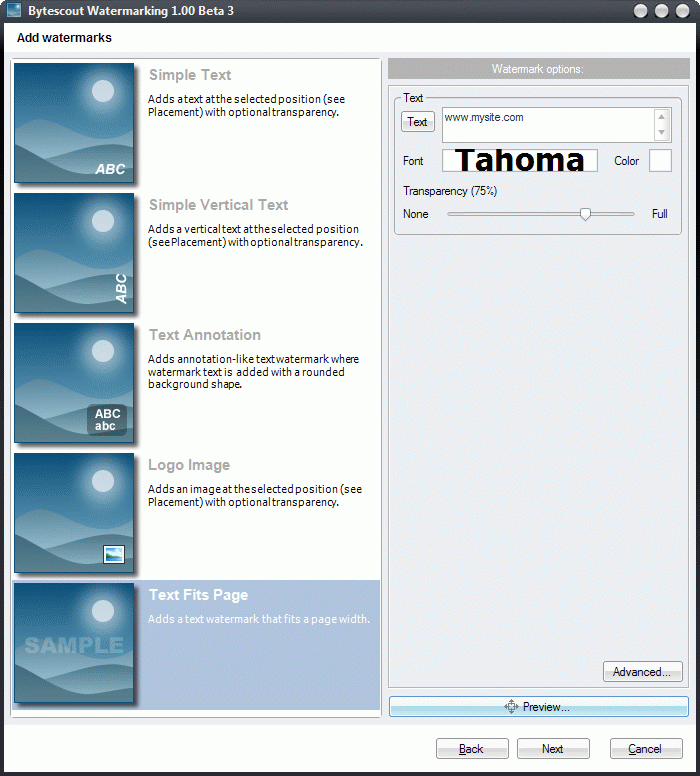
The next step is to select watermark type and adjust default properties (if needed):
Watermark type selection step
Select “Text Fits Page” type watermark so the software will add semi-transparent text watermark to each input image
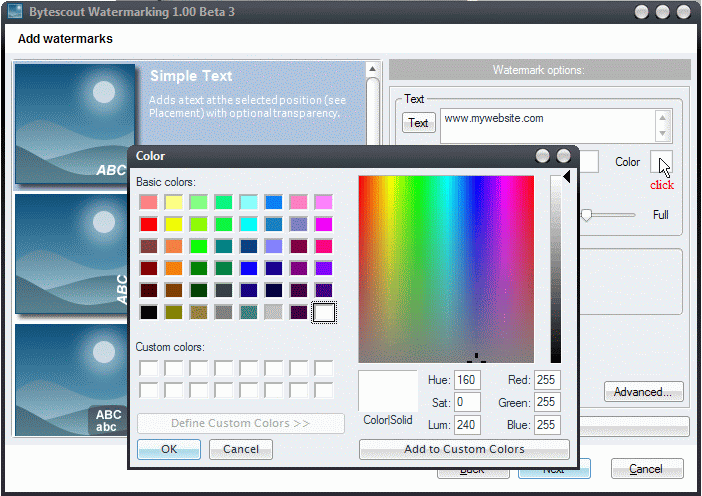
Choose text watermark color by clicking mouse on the color box to open color palette and choose an appropriate color:
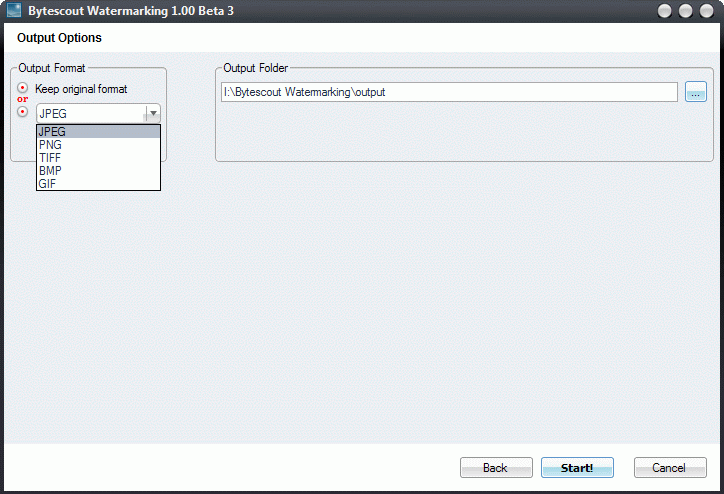
When adjustments to watermark options are done click Next to go to the 3rd final step:
Change default folder by clicking Browse and click Start! to batch watermark images.
Applying Watermarks is the last step of the wizard. You’ll see the progress bar and current status of images processing.
When the status is “Done!”, you can select one of the next actions: – Explore the output folder to view result photos, – Start the wizard again to watermark other photos, – or just close the wizard.
Select “Start the wizard again” if you want to add watermark to another set of images or photo files
Digital watermark is placed over all selected images. Bytescout Watermarking Pro software makes batch image watermarking extremely easy and allows you to batch add watermark to protect all your images from online thieves and other kinds of unauthorized use within seconds
Digital images watermarked with Bytescout Watermarking Pro