Bytescout Watermarking Pro allows to apply logo image or logo image with text to digital pictures as a protective watermark.
In Bytescout Watermarking Pro, both Logo Image and Logo with Text presets offer transparency settings for logo image to be applied.
This tutorial will show you how to adjust logo image transparency.
Run Bytescout Watermarking Pro and select image files to be watermarked.
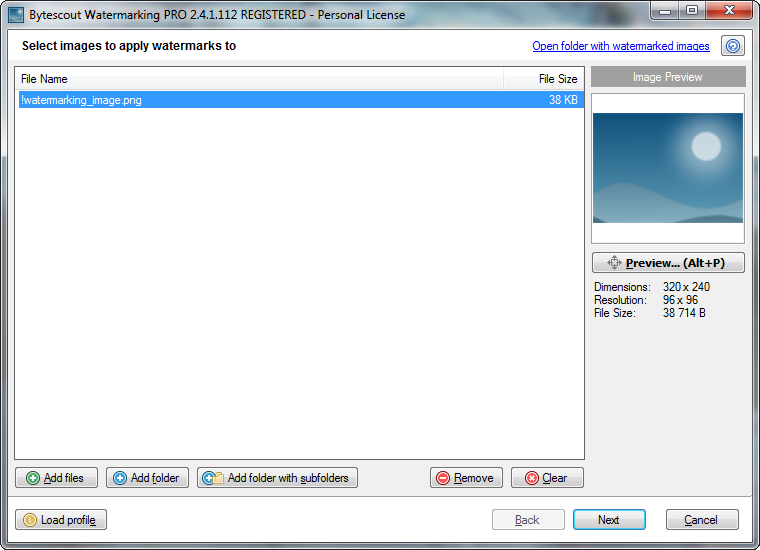
Click Next and select Logo Image preset from the list of available presets.
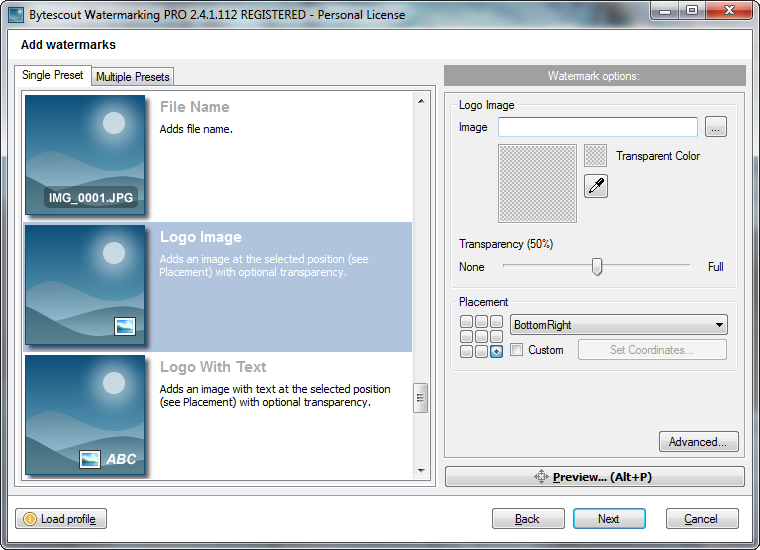
Browse the logo image you want to apply as a watermark. You can use JPG, PNG, TIF, BMP, GIF logo images as protective watermarks.
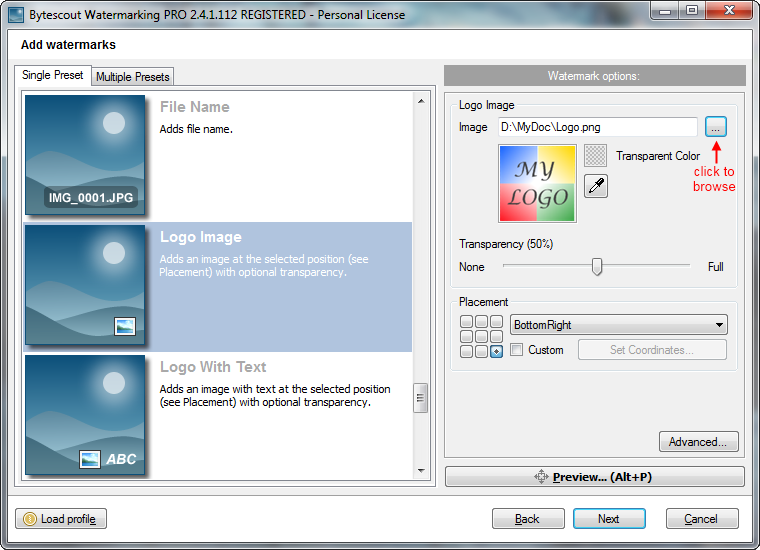
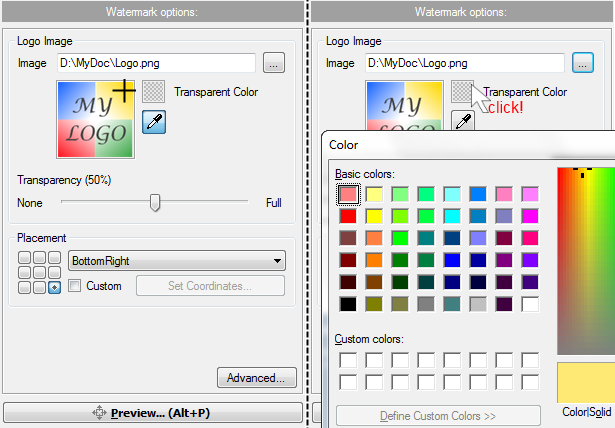
Under the logo preview you can see Transparency slider which allows to adjust logo image transparency. Drag the slider to set optional transparency from none to full.
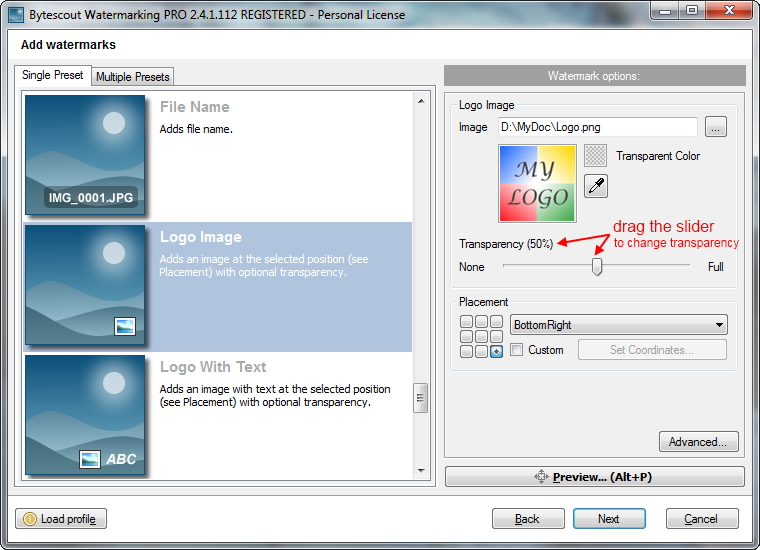
You can also set transparent color for your logo image. Use eyedropper tool to select needed color or click color box to select color from the palette.
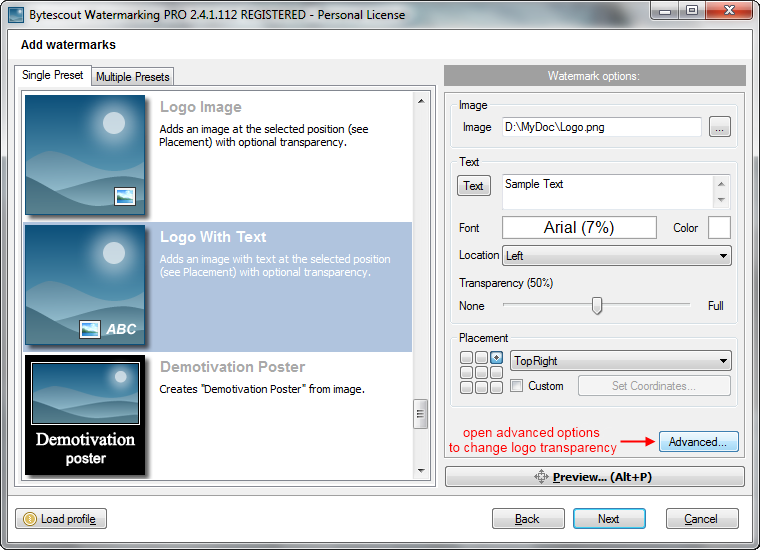
Logo transparency can be set in Logo With Text preset as well. When selecting Logo With Text watermark preset, click Advanced button to access logo transparency settings.
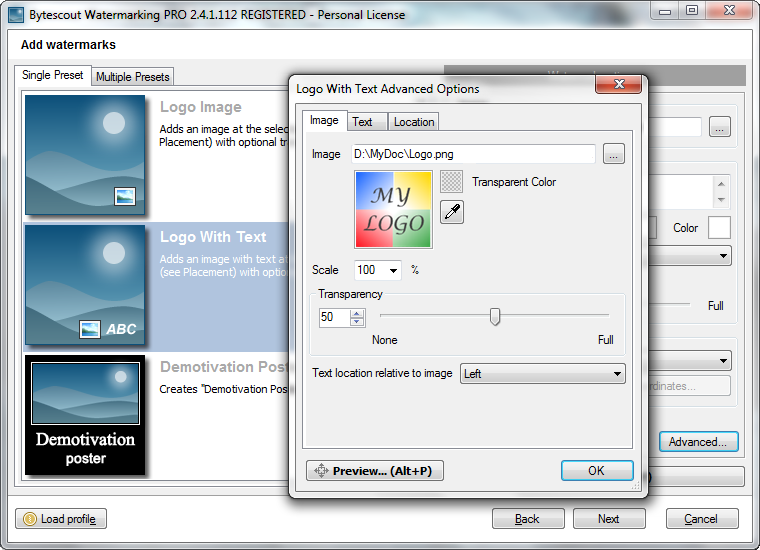
In the Advanced Options dialog window > Image tab, adjust logo transparency as described above for Logo Image preset.
Below you see an example of semi-transparent logo applied as a watermark
Settings used for the example: preset – Logo With Text, transparency – 50%, transparent color – black.
Input images:
 and
and 
Result watermarked image:
