Our ByteScout SDK products are sunsetting as we focus on expanding new solutions.
Learn More
Important Update
ByteScout SDK Sunsetting Notice
Our ByteScout SDK products are sunsetting as we focus on our new & improved solutions.Thank you for being part of our journey, and we look forward to supporting you in this next chapter!
How to Read Code 39 Barcodes with Bytescout BarCode Reader
Welcome to our new tutorial on how to read Code 39 barcodes with our freeware barcode reader tool.
This tutorial will help you understand all the steps including to read the Code 39 barcodes if you want to learn about it follow this tutorial. Before that let’s discuss what are Code 39 barcodes.
Code 39 barcodes are the most commonly used barcodes in today’s industrial world, also used in badges, IDs and in manufacturing, etc. These are the earliest barcode that is in use. Code 39 barcodes are the variable-length barcodes that are used to encode any number of characters in the barcode. It also supports alphanumeric characters.
Code 39 barcodes always start and ends with ‘*’ character. It is also called start and stop character. If you need to use barcodes in your organization then Code 39 is the recommended option by most of the developers.
Let’s start the tutorial.
Get ByteScout Barcode Reader Freeware
The first step is to download the ByteScout BarCode Reader freeware and then install it.
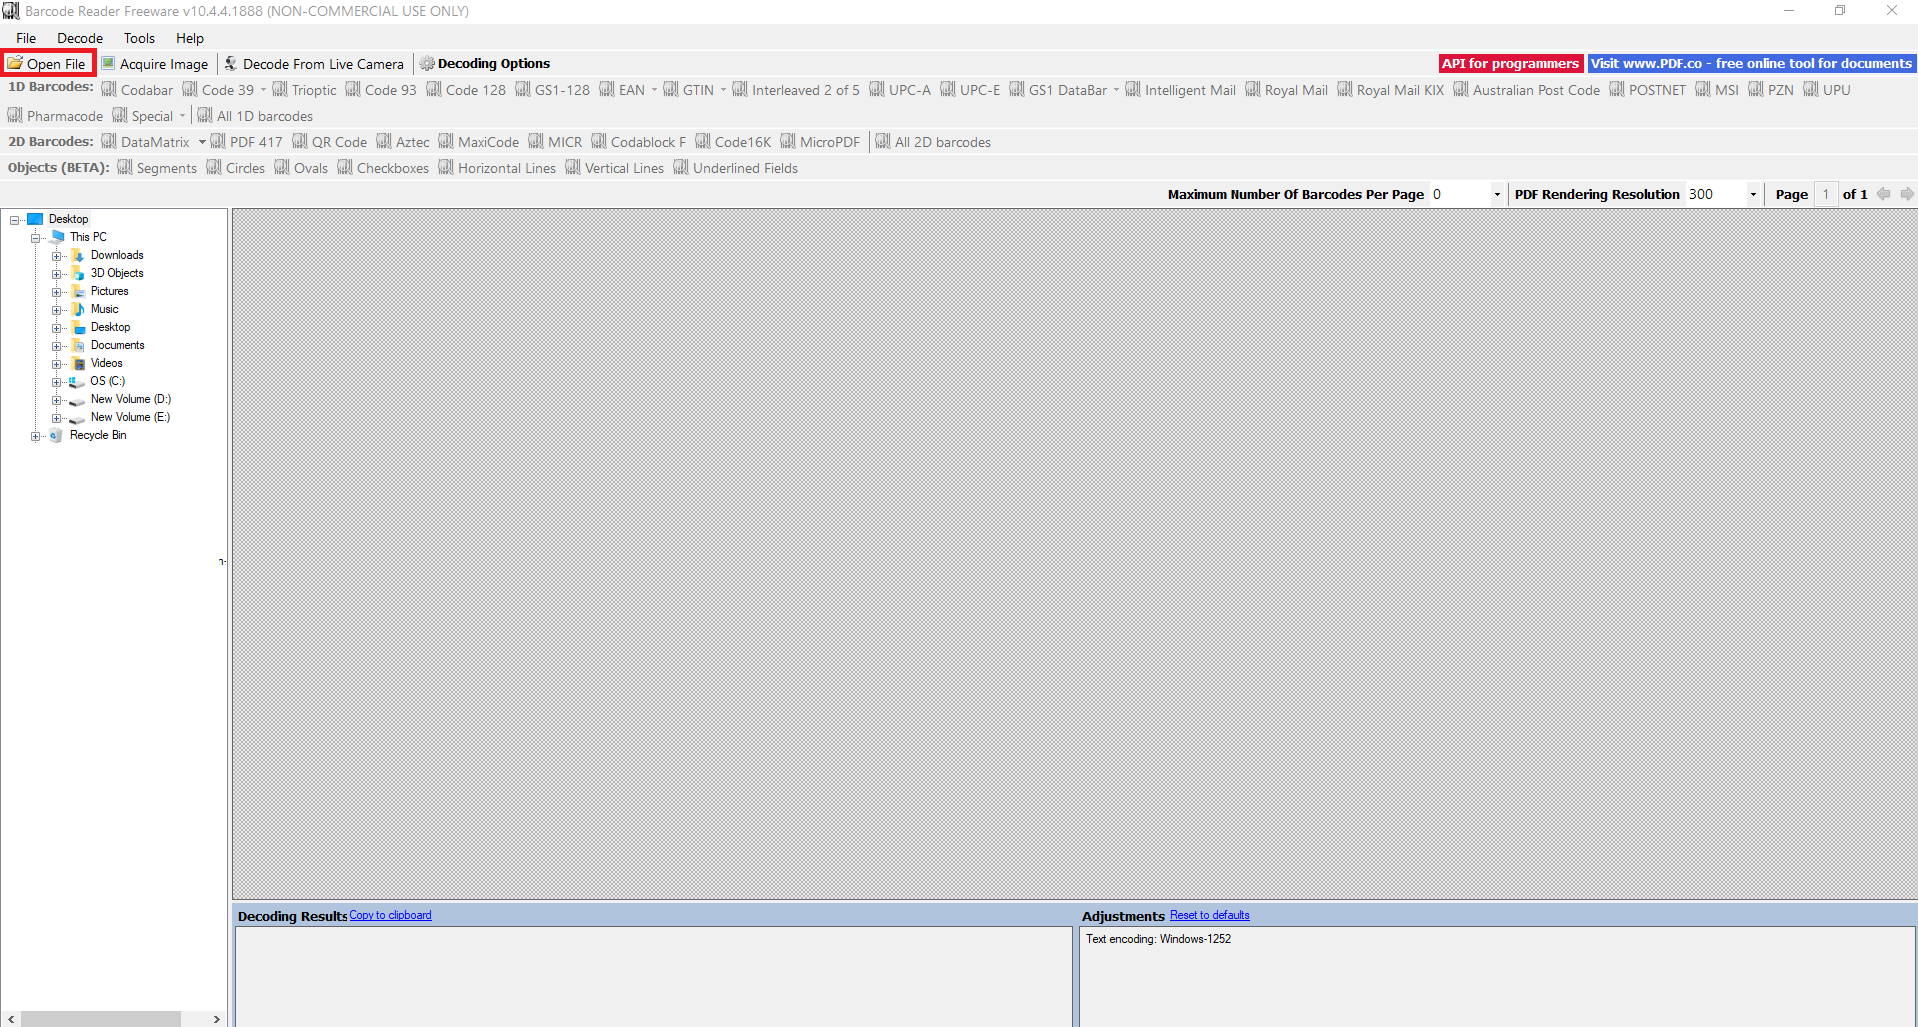
After the installation open the tool on your system, as you open the tool following the main window will be opened. Once opened you can choose from the options menu. In the main window, you will choose the file which you want to read, to do so click on the open on the top left menu.
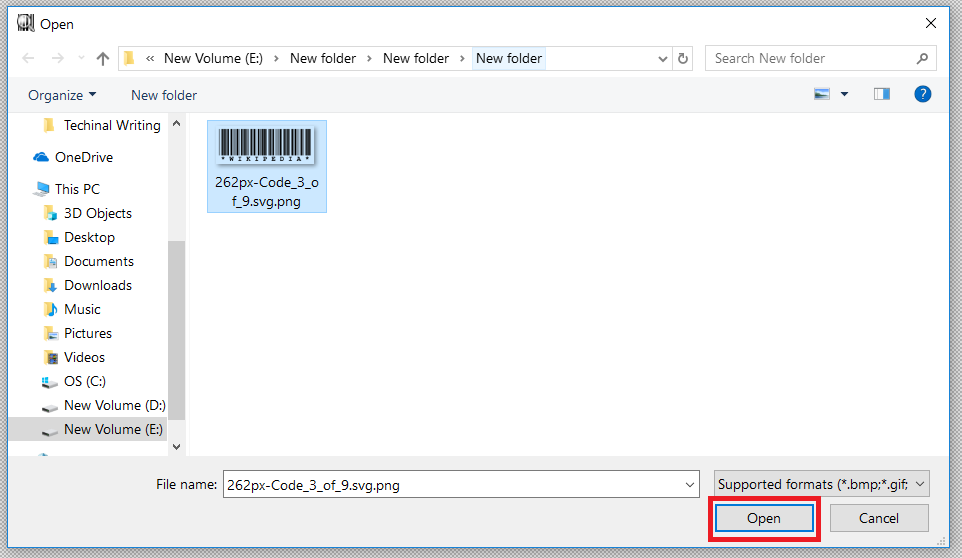
Now a new small window will pop up and you have to choose the file and click “Open”.
Check out the Tool Window
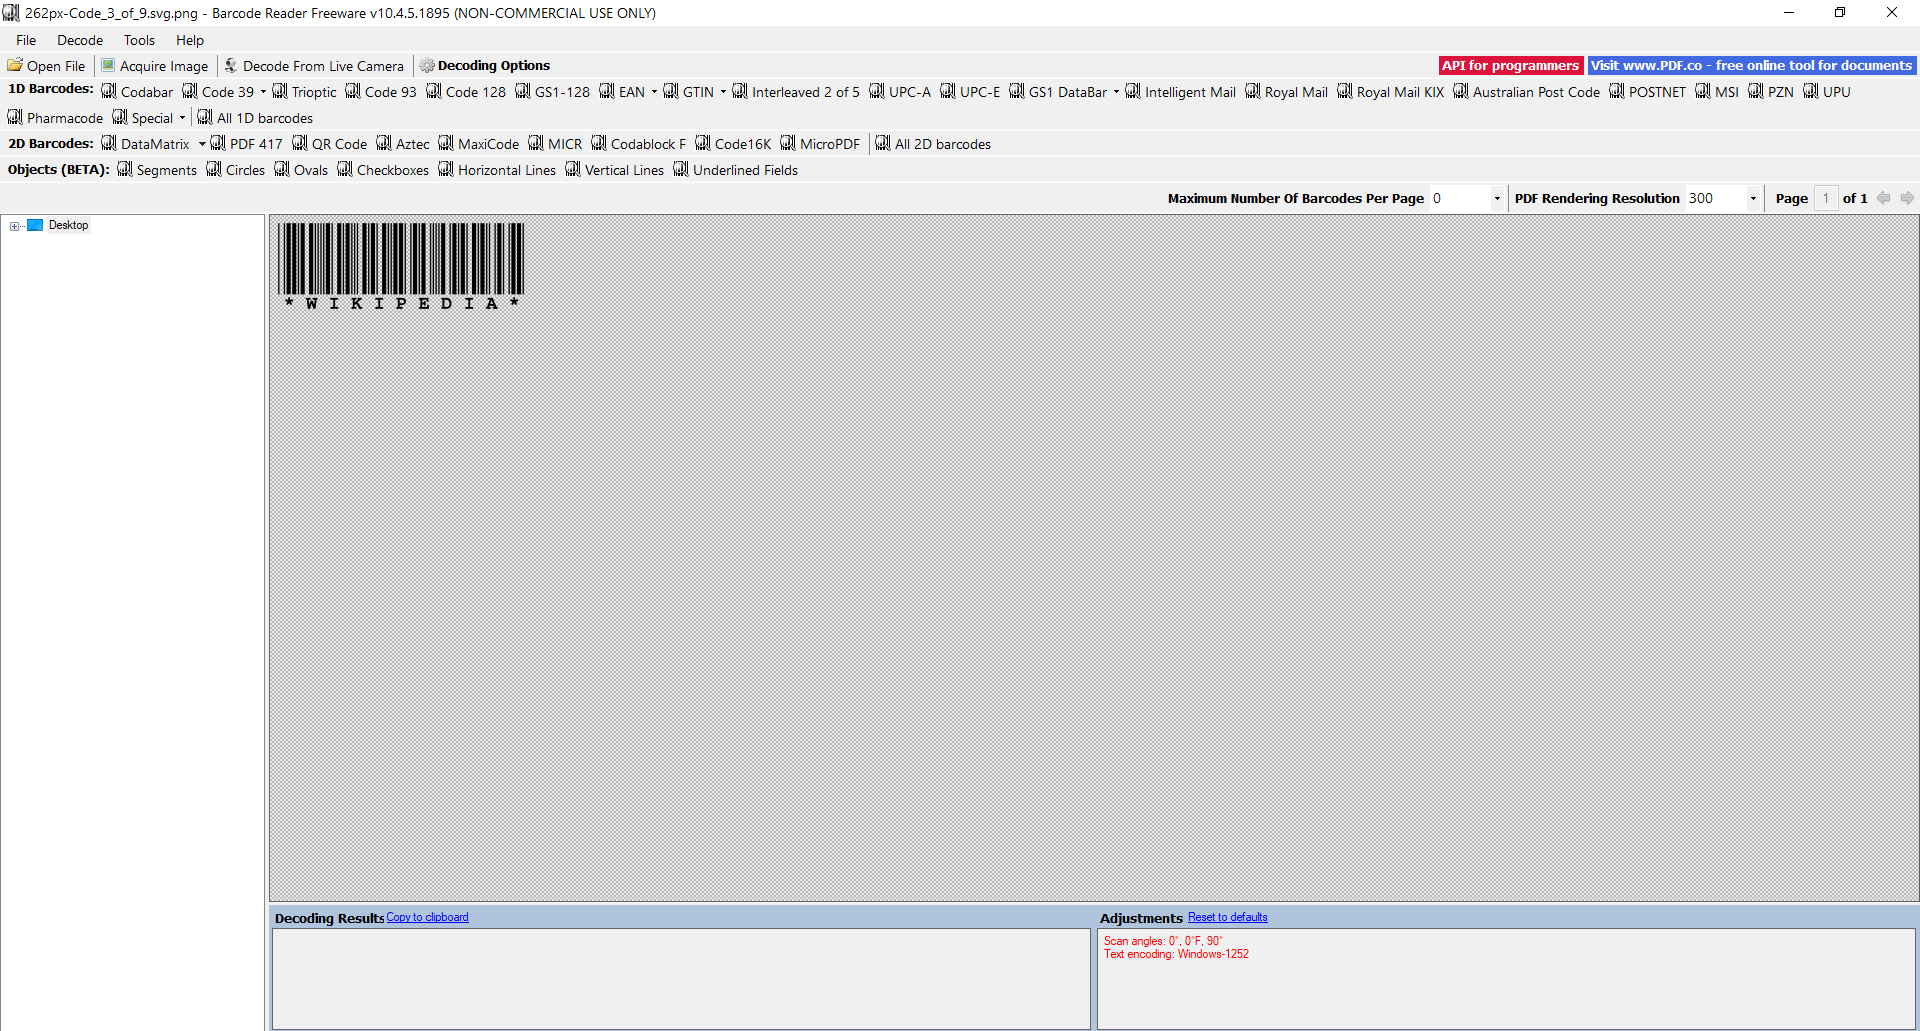
Once we click on “Open” you will see the file opened on the grey area of the tool main window as seen below.
Start Decoding
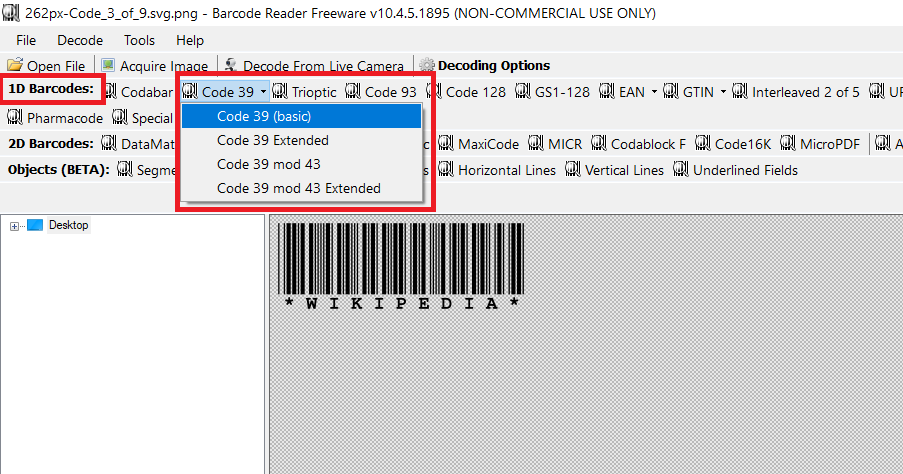
Now we should start decoding it, for we will go to the “Code 39” button from the top menu against “1D Barcodes:” then select the option “Code 39 (Basic)” you can choose what best describes your barcode type.
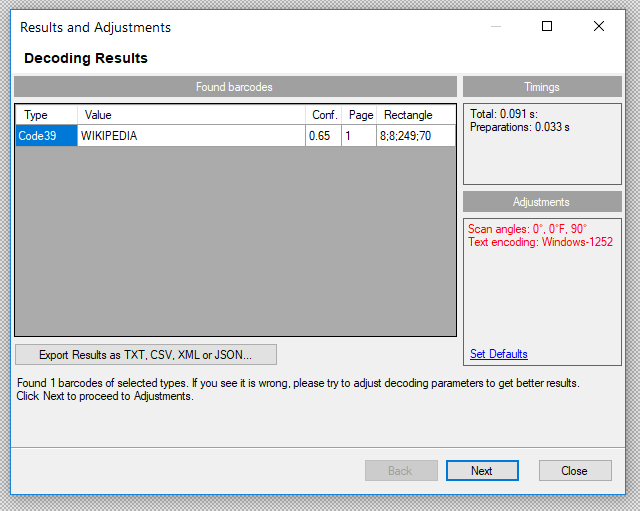
Get Your Results
After that, the results will appear as the image is processed. (As shown below)
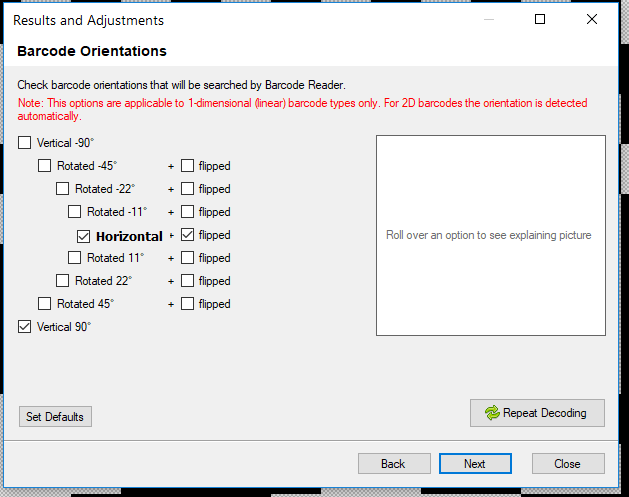
If the results won’t show up you can edit the settings of your barcode by clicking in the “Next” and you will be directed to the “Barcode Orientation” settings.
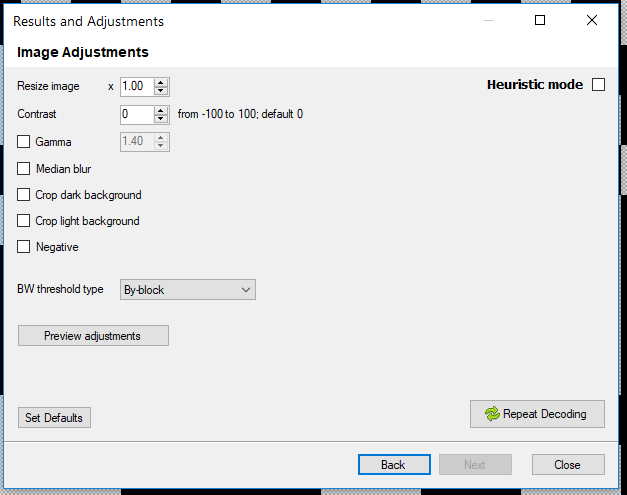
For more options click on the “Next” again, and you will see the settings for “Image Adjustments” where you can resize the image add contrast to it other color settings.
Once you are finished with the settings you can click on “Close”.
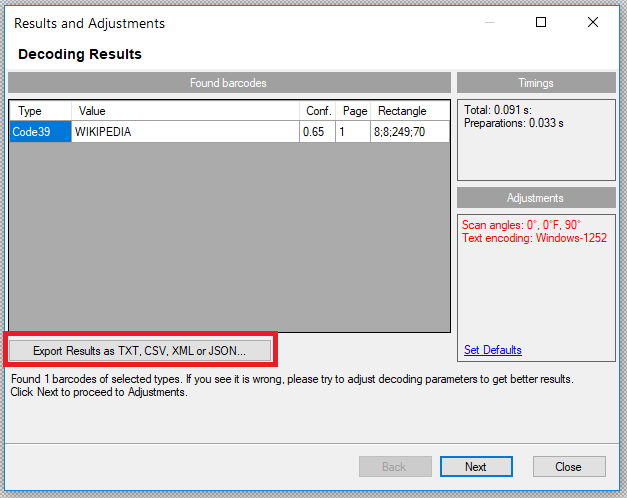
Once you see the results you can Export them by clicking on the button “Export results as….”.
Once you click on the Export button it will ask for you to choose a location and you can save the results there for future use.
Here the tutorial ends and I hope that this was helpful. We at ByteScout always thrive to give our users easy to follow guidelines so that they do not get stuck anywhere using our tool.
Our tools are designed using the best online practices followed by developers all over the world to give our users a user-friendly environment.