Our ByteScout SDK products are sunsetting as we focus on expanding new solutions.
Learn More
Important Update
ByteScout SDK Sunsetting Notice
Our ByteScout SDK products are sunsetting as we focus on our new & improved solutions.Thank you for being part of our journey, and we look forward to supporting you in this next chapter!
Tutorial: how to convert PowerPoint presentation (PPT) into video file (AVI, MPEG, MPG, DivX, xDIV) using PPT To Video Scout
PPT To Video Scout tutorial:
Converting PowerPoint presentation into video movie using PPT To Video Scout
This page describes how to use PPT To Video Scout to convert PowerPoint presentation into video file (WMV or AVI). WMV and AVI video files can be played by most mobile devices, hardware DVD players so if you want to show your PowerPoint presentation on computers or mobile devices where PowerPoint is not installed or not supported then you should convert the presentation into AVI or WMV video file.
Since version 1.20 PPT To Video Scout is capable of converting into WMV and AVI video movies.
This tutorial will guide you through PPT to AVI, WMV video conversion process. PPT To Video Scout integrates itself into PowerPoint so you can convert PPT into WMV or AVI video by simply using File menu in PowerPoint.
How to Record Yourself Presenting a PowerPoint
Step 1: Prepare your PPT presentation if you have not done so already.
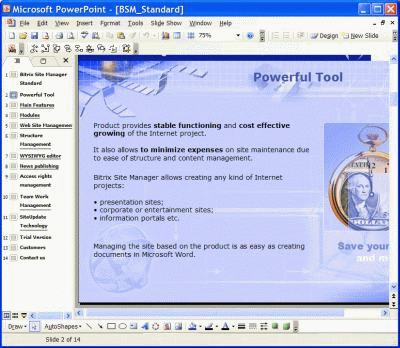
Step 3: Now start your PowerPoint program, and open a previously saved presentation:
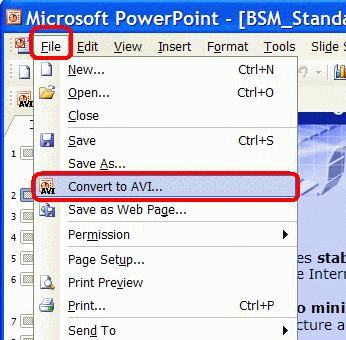
Step 4: Now simply open the File menu and select “Convert To AVI” command as shown below:
Alternatively, you can launch Bytescout PPT to Video Scout directly, and choose your PPT file. You can then jump to Step 7.
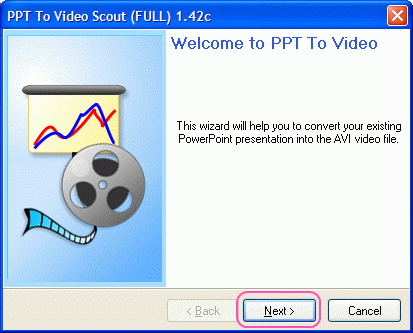
Step 5: PowerPoint will start Bytescout PPT To Video conversion wizard:
Step 6: Click the Next button to get to the next window.
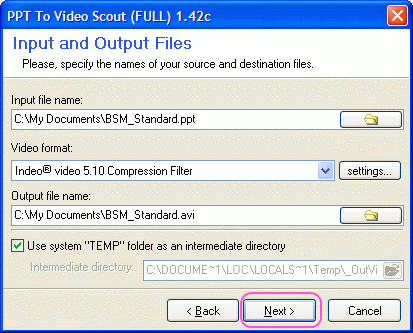
Step 7: Change output video file name and video format (if required), and click the Next button. This is where you get to choose the video format, and there are over 12 video formats to choose from. For most users, MJPEG AVI is the ideal format because virtually all platforms can play it.
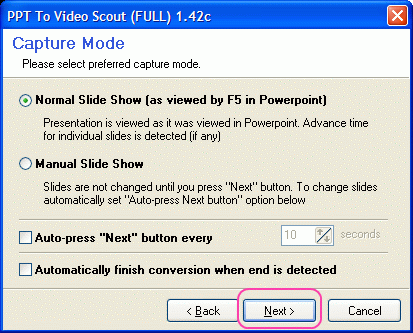
This page provides settings for slide show mode for presentation conversion. You can choose “Normal Slide Show.” That will allow the slides to run automatically when PPT To Video Scout executes the presentation video recording. You can also choose “Manual Slide Show,” which lets you choose when to display the next slide, as narrate your presentation.
This page provides settings for slide show mode for presentation conversion. You can change settings to automatically change slides after a predefined delay so you can automate the entire conversion process.
Step 8: Click the Next button to switch to the next page to continue learning how to record a video presentation.
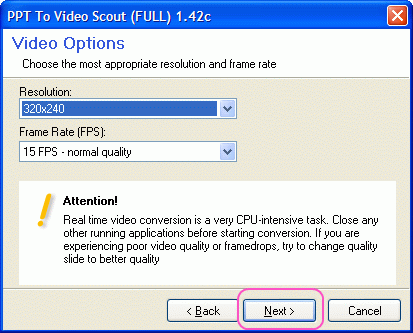
Change default resolution (width and height) and frame rate for output video file (if needed). You need to choose a higher resolution, for the PPT video to appear clear on a big screen or when viewed in HD. If you are not sure, use 320×240, which is best for mobile screens. You also have an option to choose the Frame Rate.
If you choose to say 25 frames per second, the video will render more seamlessly than if you choose 10 frames per second. However, choosing a big number such as 25,000 FPS can slow down your computer when recording powerpoint with video. It will also increase the file size of the video significantly.
Step 9: Click Next to get to the Audio Recording page and learn how to record a PowerPoint presentation with video narration.
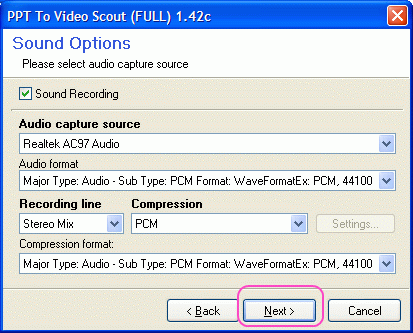
This is an important step when learning how to record yourself giving a PowerPoint presentation. You should check the “Sound Recording” box, for the PPT To Video Scout tool to capture your voice, as you narrate your presentation.
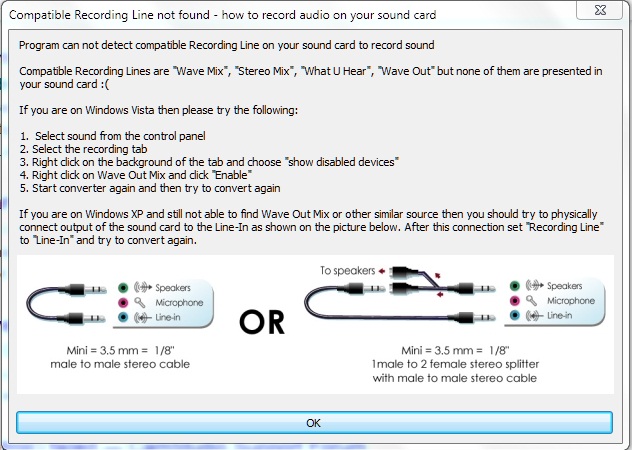
If your sound card does not have a “Line In” input, you will get a message stating that the tool could not find a “Recording Line” in your sound card.
You do not have to worry because that will not affect how you record PowerPoint presentation with audio and video.
Just click on “Okay.”
PPT To Video Scout will use the inbuilt microphone to detect and record your narration. You may also use a male to male stereo cable as suggested.
Uncheck Sound Recording checkbox if you do not want to record sound from a converted presentation. However, since you are narrating, you need to leave it on.
Please note that you should not run another sound players during conversion because their sound output can be captured as well.
Click Next to start conversion:
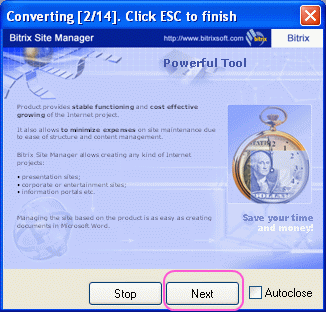
PPT To Video Scout now will convert your PowerPoint presentation into the video:
Click Next to show the next slide
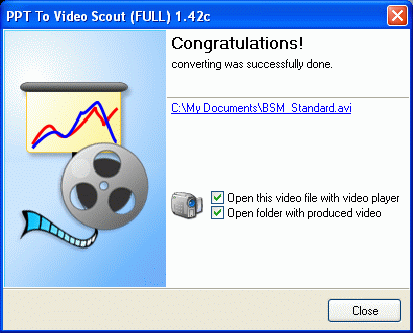
When the conversion is done you’ll see the final page with:
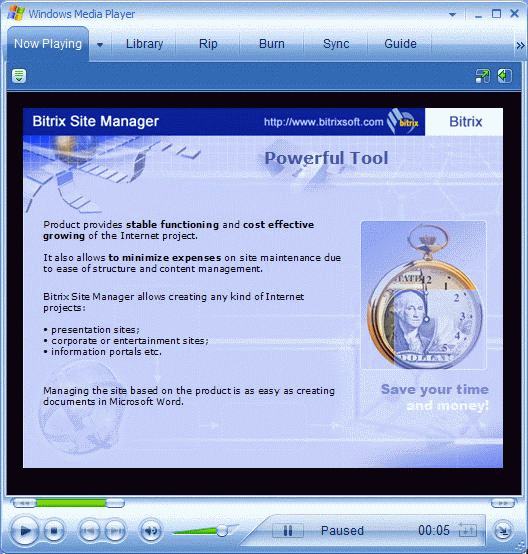
Click Close and the program will launch produced video file in default video player:
That’s all!
Why Use PPT to Video Scout Instead of MS Office 360
When you are making a video, you want it to sound as natural as possible. That means, when you are talking, you should address your audience in a manner that makes them feel your focus is on them.
To do that, your narration should flow naturally, and should not sound robotic. Any sudden pauses will come out as unnatural, which will then lower the quality of your video. Can tools such as MS Office 360 allow you to do that?
Not quite, one of the requirements in their tutorial on “how to record a PowerPoint presentation with audio and video” is that you should pause during slide transitions. Any video recording in which you have to make such timed pauses will come out as “patched up” most of the time.
Seamless Narration with PPT to Video Scout
With tools such as PPT to Video Scout, you do not need to make such pauses. Just narrate as you would when making a PPT presentation to a live audience. It will record your voice and show your face, irrespective of whether there is a slide transition or not.
Camera integration
One powerful feature that MS 360 and other similar tools are lacking is the “camera footage integration” into a PPT video. When using such tools, you need to do more than learn how to record your voice while giving a PowerPoint presentation. You also need to find other tools to resize and superimpose your narration video, onto the PPT presentation.
With PPT to Video Scout, all that happens within a single process, with only a click of a mouse. Just make your preferred settings before running it, and then start your narration when ready. Once the slideshow is over, your PowerPoint presentation with audio and video will be ready for upload to YouTube, or other video channels.