PPT To Video Scout tutorial:
How to convert PPT to video clip with sound and upload it to YouTube
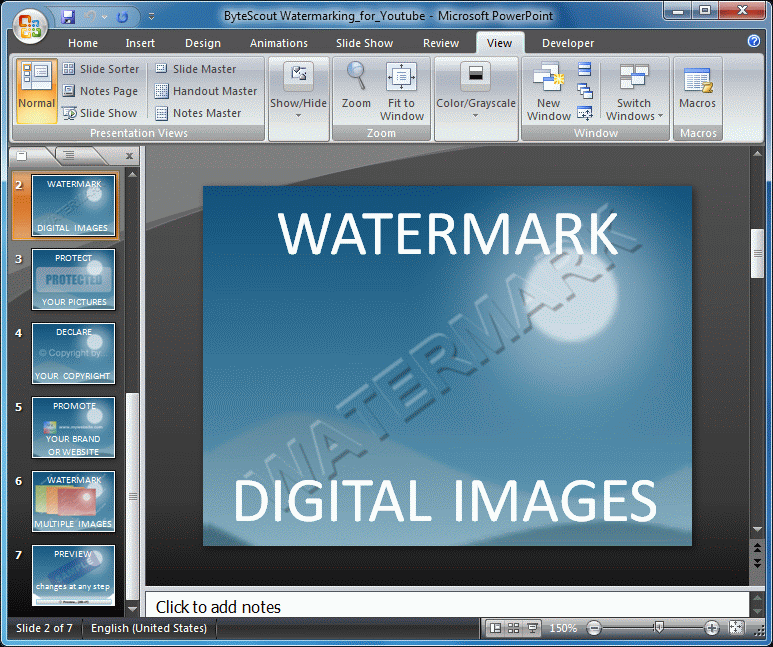
Step 1: create and save your presentation in Microsoft PowerPoint.
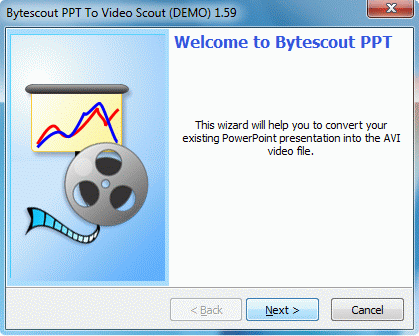
Step 2: launch Bytescout PPT to Video Scout – an easy to use and fast PPT to AVI (or WMV) converter. Click Next to proceed.
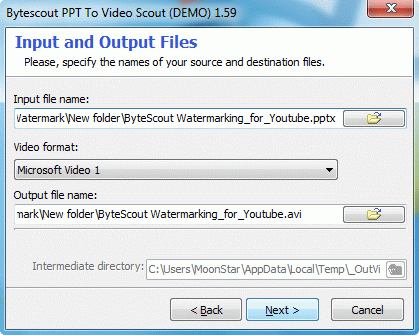
Step 3: select PowerPoint presentation to convert PPT to AVI. By default, output AVI video (or WMV) file is saved to C:UsersUserNameDocumentsMy PPT To Video Scout Files folder, but you can change the destination folder if needed.
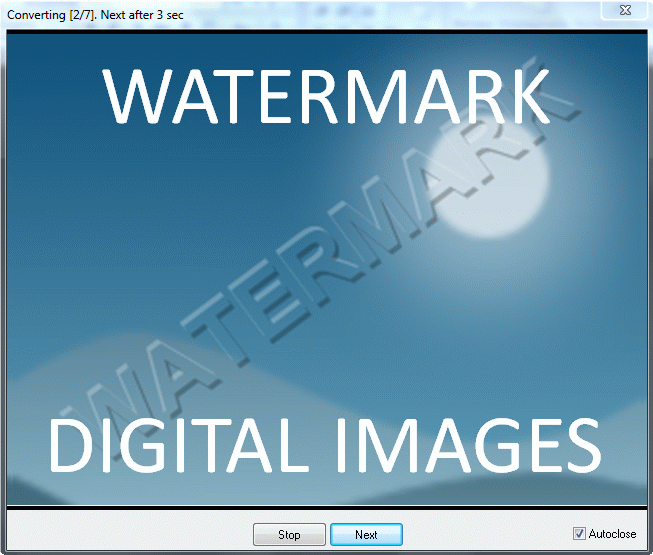
Step 4: after selecting input and output files, click Next button. PPT to Video Scout will offer you to choose preferred conversion mode (normal or manual). Then adjust video and sound options and click next to start converting PowerPoint to video.
Step 5: sign in to your YouTube account and click the Upload button ![]() . Click Upload Video and select the video file that PPT to Video Scout created. The uploading will start automatically.
. Click Upload Video and select the video file that PPT to Video Scout created. The uploading will start automatically.
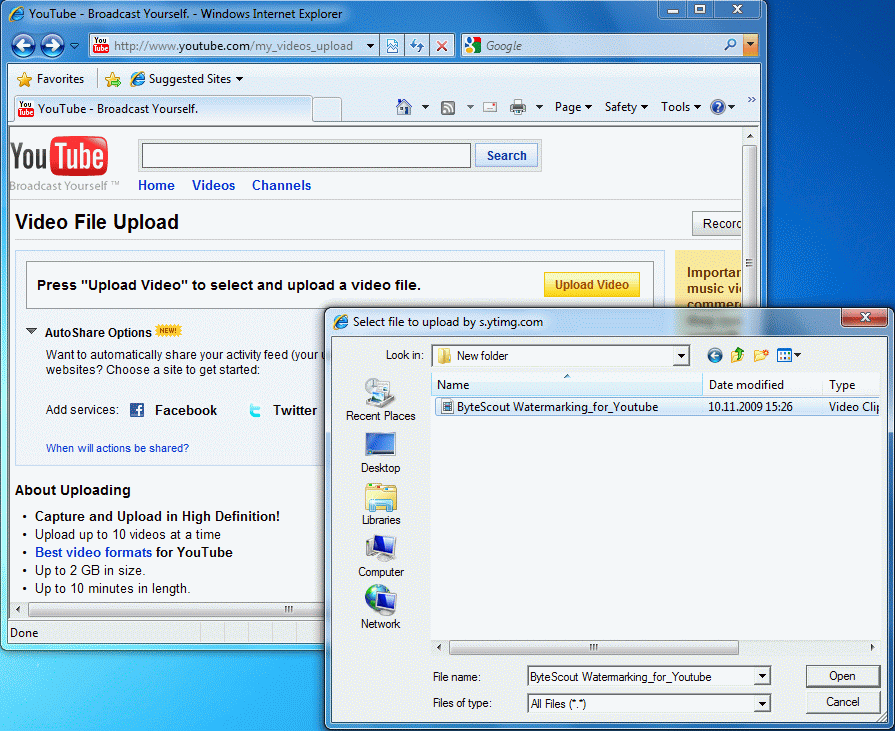
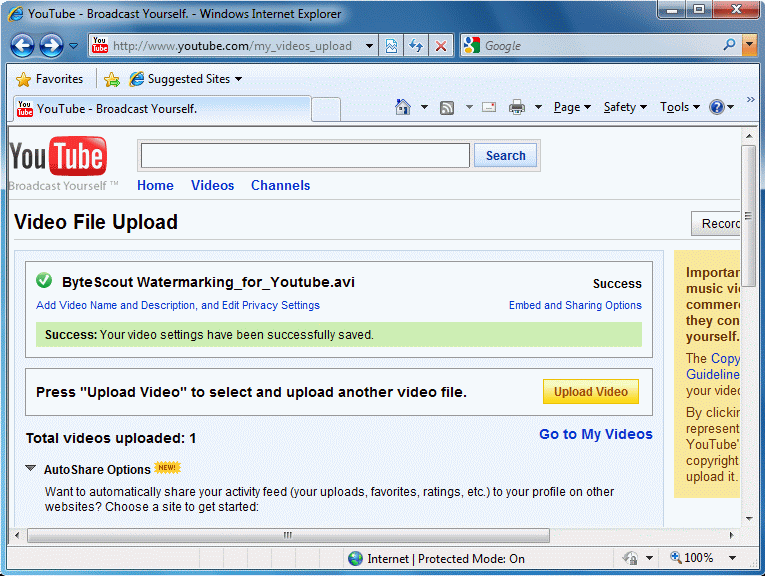
Step 6: adjust and save an uploaded video settings. Add desription and tags, edit video title if needed and click Save button. That’s all – your video is successfully uploaded to YouTube. You can now see it at My Videos page.
Step 7: enjoy watching your video on YouTube and sharing it with the world.
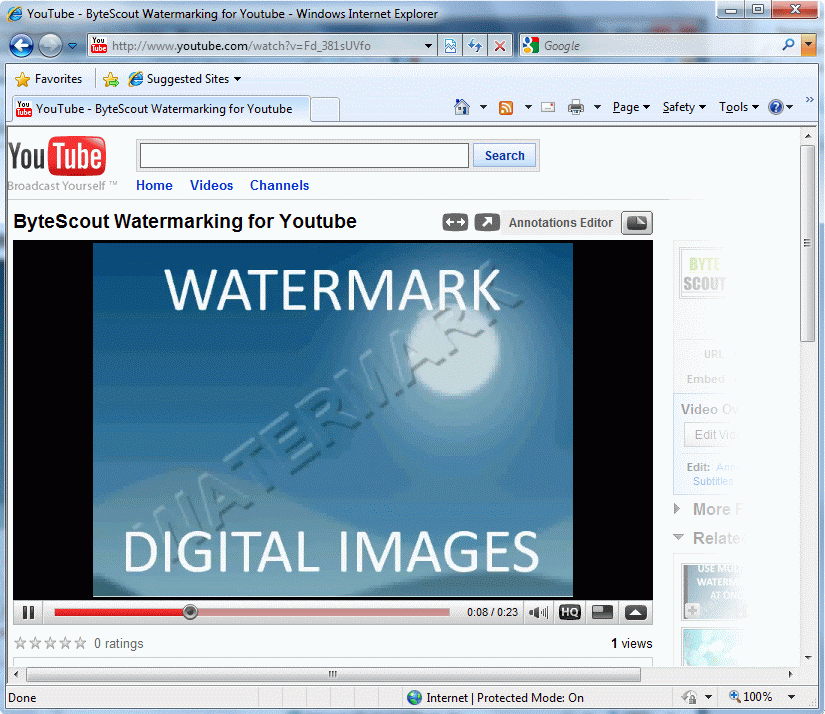
You can also watch a video tutorial from our YouTube channel (the tutorial is converted with PPT to Video Scout as well).