Our ByteScout SDK products are sunsetting as we focus on expanding new solutions.
Learn More
Important Update
ByteScout SDK Sunsetting Notice
Our ByteScout SDK products are sunsetting as we focus on our new & improved solutions.Thank you for being part of our journey, and we look forward to supporting you in this next chapter!
How to Create PDF Invoice with Table and Logo using JavaScript – PDF Invoice Generator
This sample shows how to use BytescoutPDF.js (Bytescout PDF Invoice Generator for JavaScript) to draw PDF invoices with tables and logos.
BytescoutPDF.js is a great JS library to generate PDF in DOM itself without any dependency on other libraries. It provides features such as adding text, formatting text as per requirement, adding images, adding lines, adding header/footer with the setting of dynamic page numbers. With these features one can fulfill any normal PDF report generation requirement without the dependency on any server-side as well as a client-side library, isn’t it great!
Now let’s dive into code. We’ll be writing code to generate invoices with header (containing Logo), invoice info and details, and tabular form. At the bottom of the invoice, we’ll be displaying the field for signature.
// function that creates BytescoutPDF instance (defined in BytescoutPDF.js script which have to be included into the same page)
// then calls API methods and properties to create PDF document
// and returns created BytescoutPDF object instance
// this CreatePDF() function is called from Sample.html

function CreatePDF() {

    // create BytescoutPDF object instance
    var pdf = new BytescoutPDF();

    // set document properties: Title, subject, keywords, author name and creator name
    pdf.propertiesSet('Sample Invoice', 'Invoice #1234', 'invoice, company, customer', 'Document Author', 'Document Creator');

    // set page size
    pdf.pageSetSize(BytescoutPDF.Letter);

    // set portrait page orientation
    pdf.pageSetOrientation(BytescoutPDF.PORTRAIT);

    // add new page
    pdf.pageAdd();

    // add logo
    pdf.imageLoadFromUrl('logo.png');
    pdf.imagePlace(20, 20);

    // set font name
    pdf.fontSetName('Times-Roman');

    // add requisites
    pdf.fontSetStyle(true, false, false);
    pdf.fontSetSize(24);
    pdf.textAdd(450, 55, 'INVOICE', 0);

    pdf.fontSetSize(12);
    pdf.textAdd(50, 90, 'COMPANY NAME', 0);

    pdf.fontSetSize(11);
    pdf.fontSetStyle(false, false, false);
    pdf.textAdd(50, 120, 'Address', 0);
    pdf.textAdd(50, 140, 'Phone, fax', 0);
    pdf.textAdd(50, 160, 'E-mail', 0);

    pdf.textAdd(400, 120, 'DATE', 0);
    pdf.textAdd(400, 140, 'INVOICE #', 0);
    pdf.textAdd(400, 160, 'FOR', 0);

    pdf.textSetBoxPadding(3, 2, 2, 3);

    // draw table header
    pdf.graphicsDrawRectangle(50, 200, 520, 220);
    pdf.graphicsDrawLine(50, 220, 570, 220);
    pdf.textSetAlign(BytescoutPDF.CENTER);
    // add 'Description' column
    pdf.textSetBox(50, 200, 220, 20);
    pdf.textAddToBox('Description');
    pdf.graphicsDrawLine(270, 200, 270, 420);
    // add 'Quantity' column
    pdf.textSetBox(270, 200, 80, 20);
    pdf.textAddToBox('Quantity');
    pdf.graphicsDrawLine(350, 200, 350, 420);
    // add 'Price' column
    pdf.textSetBox(350, 200, 100, 20);
    pdf.textAddToBox('Price');
    pdf.graphicsDrawLine(450, 200, 450, 420);
    // add 'Amount' column
    pdf.textSetBox(450, 200, 120, 20);
    pdf.textAddToBox('Amount');

    pdf.textSetAlign(BytescoutPDF.LEFT);

    // fill table content
    for (var row=0; row < 10; row++) {
        pdf.textSetBox(50, 220 + row * 20, 220, 20);
        pdf.textAddToBox('ITEM ' + row);
        pdf.graphicsDrawLine(50, 240 + row * 20, 570, 240 + row * 20);
    }

    // add signature
    pdf.textAdd(390, 470, 'Signature', 0);
    pdf.graphicsDrawLine(450, 470, 570, 470);

    // return BytescoutPDF object instance
    return pdf;
}
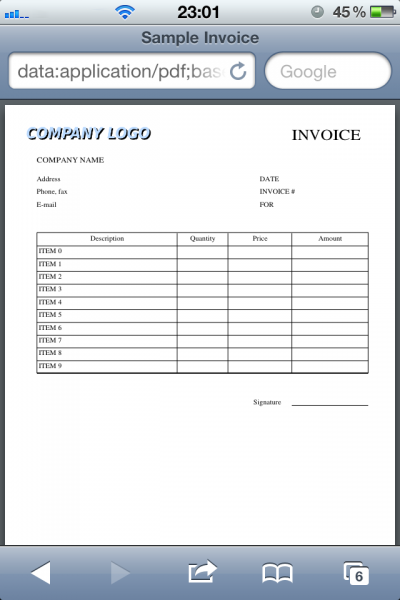
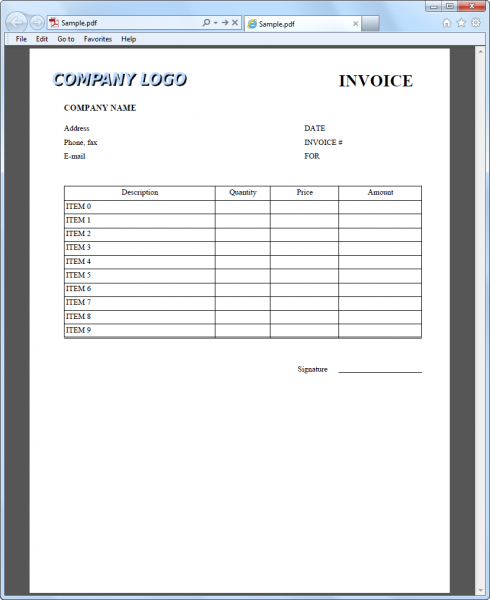
The following images show the Generated invoice (click to view full size). Here it’s output in different browsers one is in mobile and the other is the desktop version.
Now, let’s try to analyze an important part of the program. Follow the steps below to proceed with PDF invoice generation using ByteScout PDF Generator SDK.
First of all we’re creating instances of BytescoutPDF class.
We’re using this instance to set invoice properties such as document property, page size, adding contents, and finally returning generated reports in Base-64 format.
var pdf = new BytescoutPDF();
Step 2. Set Document Properties.
By using the method “propertiesSet” we are setting document properties such as title, subject, keywords, author name, and name of the creator. This is one of the very fine-grade features this library provides.
Method “imageLoadFromUrl” points to an image that needs to be loaded by URL, and the method “imagePlace” actually sets the image to specified x and y coordinates. These co-ordinate are in points format.
Step 6. Set Font Name.
We can set font name by using the method “fontSetName“, as shown below.
// set font name pdf.fontSetName('Times-Roman');
Step 7. Add Any Text Label.
To add any text label into the document, we’re using “textAdd” method. This “textAdd” method takes x & y co-ordinates as an argument along with text to be added. // add requisites pdf.fontSetStyle(true, false, false); pdf.fontSetSize(24); pdf.textAdd(450, 55, 'INVOICE', 0);
One point to note here, in the above code snippet we’re setting style first like font and size, and then adding text. It’s just like writing to any document editor for example word, where we set font and related style first and based on these words we type will be pre-formatted.
Step 8. Add Text Within the Box.
8. Same way we added text label, We can add text within the box. The benefit of doing this is that we can control the text boundary of added text (for instance with table-cells). We use “textAddToBox” method after defining box by “textSetBox” method.
Here, as the name suggests method “textSetBox” will define a box into which text will be added after. This method contains arguments such as x&y coordinates and the width and height of the box.
Step 9. Add Rectangle into PDF.
9. To add rectangle into PDF, we’re using the “graphicsDrawRectangle” method. Arguments for this method are x&y coordinates and width and height.
pdf.graphicsDrawRectangle(50, 200, 520, 220);
Step 10. Final Steps.
10. “graphicsDrawLine” method adds a line.
pdf.graphicsDrawLine(50, 220, 570, 220);
Throughout the program, you’ve noticed that BytescoutPDF.js provides features to set low-level formatting like adding rectangles, adding lines, setting, and adding textboxes to generate tables. This will come in very handy when generating complex and dynamic reports. The possibilities are endless.
I hope you get an idea of how to utilize BytescoutPDF.js to generate reports in DOM itself.