There are various automation tools available to automate the application but very few for the desktop application. If you google then you will find a few open-source tools for various operating systems such as Windows, MAC, and Linux.
In this article, you will learn how desktop applications can be automated using WinAppDriver.

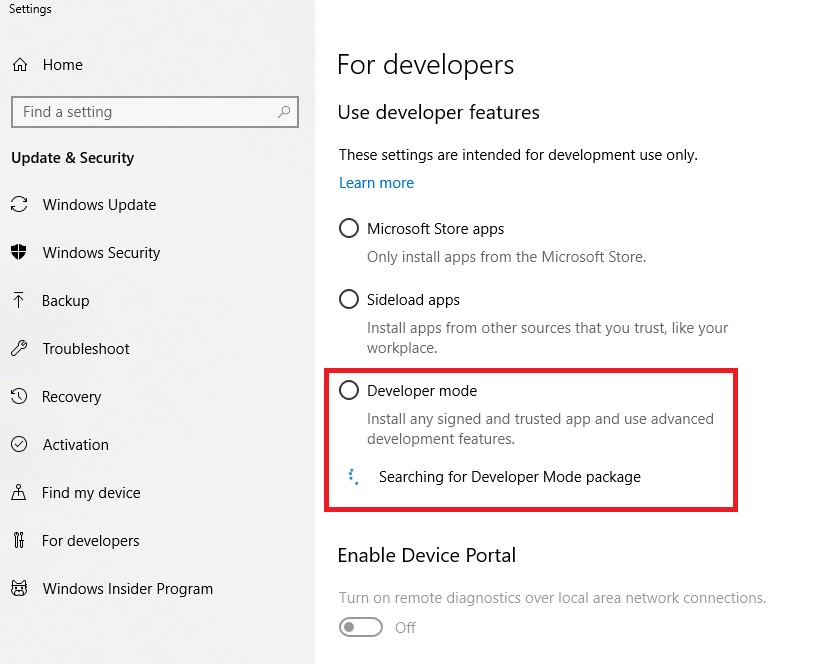
The first step is to install the Windows application driver. As mentioned earlier, the WinAppDriver operates on Windows 10. It requires any Appium test runner. So, first, go to Github and download Windows Application Driver installer from https://github.com/Microsoft/WinAppDriver/releases and then run the installer on a Windows 10 computer. Make sure that you run this installer where your application exists and will be tested. Finally, enable Developer Mode in Windows settings as shown in the figure. After this, just run the application, by simply starting WinAppDriver.exe from its installation folder. The WinAppDriver.exe supports the UI Test Automation on Windows. This also helps in examining the Universal Windows Platform (UWP), Windows Forms (WinForms), and much more. Users can run the UI Recorder too.
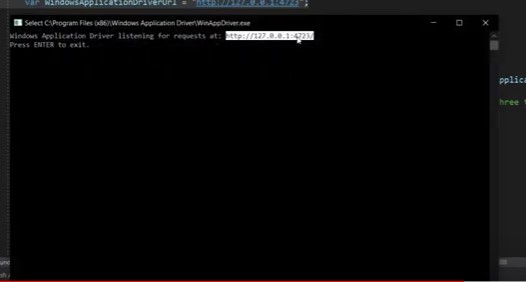
Windows Application Driver will then be running on the test machine listening to requests on the default IP address and port (127.0.0.1:4723). You can now run any Tests or Samples. WinAppDriver.exe can be configured to listen to a different IP address and port as follows.
Now, Windows Application Driver will then listen to all the requests on the default IP address and port on the test computer. Users can now run any Samples here. In this manner, the .exe can be configured to listen to various IP addresses and ports. These are the prerequisites for the WinAppDriver. Now, in this article, we will try to automate by using one invoice PDF file as shown in the below figure.
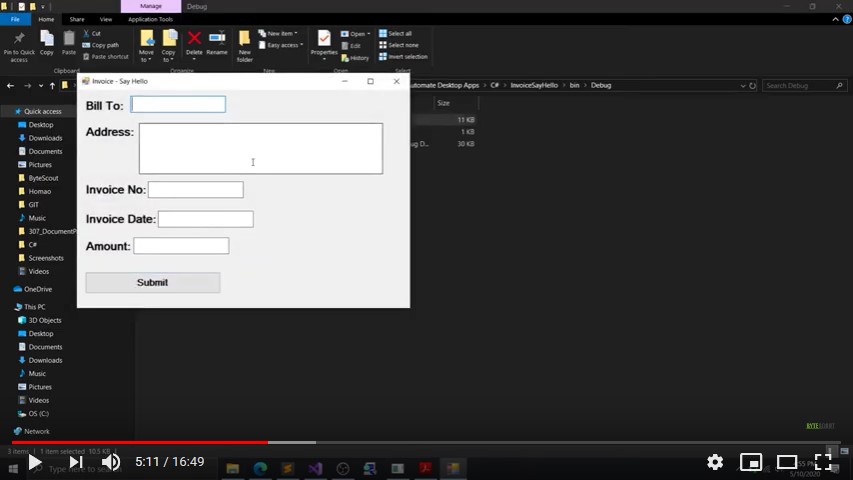
The invoice contains various data such as invoice number, address, date, and amount. Now we will collect all this information by using the .exe file and we will read all the collected information. For this, we will invoke the executable file and fill all the information such as invoice number, address, date, and amount in the form and submit it. To accomplish this task, we will also use the ByteScout PDF Parser SDK called Document Parser SDK.
The important point to note here is that WinAppDriver can run separately too. It can also work as a plugin for various applications. If the server is already working, any expected applications for Windows 10 app automation will drive WinAppDriver.exe and send the requests.
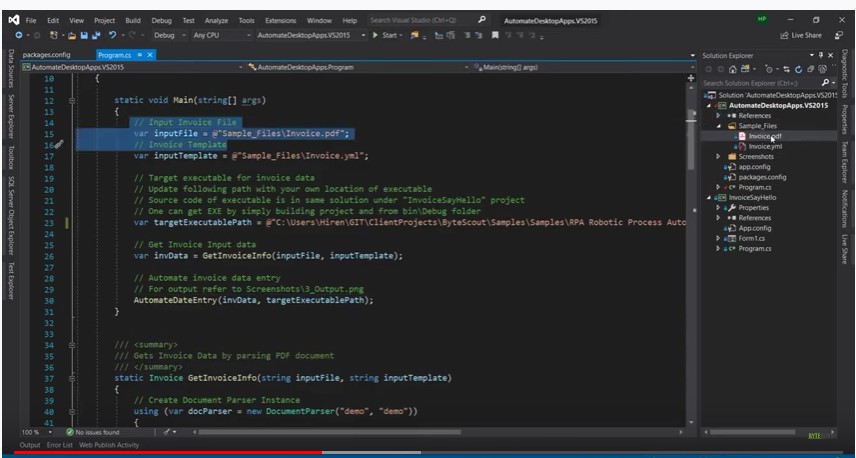
Now, the following image is displaying the project structure. For example, in the right-side panel, you can see two files invoice.pdf and invoice.yml. The YAML file is used widely for its configuration files, designs, and page settings. It is a human-readable data file that is used to describe data. YAML sometimes can be more simple than JSON. JSON is usually more active and is apparently still interoperable in more ways. … Because there are no recommendations, it is difficult to index multiple structures with objects in JSON. YAML index can hence be more effective.
After reading the data from the PDF file it will be inserted into the form displayed below. To do this, the first step is to download the ByteScout Document Parser SDK. We will use the document parser SDK tool from the kit. The ParserSDK carries multiple locators to get UI element, and then send them to execute actions. The parser can give results in JSON, YAML, XML, and CSV formats. It comes with built-in templates and supports multiple tables.
After installing the ByteScout Document Parser SDK, open the template editor and load the saved YML file and the sample file in this template editor.
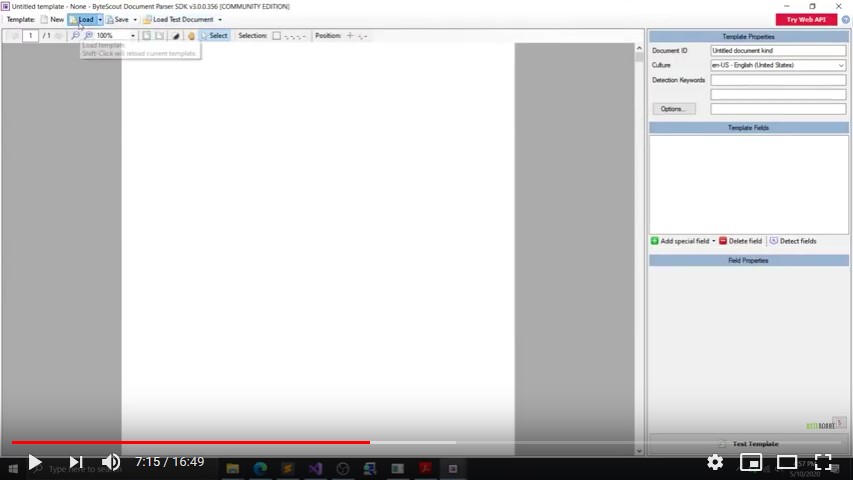
Here all the recorded fields such as bill name, bill amount, invoice number, and invoice date will appear under the Template fields and when you click the test template button. It will generate the results in the different file formats as displayed below.
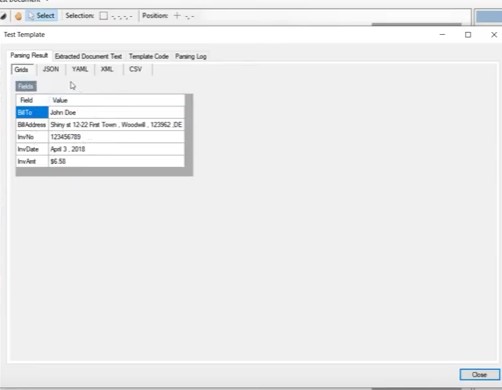
For this project, we are going to use the JSON format as displayed in the above figure. Now, we have the invoice PDF and the YML file. Here we will use the invoice PDF and the YML file along with the executable path where the .exe file is located. There are two parts to this project. For the first part, we will get all the invoice data by using the input file and the input template so that it will return the data in the invoice format containing all the fields. In the second part, we will use the document parser to get the output in JSON format.
The important thing to note here is that the ByteScout Document Parser SDK depends on specific templates that can be designed with no specific technical abilities needed. The SDK also backs millions of documents as input and is created to manage various threads. It can give data in various formats such as JSON, CSV, XML, or custom format.
Now, after getting all the files and document parser, in this section, we will now automate the entry by starting the WinappDriver server and providing the executable path.
Now, as displayed in the figure below, we will invoke the session and set the sendkeys parameter. Here, you will find elements by accessibility ID of the invoice data.

The next step is to inspect the UI element. Now, once you fill all the data into the form, it will automatically generate the automation ID in the inspect element window. This utility is very useful for automating the desktop application.
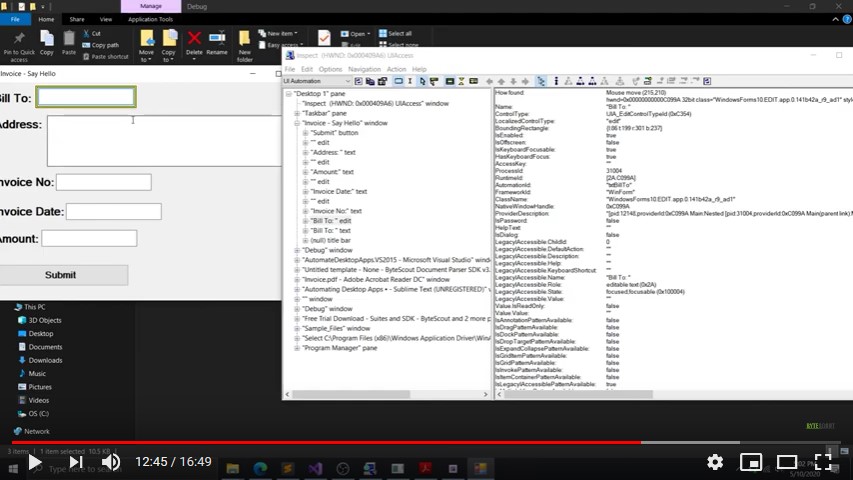
Now, after building the solution, just click on the start button. After clicking the start button, it will automatically record all the data from the PDF such as invoice date, address, amount into the form.

In this way, with the help of the WinAppDriver and ByteScout Document Parser SDK, the desktop application can be automated swiftly. This is a step-by-step method and all the data will be fetched by using the keys mentioned as parameters.