Our ByteScout SDK products are sunsetting as we focus on expanding new solutions.
Learn More
Important Update
ByteScout SDK Sunsetting Notice
Our ByteScout SDK products are sunsetting as we focus on our new & improved solutions.Thank you for being part of our journey, and we look forward to supporting you in this next chapter!
Creating Excel by importing data with ByteScout Spreadsheet SDK
Creating Excel by importing data with ByteScout Spreadsheet SDK
Developers often need to create Excel files for various tasks such as creating reports, sharing data with other teams, etc. One of the ways to create Excel programmatically it to have a loop and go through cell-by-cell and fill data to it. But there’s always a smarter way to do things. Wouldn’t it be nice if there’s a way by which we can just provide any data source (be it either data table, JSON, List, or even array) and it’ll do the thing? Well, there are plenty and we are going to explore just that in this article.
In this article, we’ll be using ByteScout Spreadsheet SDK for creating Excel by importing data from various sources. ByteScout Spreadsheet SDK provides many input sources which developer can easily plug-in to populate excel.
The following are some examples that we are going to cover in this post.
Before you proceed please make sure you have ByteScout.Spreadsheet SDK installed on your machine. If you don’t have then you can download and install from this link.
We are going to create a console application project for all programs in this article.
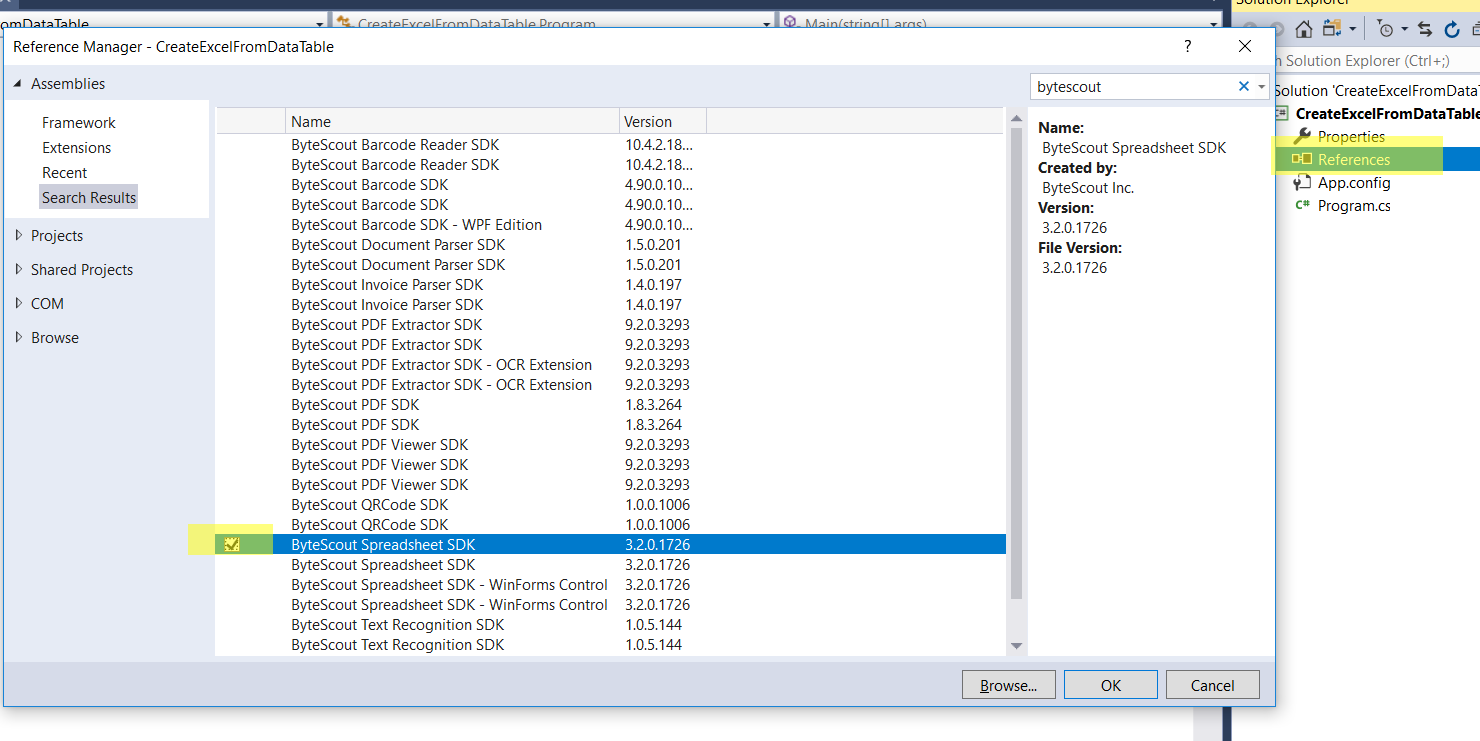
We also need to add a reference for ByteScout Spreadsheet SDK as shown below.
With that done, we’re all set. Now let’s get started.
* Create Excel by importing data from DataTable in C#
This is a typical requirement for most developers, that we need to export data tables to excel files. One of the old ways of doing this it to have GridView created in memory, bound with data table, get HTML of it, and save as .xls file. Just like mentioned in this link. But this is not a proper way, as output is actually HTML, we are just saving it as XlS file.
However, creating pure excel files from the data table is indeed very easy if you are using a proper library. For example the code below.
static void Main(string[] args)
{
    const string fileName = "CSharpImportFromDataTable.xls";

    // Create a new spreadsheet
    Spreadsheet spreadsheet = new Spreadsheet();

    // Get the data from the datatable that we want to import
    DataTable periodicTable = GetDataTable();

    // Import data into spreadsheet
    spreadsheet.ImportFromDataTable(periodicTable);

    // Insert row with column captions
    Worksheet worksheet = spreadsheet.Worksheets[0];
    worksheet.Rows.Insert(0);
    for (int colIndex = 0; colIndex < periodicTable.Columns.Count; colIndex++)
    {
        worksheet.Cell(0, colIndex).Value = periodicTable.Columns[colIndex].Caption;
    }

    // Save the spreadsheet
    if (File.Exists(fileName)) File.Delete(fileName);
    spreadsheet.SaveAs(fileName);

    // Close spreadsheet
    spreadsheet.Close();

    // Open the spreadsheet
    Process.Start(fileName);
}
Output will be like following.
Let’s analyze the code.
Creating a spreadsheet object and getting data table ready. We are already having another function named GetDataTable which returns data table as output.
// Create a new spreadsheet Spreadsheet spreadsheet = new Spreadsheet();
// Get the data from the datatable that we want to import DataTable periodicTable = GetDataTable();
Importing data into spreadsheet object by using “ImportFromDataTable” method.
// Import data into spreadsheet spreadsheet.ImportFromDataTable(periodicTable);
Adding headers columns. This is extra logic in case we want to manually create a new heading row from the name of the datatable column. Here, we are first going to insert a new row, and then filling cel of that new row by caption available in the datatable column.
Save the spreadsheet to the physical file. We take care that if the file with the same name already exists then delete it. Here, Instead of saving to a physical file, we can also store it to a memory stream.
// Save the spreadsheet
if (File.Exists(fileName)) File.Delete(fileName);
spreadsheet.SaveAs(fileName);
* Create Excel by importing data from JSON in C#
JSON as a data source is one of the favorite options for a developer nowadays. Here’s the program to fill excel from JSON data.
static void Main(string[] args)
{
    using (Spreadsheet spreadsheet = new Spreadsheet())
    {
        // Load JSON string from file
        string jsonString = File.ReadAllText("sample.json");

        // Import JSON
        spreadsheet.ImportFromJSON(jsonString);

        // Save spreadsheet
        spreadsheet.SaveAsXLS("result.xls");

        // Open the result file in default associated application
        Process.Start("result.xls");
    }
}
The output will be like below.
Let’s analyze the main part of the code.
Creating a spreadsheet object and getting input data.
using (Spreadsheet spreadsheet = new Spreadsheet()) { // Load JSON string from file string jsonString = File.ReadAllText("sample.json");
…
Import JSON data to spreadsheet objects. ByteScout Spreadsheet SDK makes this very easy, just call function ImportFromJSON with data and we’re done.
The list is one of the popular collection types in C#. As per Microsoft documentation, the list represents a strongly typed list of objects that can be accessed by index. It also provides methods to search, sort and manipulate lists.
In this program, we are going to load Excel from the list. Here’s the program for it.
static void Main(string[] args)
{
    const string fileName = "CSharpImportFromList.xls";

    // Create a new spreadsheet
    Spreadsheet spreadsheet = new Spreadsheet();

    // Get the data from in list form that we want to import
    IList planets = GetList();

    // Import data into spreadsheet
    spreadsheet.ImportFromList(planets);

    // Save the spreadsheet
    if (File.Exists(fileName)) File.Delete(fileName);
    spreadsheet.SaveAs(fileName);

    // Close spreadsheet
    spreadsheet.Close();

    // Open the spreadsheet
    Process.Start(fileName);
}
The output will be as follows.
In this code, It’s using function ImportFromList to load list data into an excel spreadsheet. The rest of the logic is the same as programs above.
// Import data into spreadsheet spreadsheet.ImportFromList(planets);
* Create Excel by importing data from Array in C#
The array is one of the universal data structure across most of the programming languages. In this article, we are going to see how to import data into excel from an array. For this, we are going to use a two-dimensional array.
The program is as follows.
static void Main(string[] args)
{
    const string fileName = "CSharpImportFrom2DArray.xls";

    // Create a new spreadsheet
    Spreadsheet spreadsheet = new Spreadsheet();

    // Get the data from the 2D array that we want to import
    string[,] stockPrices = Get2DArray();

    // Import data into spreadsheet
    spreadsheet.ImportFrom2DArray(stockPrices);

    // Save the spreadsheet
    if (File.Exists(fileName)) File.Delete(fileName);
    spreadsheet.SaveAs(fileName);

    // Close spreadsheet
    spreadsheet.Close();

    // Open the spreadsheet
    Process.Start(fileName);
}
The output will be as below.
Let’s analyze. Here like all the preceding programs methodology is the same, except we are using the array as an input data source and we are using function “ImportFrom2DArray” to load array data into excel.
// Import data into spreadsheet spreadsheet.ImportFrom2DArray(stockPrices);
ByteScout Spreadsheet SDK also provides a way to load data from a jagged array, which is demonstrated in the next program.
* Create Excel by import data from Jagged Array in C#
A Jagged Array is an array whose elements are arrays. It’s also called “array of arrays”. You can explore the jagged array in detail at this Microsoft documentation.
It would be a great help for the developer to have the facility to load data from a jagged array. As in this case we are not sure how many columns it’ll generate as by the nature of jagged array, the subarray size is not fixed. The program is like below.
static void Main(string[] args)
{
    const string fileName = "CSharpImportFromJaggedArray.xls";

    // Create a new spreadsheet
    Spreadsheet spreadsheet = new Spreadsheet();

    // Get the data from the jagged array that we want to import
    string[][] periodicTable = GetJaggedArray();

    // Import data into spreadsheet
    spreadsheet.ImportFromJaggedArray(periodicTable);

    // Save the spreadsheet
    if (File.Exists(fileName)) File.Delete(fileName);
    spreadsheet.SaveAs(fileName);

    // Close spreadsheet
    spreadsheet.Close();

    // Open the spreadsheet
    Process.Start(fileName);
}
The output will be as below.
As we analyze the code ByteScout Spreadsheet SDK made data load from the jagged array made very simple. Just use function “ImportFromJaggedArray” and pass the jagged array and it’s done.
// Import data into spreadsheet
spreadsheet.ImportFromJaggedArray(periodicTable); That’s all guys.
Happy Coding 🙂
About the Author
ByteScout Team of WritersByteScout has a team of professional writers proficient in different technical topics. We select the best writers to cover interesting and trending topics for our readers. We love developers and we hope our articles help you learn about programming and programmers.
When the developer has built the desired application, the SDLC's next step is to deploy it for testing purposes. The process of delivering the application...
Australia's warm climate makes it one of the best places to work as a freelancer. It's therefore not surprising that Australia has about 4.2 million...