Our ByteScout SDK products are sunsetting as we focus on expanding new solutions.
Learn More
Important Update
ByteScout SDK Sunsetting Notice
Our ByteScout SDK products are sunsetting as we focus on our new & improved solutions.Thank you for being part of our journey, and we look forward to supporting you in this next chapter!
How to set advanced options for watermarks added with Bytescout Watermarking Pro
Bytescout Watermarking provides set of ready-to-use watermark types so all you need is to set input pictures and enter your text and logo image and then select watermark type (text, vertical text, text with logo and other)
The Watermarking software also provides a way to adjust default properties like font face, margins, watermark placement (the location of a watermark on the source image). Set of available properties depends on watermark type used but here is a tutorial how to change these advanced options
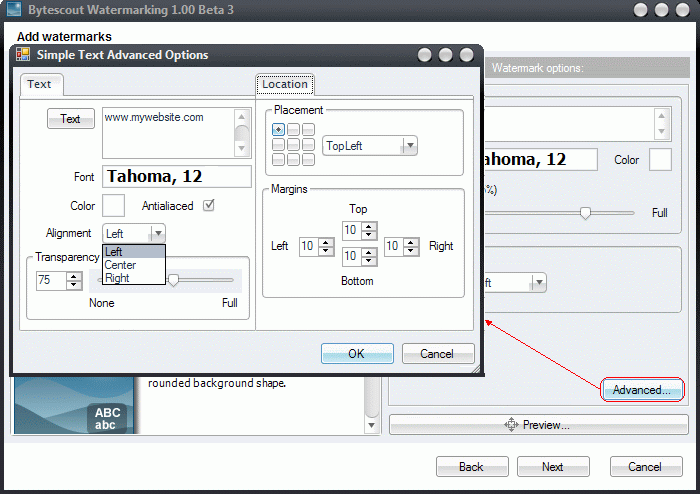
On “Add Watermarks” step you have “Advanced..” button at the right corner.
To see advanced options for watermark type selected just click this button and program will invoke Advanced Options dialog:
You can adjust margins, change location, turn antialiacing on/off and other default properties in this dialog. Click OK to store these values as default values
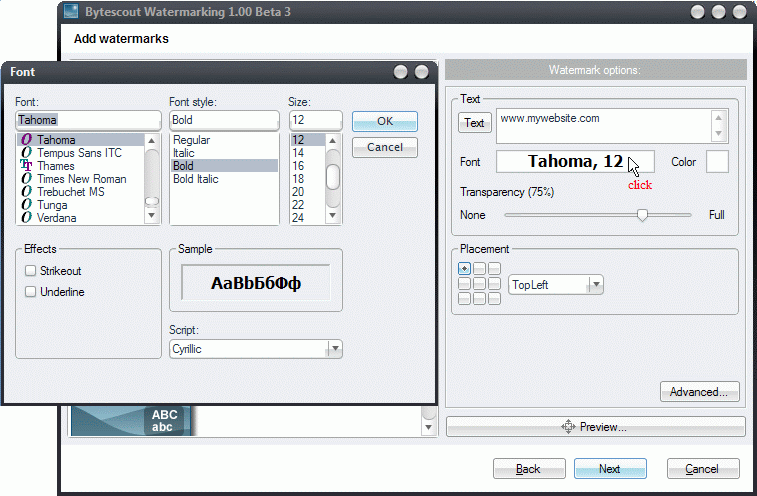
You can change default font face and style used for text in watermarks. To change it click Font indicator and adjust font properties in dialog appeared:
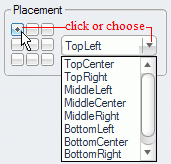
To change default placement of the watermark use “Placement” control. Click appropriate location or choose from a combo box at the right: